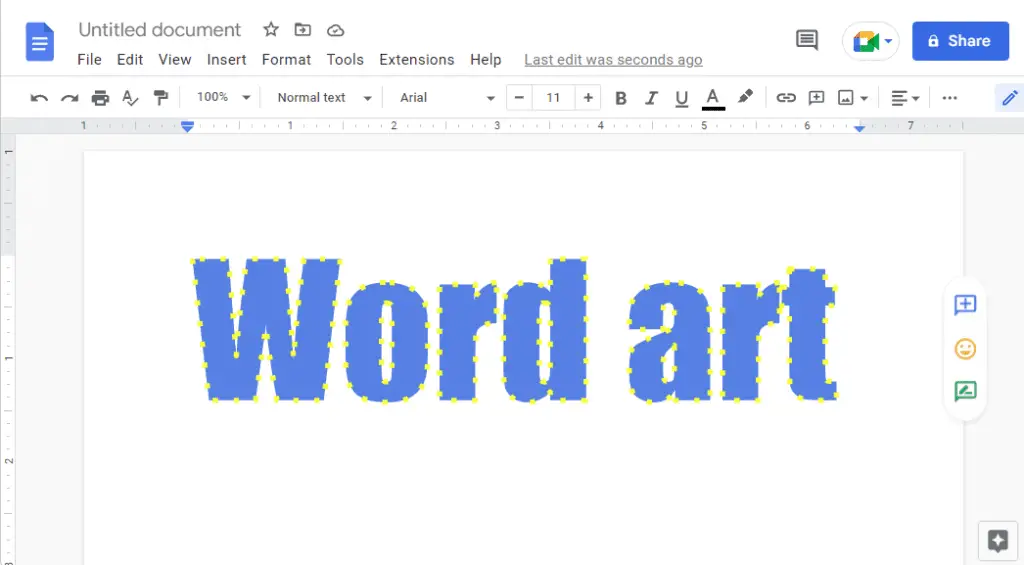
The function of word art is to beautify or embellish a document. Usually, Word Art is used to embellishing the title of a document. Word art itself is now quite widely used. Mostly used for non-official documents, stamping, and leaflets for magazines.
How to create word art in Google Docs is very easy and simple. You don’t need any special skills to create it.
1. Open Google Docs, and click Insert > Drawing > + New.

2. Go to the Actions menu, and select Word art.

3. It opens up a box for you to type in the word that you want to turn into word art.

4. As soon as you hit Enter, you’ll see the word art get put into the Drawing canvas. When you click on Save and Close, you’ll see the word art get added to your document.
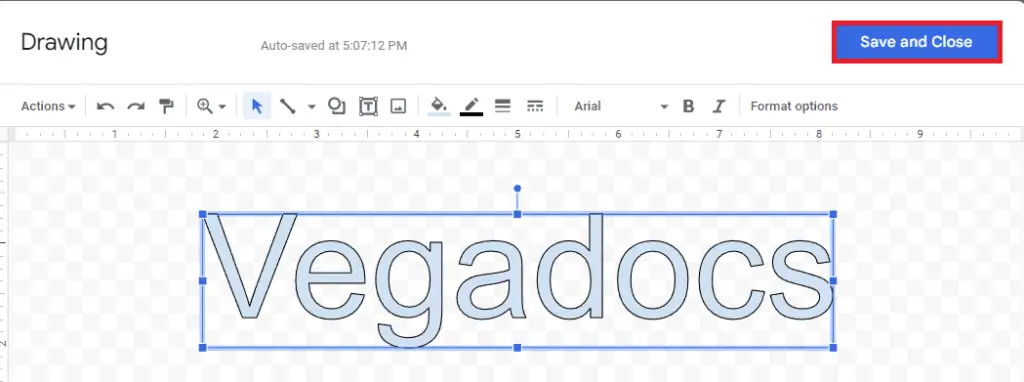
5. For your information, Google Docs treats word art like an image. But underneath, there is an Edit option along with word wrapping options for how this particular word art will wrap around the text that it’s next to.

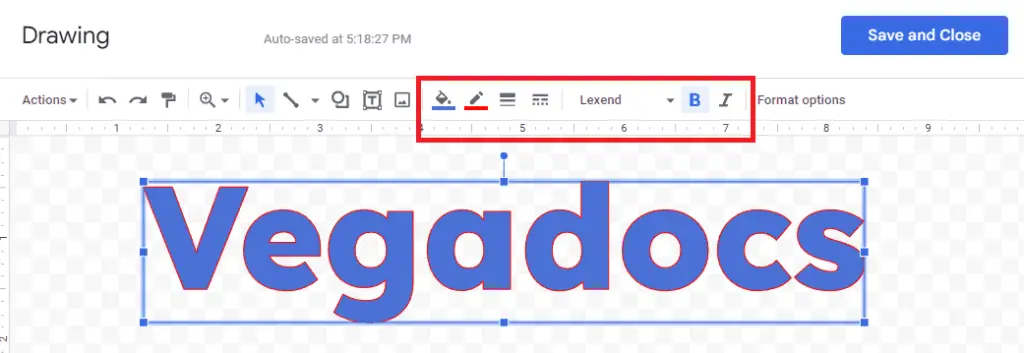
6. If you click on Edit, It will open up drawing canvas again. But now you’ll see additional buttons up in the toolbar. It can help you do things like adjust the fill color, change the border color, adjust the thickness of the word art border, and change the font style that it’s being used for it. When you’re done click on Save and Close.
7. Remember, just like an image, you can size it and make it smaller If it’s too big. You can also use alignment buttons to align it.
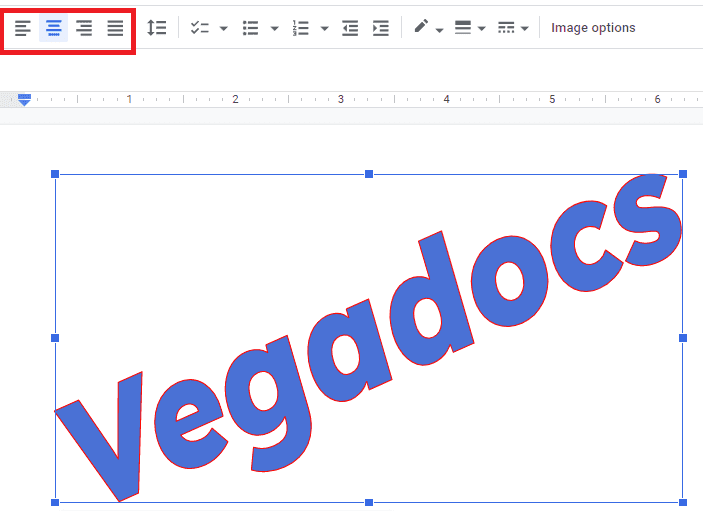
Now you can see why word art is a way to make a document have more artistic flair.

