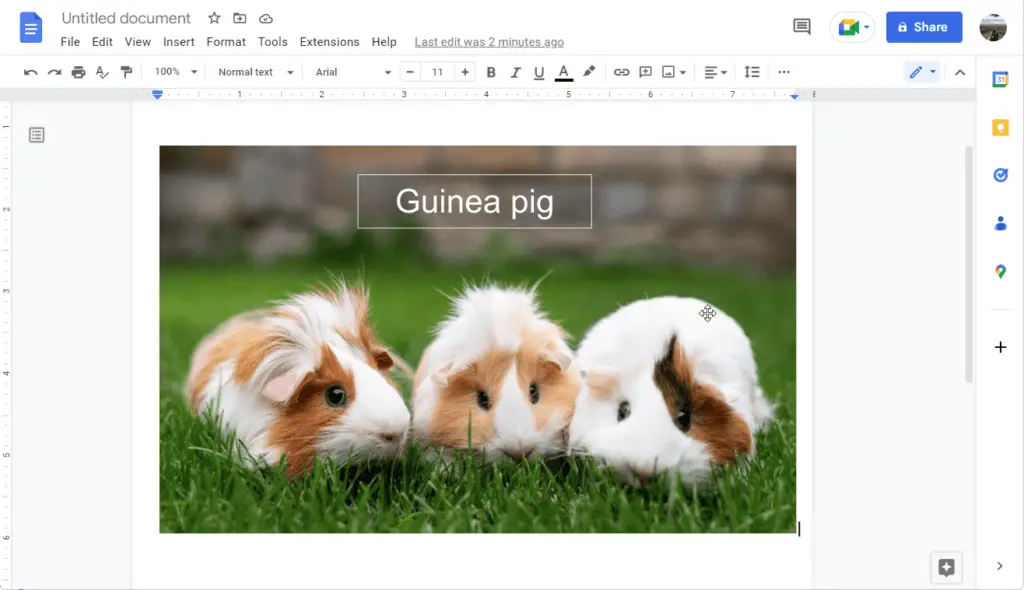
Whether you are creating a presentation, report, or document, this tutorial will show you how to type on a picture in Google Docs. You’ll learn how to add text directly onto a picture and adjust the font size and color of the text.
Additionally, you’ll learn how to use the advanced features of Google Docs such as the text box. With these tips and tricks, you’ll be able to create professional-looking documents with ease.
We’re going to show a few different methods to do this.
First method: using behind text
1. Insert your picture by going to Insert, Image, and Upload from computer.

2. Select the picture, and Open.

3. Click to the right of the picture, hit Enter, and type your text.

4. Select your picture, and choose Behind text.

5. Now you can see the text is right there on top of the image. You can move it, change it, or whatever you want just like a normal text.
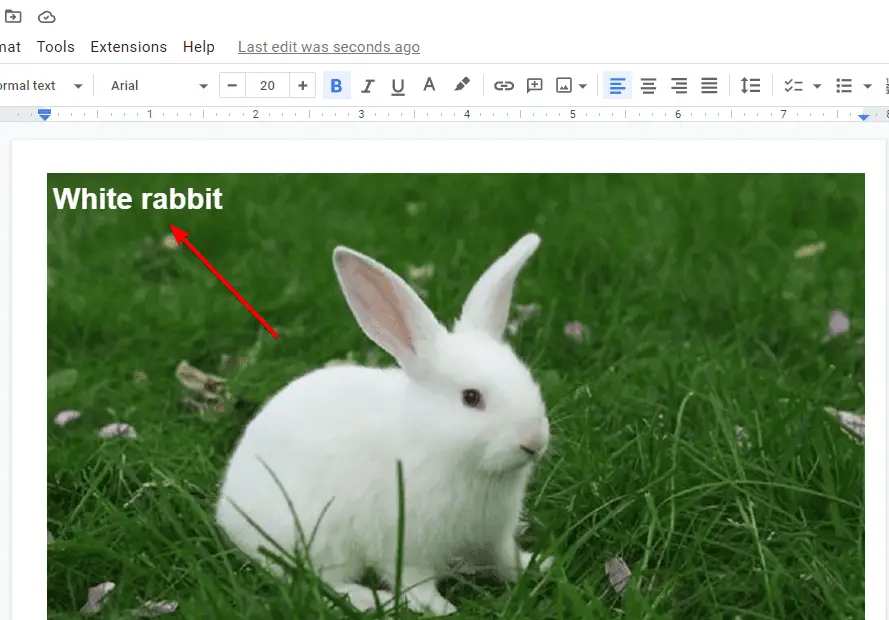
Second method: adding a text box
The first method so far is good if you want to just quickly add text to your image. But the best way to do this is to create a drawing with your image. Because you have way more options on where exactly the text shows up, the font style, color, and everything.
If you’re using the drawing editor you have way more options on how your image is captioned or how you add text to your image.
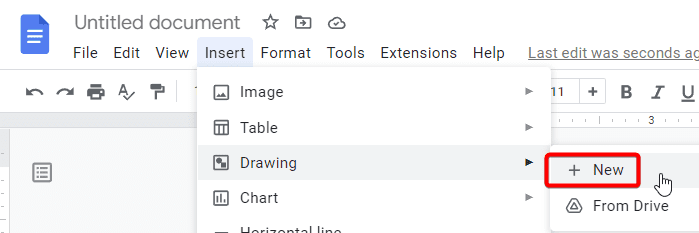
1. In the document, place your cursor wherever you want your image to show up. Then go to Insert, Drawing, and New.
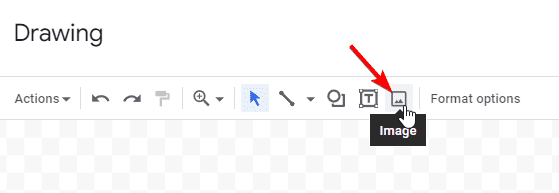
2. In the drawing editor, click the Image button.
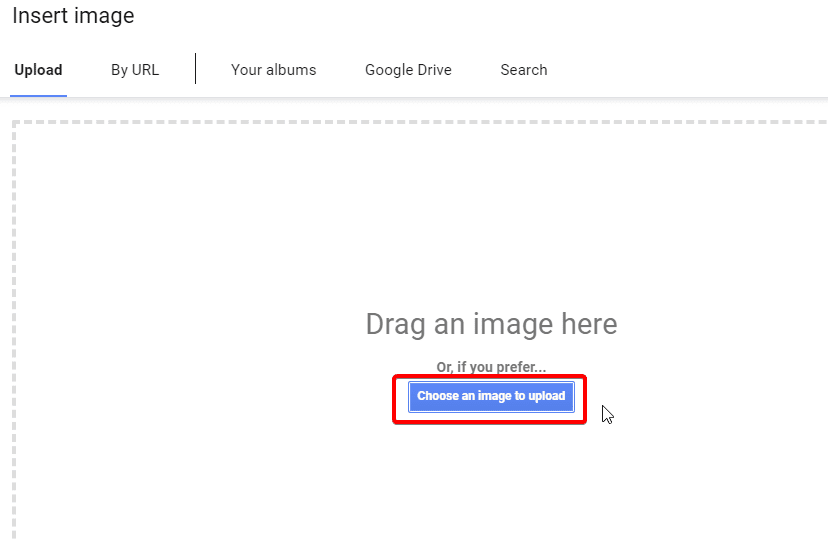
3. Click Choose an image to upload.
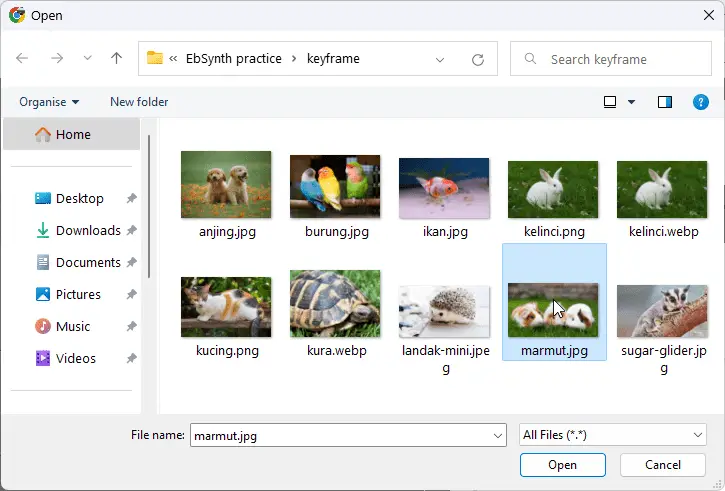
4. Select the picture, and Open.
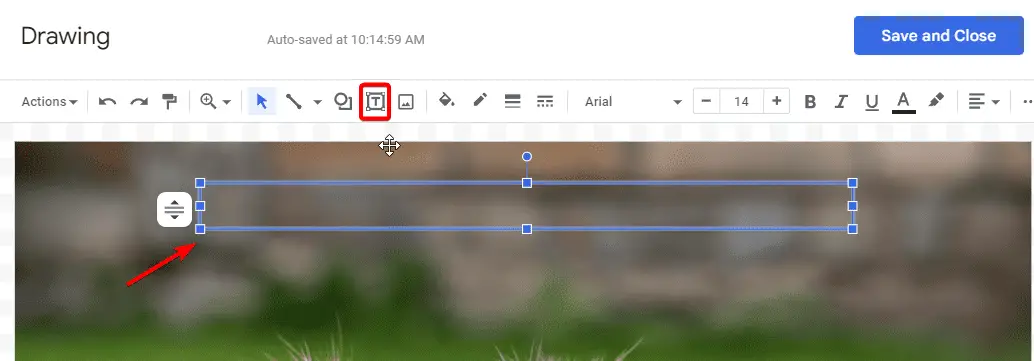
5. Now click the Text box button, then draw a text box.
6. Type in the text and resize until it fits.
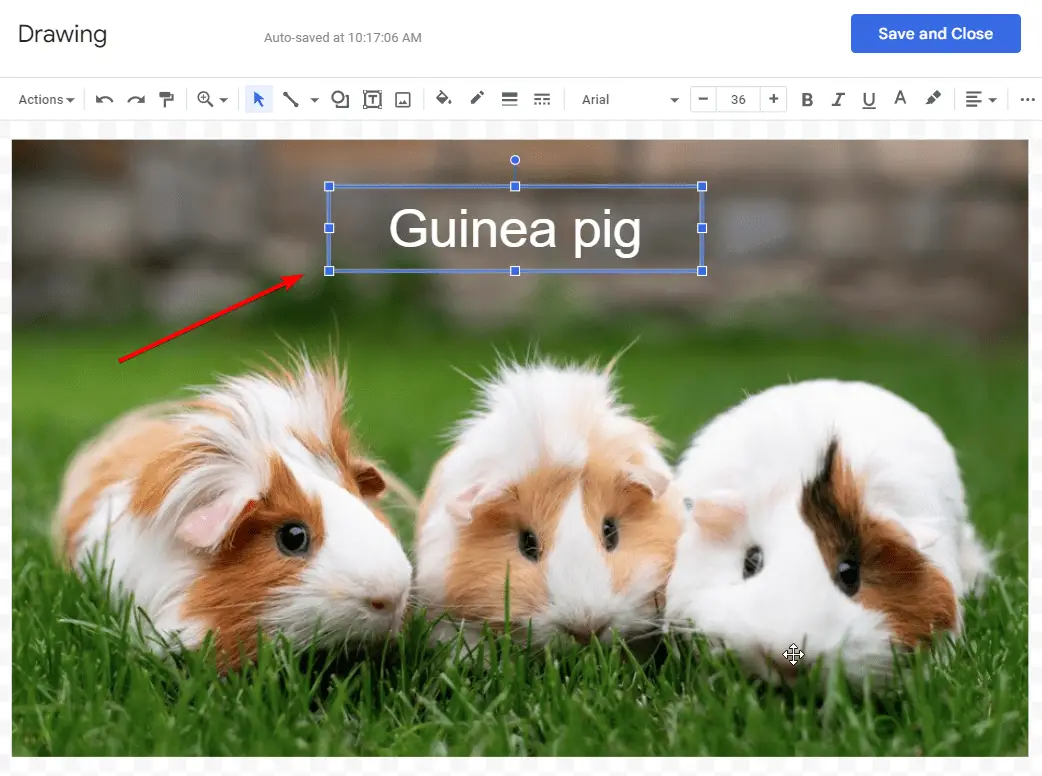
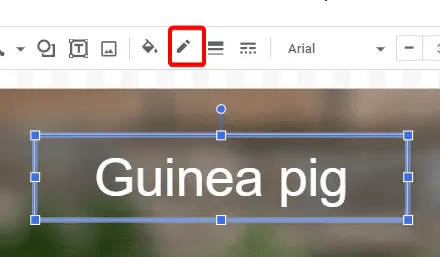
7. You can also add border color.
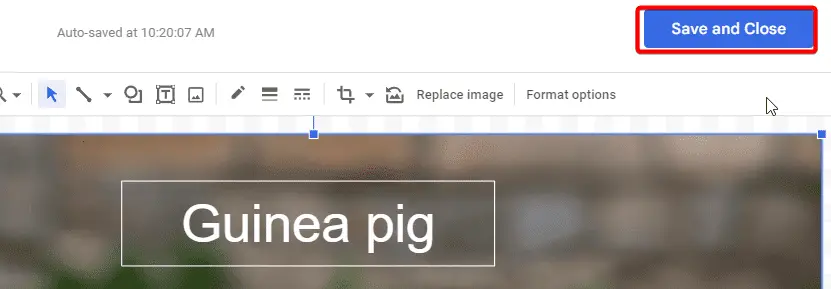
8. Then hit Save and Close.
Hopefully, you can see why that is probably the best method if you want more control over how the text shows up on your picture.

