If you’re looking for an efficient way to generate mailing labels, then look no further than Google Docs, Google Sheets, and Autocrat. This free online tool allows users to quickly and easily create high-quality address labels from any list of information stored in a spreadsheet.
We’ll discuss how to use these tools together to get your project done in no time! So let’s dive right into using Google Docs and Autocrat to generate mailing labels from a spreadsheet of addresses – for free!
1. First you need to create a Google Sheet spreadsheet of the addresses and all the information you want for your labels. Here is our example.


2. Next you need a Google add-on called Autocrat. Install it in Google Sheets. Please follow the previous tutorial on how to install an add-on.


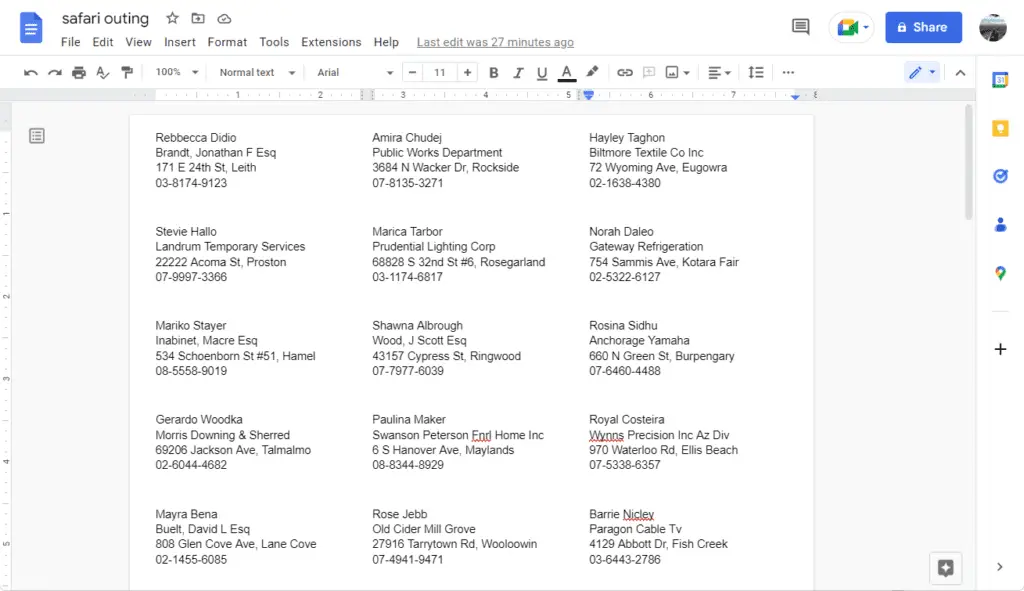
3. In Google Docs, create a properly formatted document template using double arrows and columns that aligns with the labels you have. In our example, it will look like this.


4. Once you have everything set up, go back to Google Sheets. Go to the Extensions menu, choose Autocrat, and then Open.


5. Select a New job.


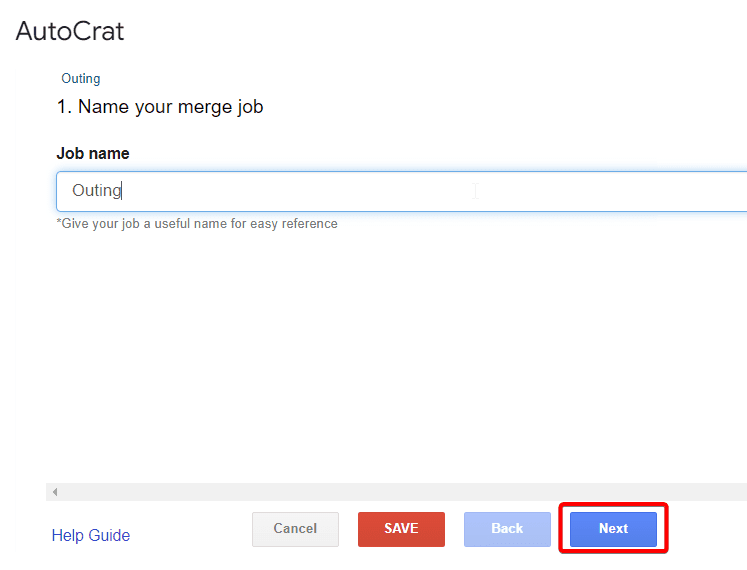
6. Give the job a name and then click Next.

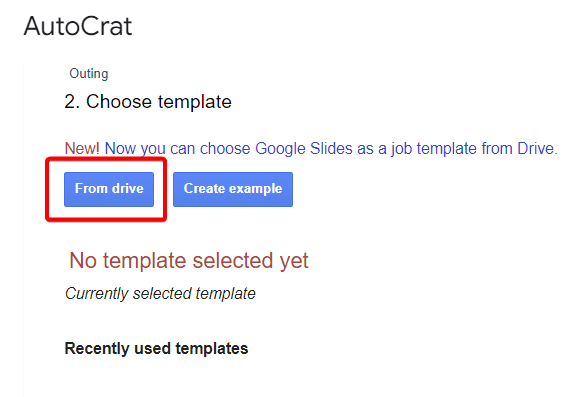
7. Now you need to choose the formatted template where the spreadsheet information will be merged into. Click From Drive.

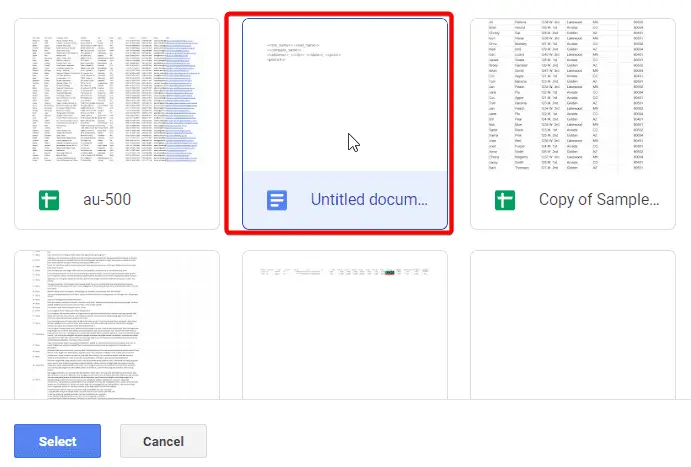
8. Browse for the template. This is the one that you created in Google Docs earlier.

9. Then next, here’s where you map the bracketed fields on the document to the columns on your spreadsheet where the information comes from. Some spreadsheets have multiple tabs so you first need to choose the Merge tab.
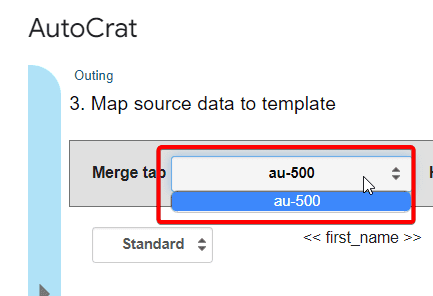

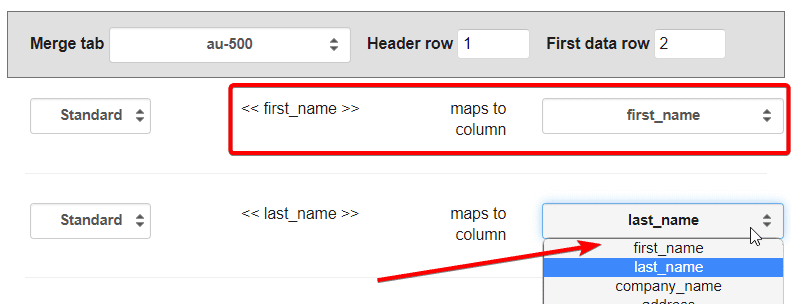
10. If the name of the column on your spreadsheet is identical to the name inside your bracketed arrows, Autocrats will select it for you automatically. But if not, just choose the drop-down to map that column you want with each merge field.

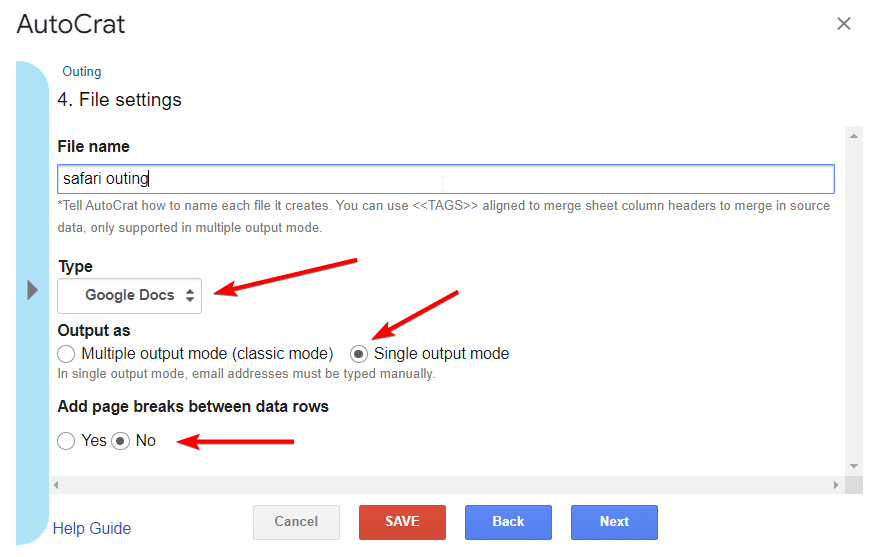
11. When you are done mapping your data, click Next. On the next page is the important settings. Enter a title for your merge document, the Type as Google Docs, but change the output to Single output mode. Also, make sure to select No to the Add page break between data rows.

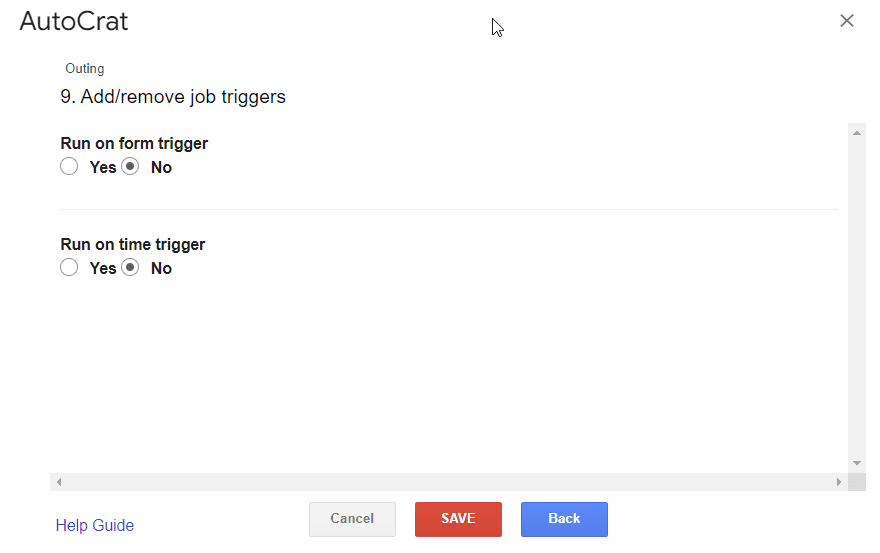
12. When you’re done, click Next on the rest of the settings. But on the final page, click Save.

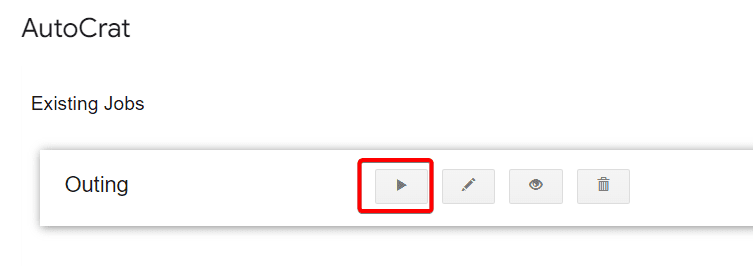
13. To run it, click the play icon.

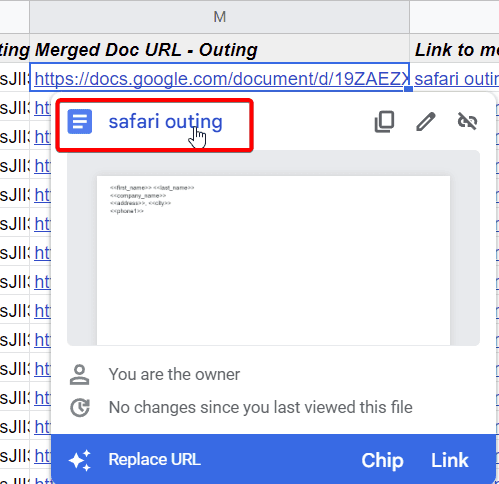
14. When Autocrat is done, close the window. In your sheets, there will be new columns. Click the URL to preview the document before you print.

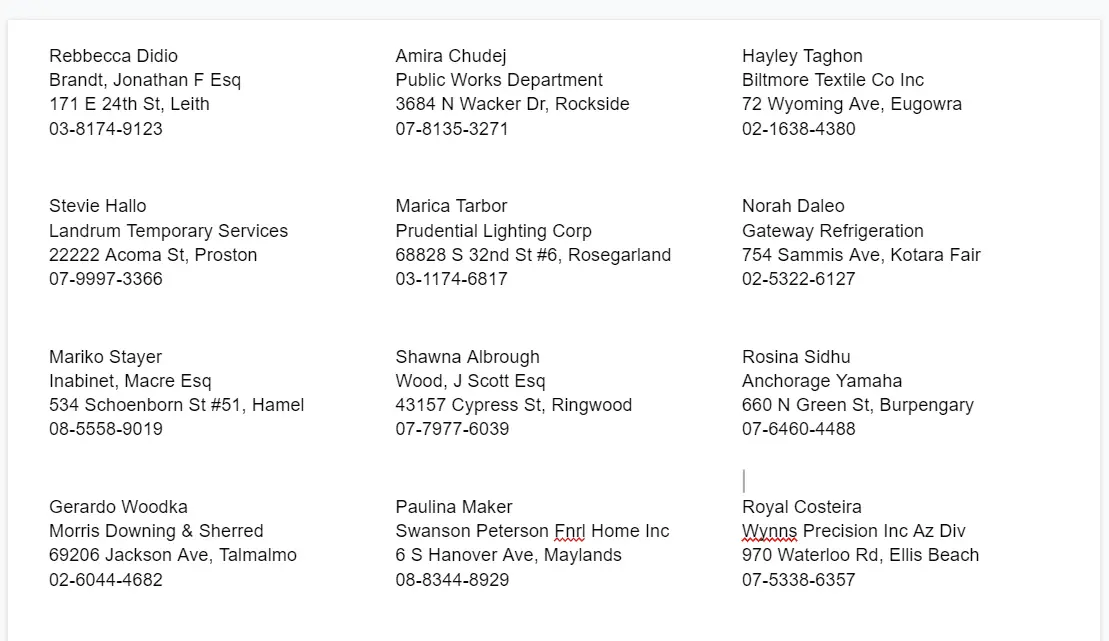
15. From here, all you need to do is insert your label sheets into the printer and print.

Now that you know how to perform this task easily with these tools, why not give it a try?
