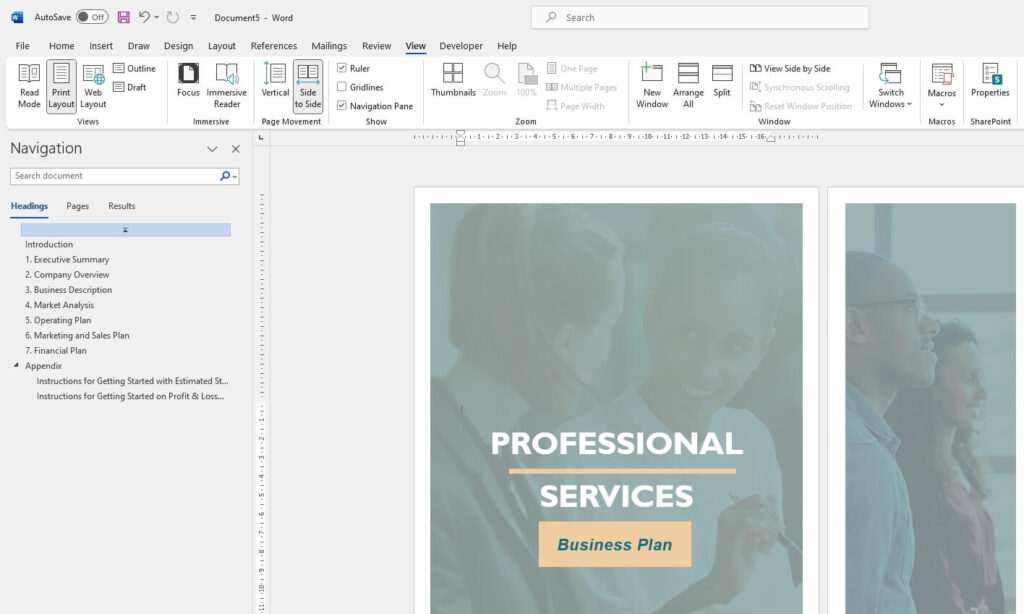
Headers in Microsoft Word allow you to display information like the document title, author name, or page numbers at the top of each page. While headers can help organize longer Word documents, you may want to remove them at times.
Removing a header in Word is simple – just follow these steps:
Access the Header Menu
- Open your Word document and select the Insert tab
- Click the Header button in the Header & Footer section
This will open a drop-down menu with header options.
Remove the Header
- From the header menu, choose Remove Header
That’s it! The header will disappear from all the pages in your document.
Pro Tip: To delete the footer instead, select Remove Footer after step 2.
Remove Header from Certain Pages
The steps above clear the header from your whole Word file. But what if you only want to remove the header from some pages?
You can do this by using section breaks:
- Place your cursor where you want to start a new section
- Go to Layout > Breaks and pick a section break type
- Click the Header button and choose Remove Header
- Repeat just for the sections you want header-free!
Section breaks allow you to have different layouts, headers/footers, page numbering, and more in various parts of your document.
You’re writing a book with different headers for each chapter but want a plain title page. Just insert a Next Page section break before page 1, remove the header for that first section, and customize the headers per chapter after that.
Modify an Existing Header
Instead of deleting your header completely, you can edit or tweak it instead. Just double-click inside the header area to open the design toolbar.
From here, you can:
- Change font styles, sizes, or color
- Add or edit text
- Insert images or logos
- Switch between header types
- And more!
Get creative and make the header suit your document’s look.
Pro Tip: To exit the header area, double-click inside the header again or click Close Header and Footer in the toolbar.
Troubleshooting Headers
Sometimes headers don’t behave the way you expect. Here are fixes for common header issues:
- Header won’t delete from a section – Check that the sections are not linked. Go to the first section, click the header, and look for “Same as Previous” on the right. If visible, unlink the sections first.
- Header is missing info – Double-check that the header is not empty. Click inside to open the design toolbar and add text or page numbers.
- Header prints on the wrong pages – Confirm the section breaks are on the correct pages. Reposition if needed.
- Header overlays document text – Go to Layout > Margins and reduce the top margin size if the header is covering text.
Spending time on formatting details like headers may not be exciting, but it adds a polished touch to Word documents. Use headers intentionally to guide readers, organize content, and showcase your style.
And when it’s time for a change, removing them takes just a click! With these simple steps, you can declutter documents and showcase what matters most – your content.


