Uniformity across several pages in your Google Doc is made possible when you add a header or footer to the document. Each page contains a header at the top and a footer at the bottom of each page. This is a beneficial technique when applied to a piece of writing such as a resume or a professional document, where names and addresses are essential on each page.
It is much simpler than you may believe in conveying an air of professionalism through language. You can quickly add a header to your document using Google Docs. This header can contain names, dates, addresses, and page numbers. When it comes to anything like a resume, they are of the utmost significance.
If your content is more than one page long, including dates and page numbers in the footers will help establish a sense of progression throughout the reading experience.
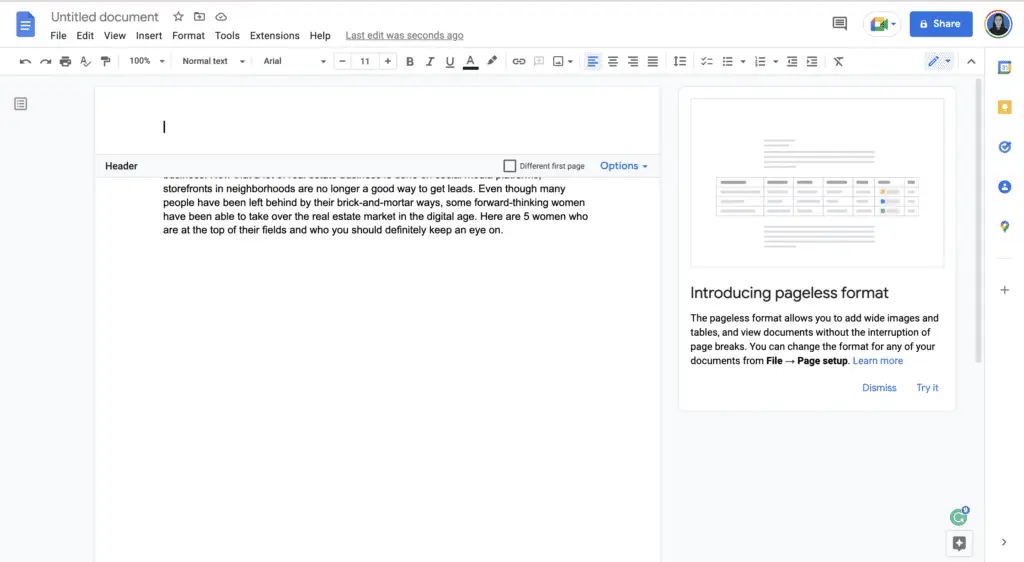
1. Simply double-clicking in the margin at the top of the page of your Google Doc will allow you to add a header to your document quickly.


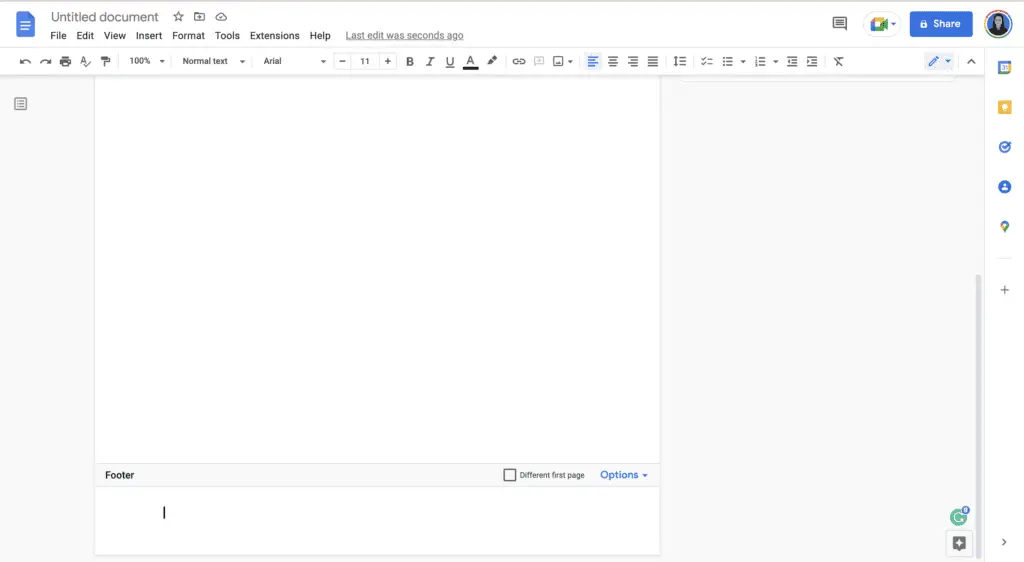
2. The above logic also applies to footers. To add a footer to your page, double-click the margin that is located at the bottom of the page.


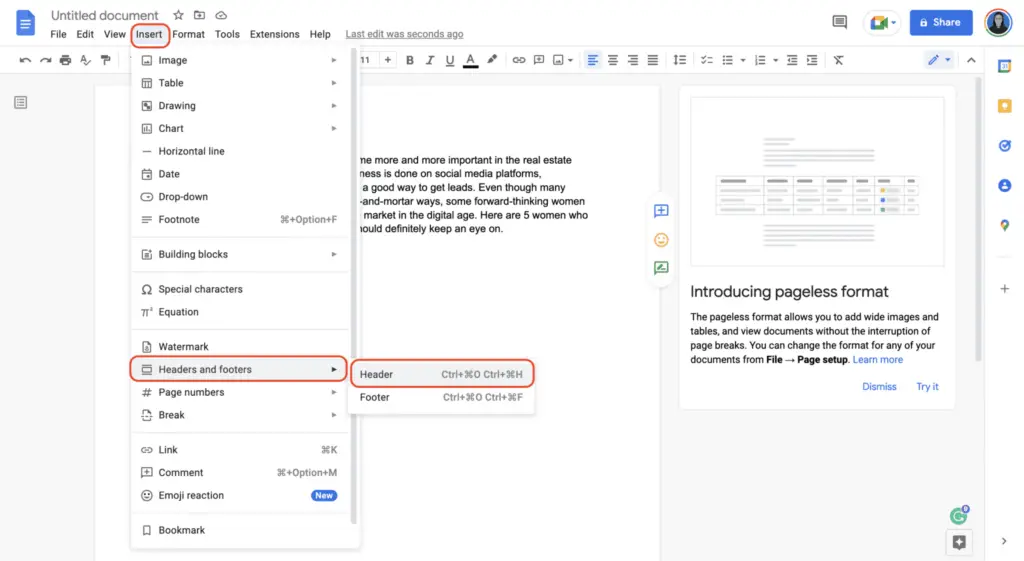
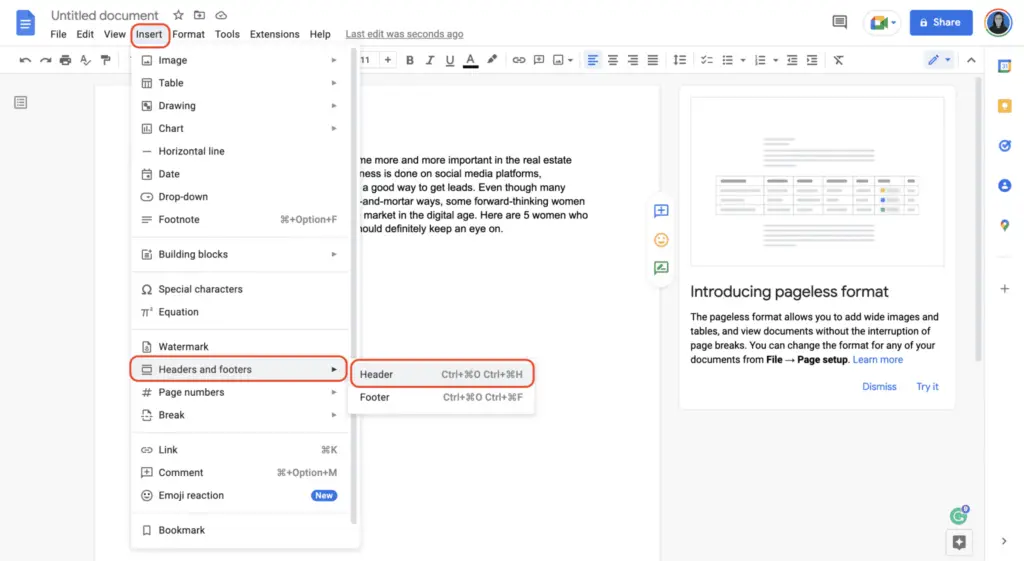
3. You also have the option of manually inserting either a header or a footer. To accomplish this, navigate to the top of the page and select the Insert button to get started. To view the headers and footers, move your pointer to the bottom of the page. To include a header on your Google Doc, select Header from the expanded menu and click “Add.” To add a footer to your Google Doc, select Footer from the menu.


Those are three simple ways how to add a header in Google Docs. You can just easily do it by following those steps.


