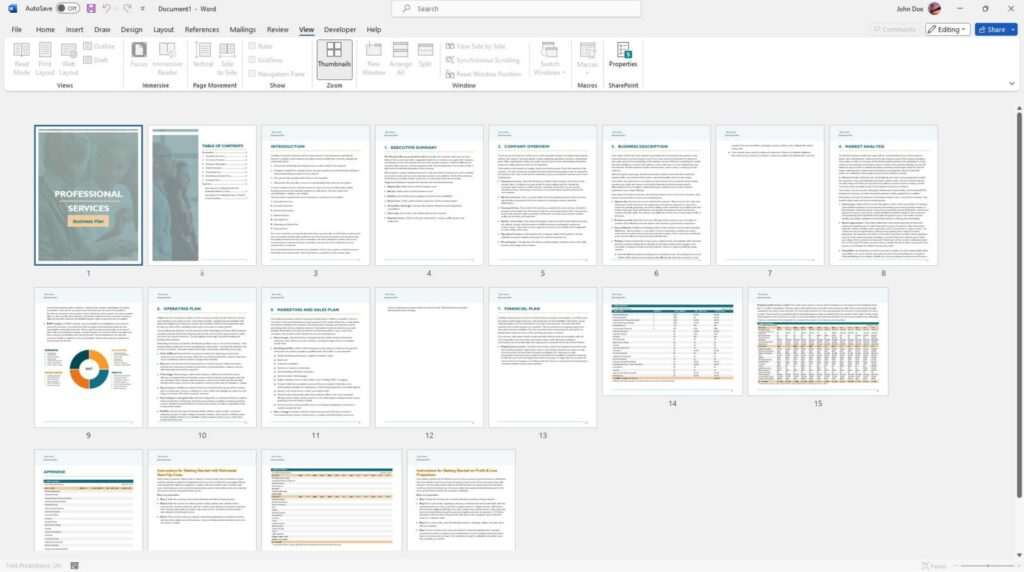
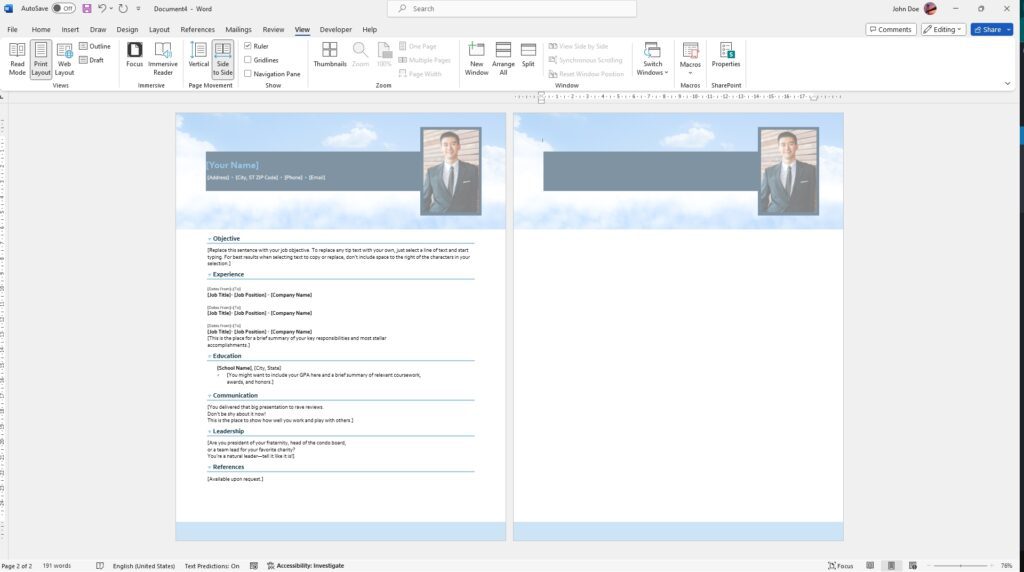
Rearranging pages in Word is an incredibly useful skill for organizing and tweaking documents. Whether you are creating a report, thesis, book, or other long-form piece of writing, you will likely need to move content around at some point.
Fortunately, Microsoft Word provides a few easy ways to rearrange individual pages or entire sections.
Method 1: Rearrange with the Navigation Pane
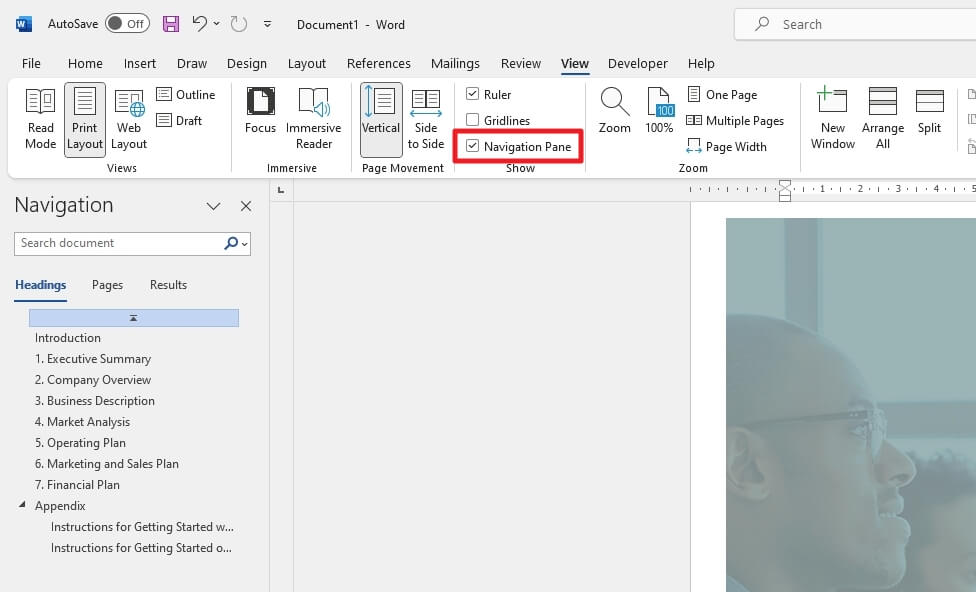

The Navigation Pane provides an interactive view of headings and pages in your document. It’s ideal for rearranging multiple pages at once.
First, switch to Print Layout view then click the View tab > Check the Navigation Pane box. This displays a list of headings and page thumbnails on the left side of Word.
To move an entire page:
- Click its thumbnail in the Navigation pane then drag it to the new location.
- Position the black downward arrow where you want to place the page.
- Release the mouse button to drop the page into position.
It’s that quick! The content flows accordingly in the document.
Method 2: Cut/Paste Text and Headings
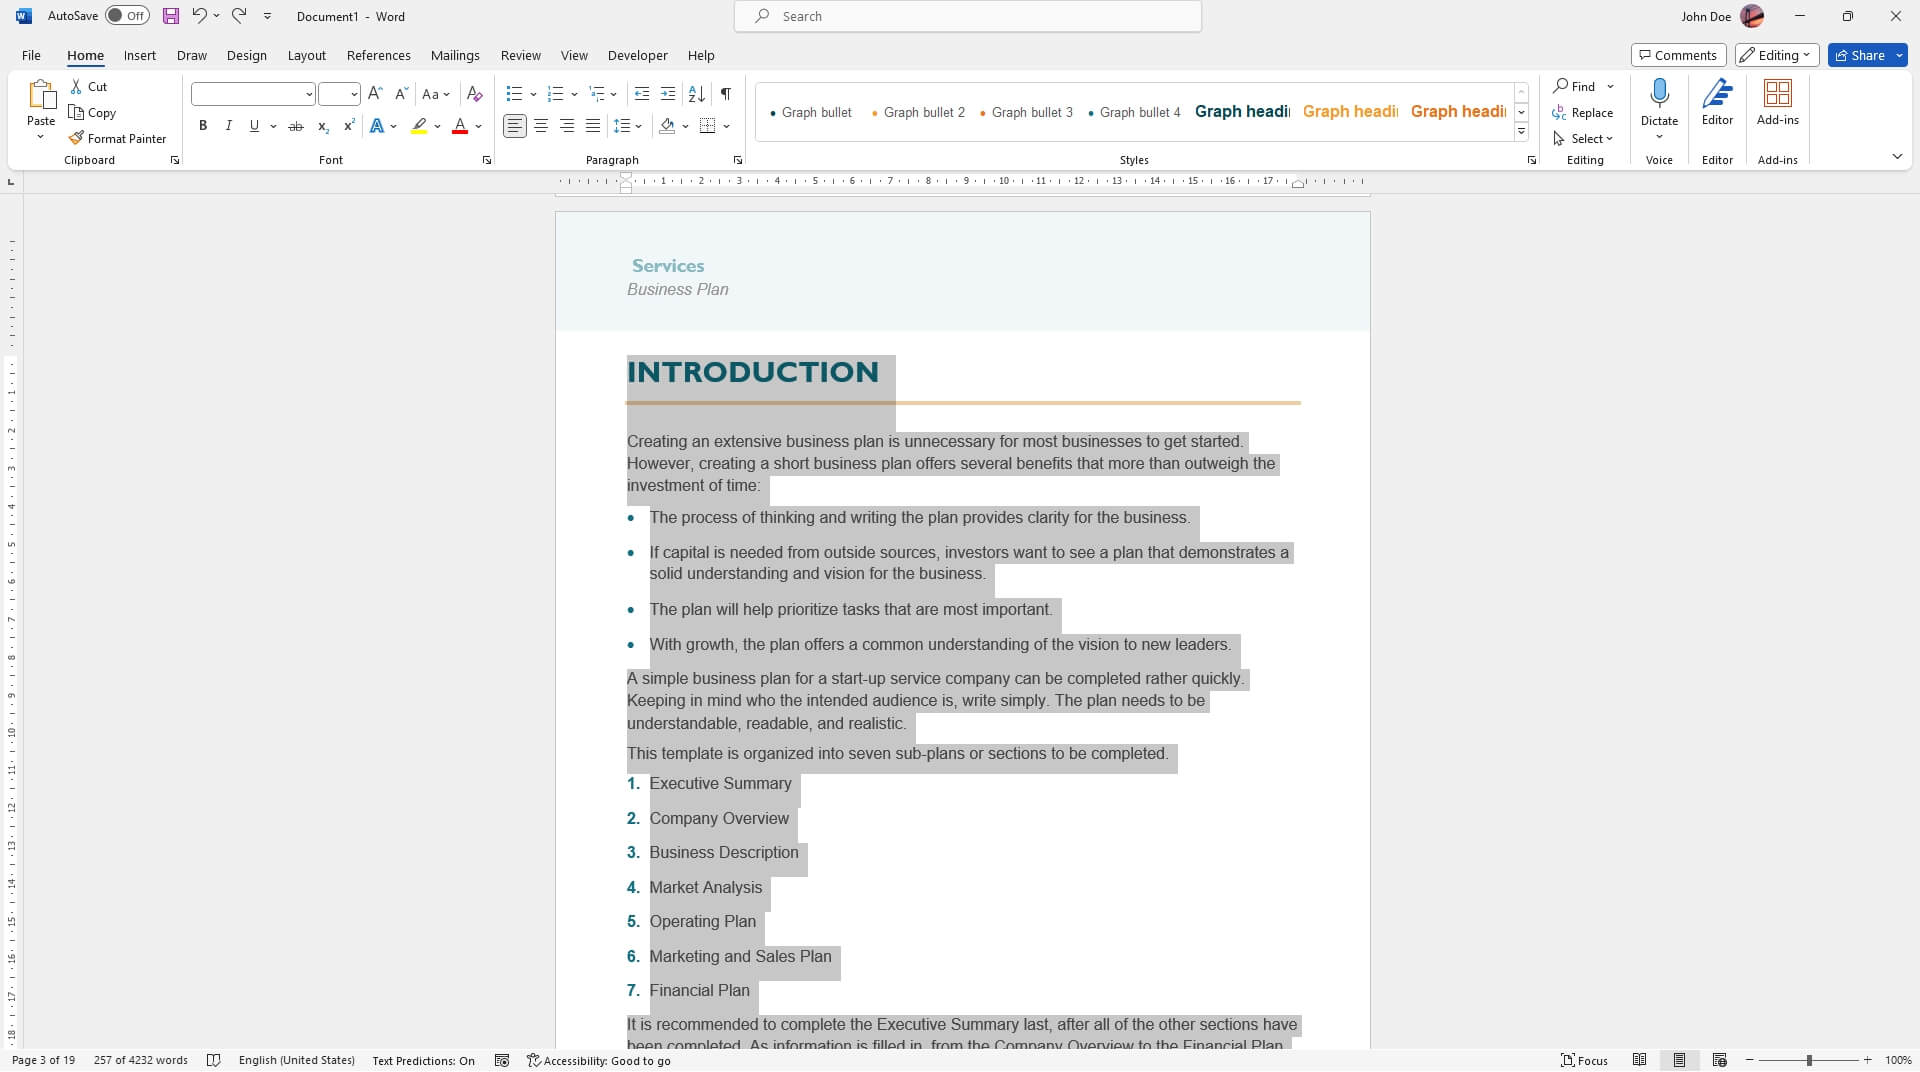

You can directly cut or copy text and paste it to rearrange content within a document.
Step 1: Select the Text
Using your mouse or keyboard shortcuts, highlight the text you want to move. This could be:
- A few words or sentences
- Paragraphs
- Multiple paragraphs
- Bulleted lists
- Numbered lists
- Images/tables/charts/other objects
- Headings
You can select text on the same page or across multiple pages.
Step 2: Cut or Copy
With your text selected, use one of the following:
- Keyboard: Ctrl + X to cut or Ctrl + C to copy
- Right-click menu: Choose Cut or Copy
- Home tab: Click Cut or Copy
Cutting removes the text from its current location while copying duplicates it.
Step 3: Paste
Click where you want to paste the text then use:
- Keyboard shortcut: Ctrl + V
- Right-click menu: Select Paste
- Home tab: Click the Paste icon
The text will be inserted along with any associated formatting. This technique gives you precision when rearranging content on a page. It works great for moving paragraphs around or reorganizing sections.
Method 3: Rearrange Pages and Headings in Outline View
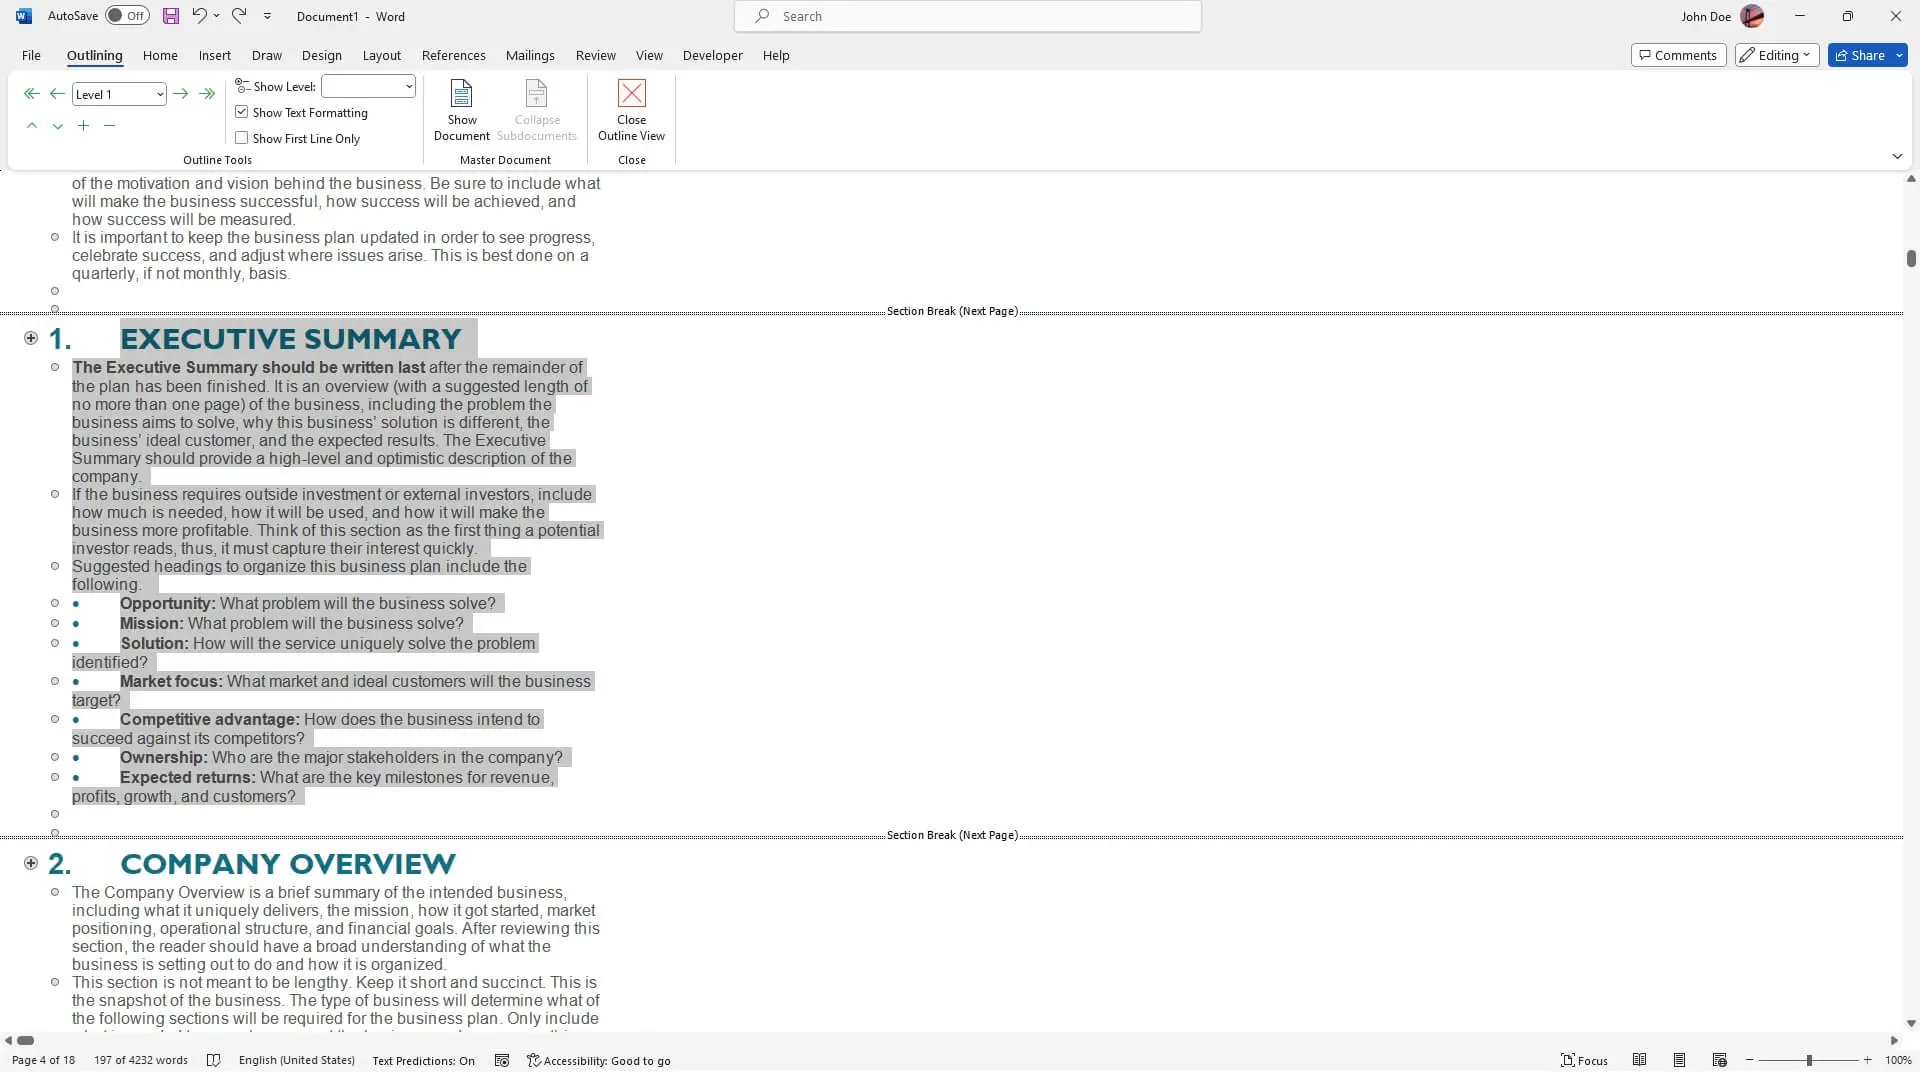

Outline View displays the underlying structure of your document, including:
- Headings – Headings tell Word how to organize pages.
- Subheadings – These break longer sections into smaller parts.
In Outline View you can rearrange both headings and their associated pages simultaneously.
Step 1: Switch to Outline View
Click the View tab > Outline button. This displays the document as an interactive outline.
Step 2: Click and Drag Lines or Headings
- Click the lines or headings to select them.
- Drag selections up/down to rearrange entire sections.
- The page content moves accordingly!
For example, drag chapter titles to rearrange chapters. Outline View makes it easy to visualize the structure of your content as you tweak it.
Conclusion
Rearranging content is an essential Word skill. Master these techniques to give your complex documents flexibility and fluidity. Just remember to save different versions along the way in case you ever need to go back!
The key takeaways are:
- Use the Navigation Pane to quickly drag/drop or cut/paste pages with visual thumbnails.
- Cut/paste text to precisely rearrange content on a page.
- View the document Outline to move headings and pages in one step.
I hope this overview gives you the confidence to rearrange pages in Word like a pro!
