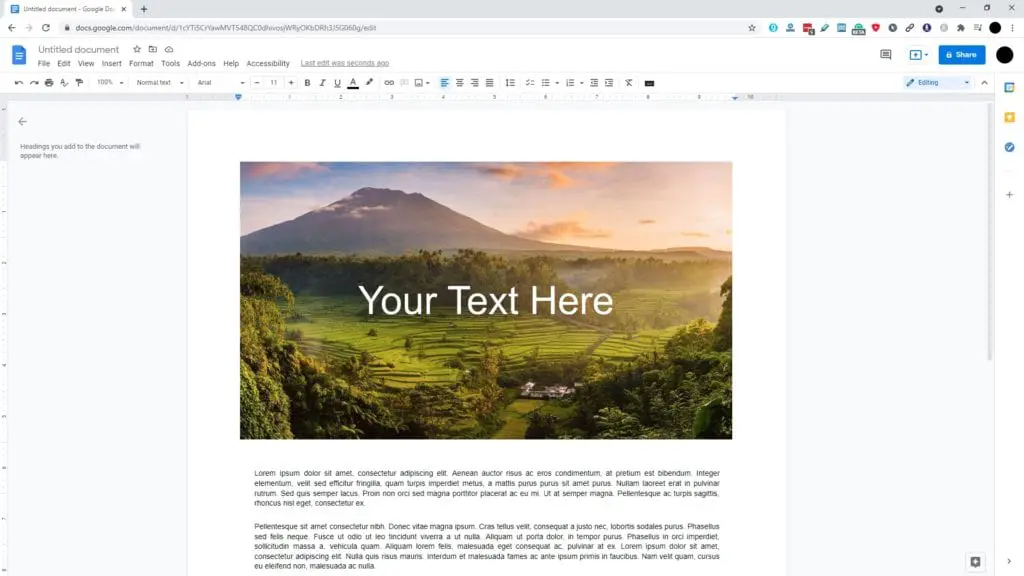
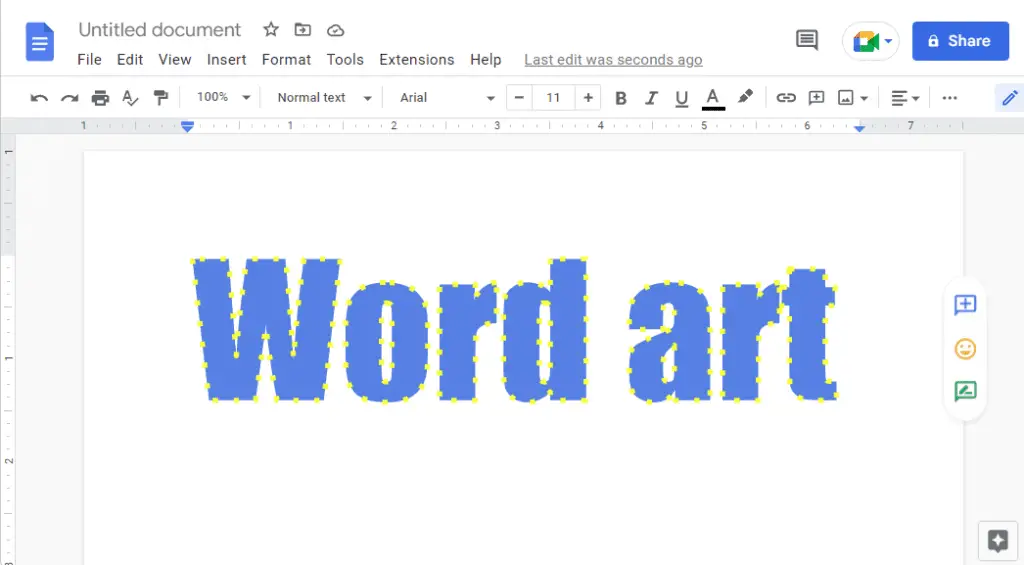
Designed to be accessible by a regular browser, Google Docs is in many ways, a lot more trimmed than its closest service: Microsoft Word. But this online-first approach has its setback where several features are missing to keep the page size small and not consuming too much computer power.
Simple editing like typing a text on top of an image, for example, is absent on the service. The only way to perform a work like that is by using its Drawing feature to get a somewhat similar result when you did it on Microsoft Word.
Here’s a workaround to put text on top of an image in Google Docs. There are two methods you could try.
#1 Using the Drawing mode
1. Go to Insert > Drawing > New.
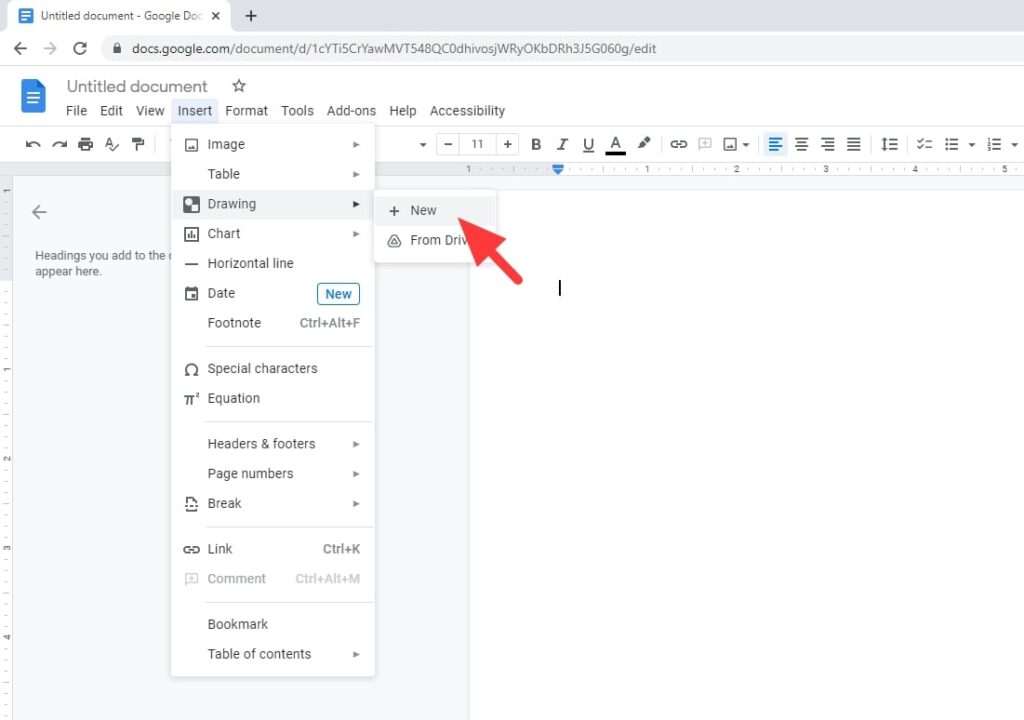

2. Click Image.


3. Insert an image either from your computer, albums, Google Drive, etc.
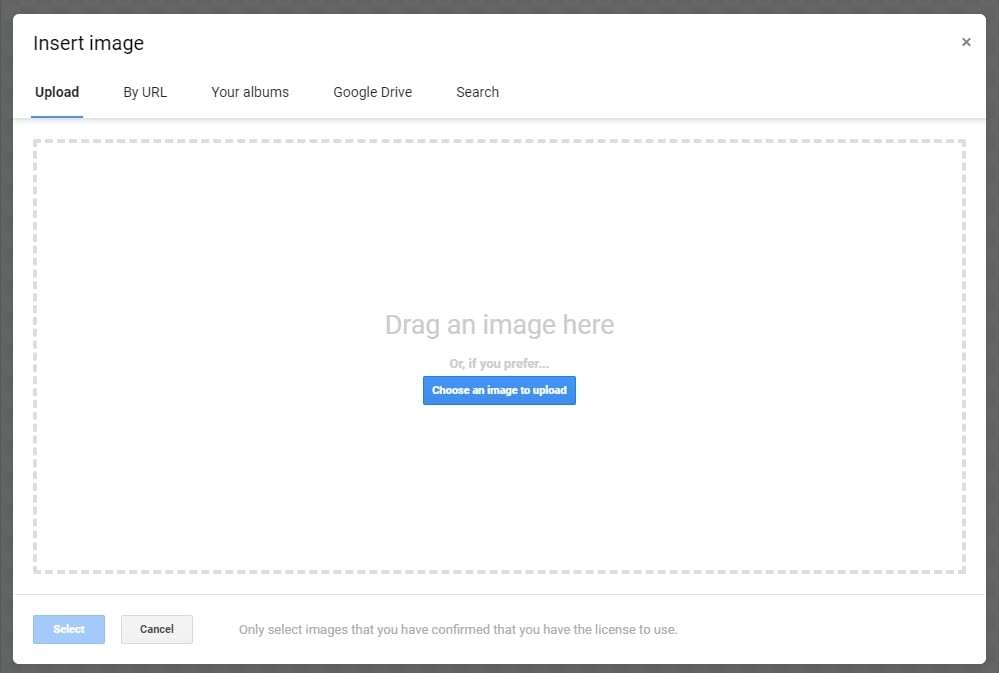

4. After the image has been inserted, click Text box.
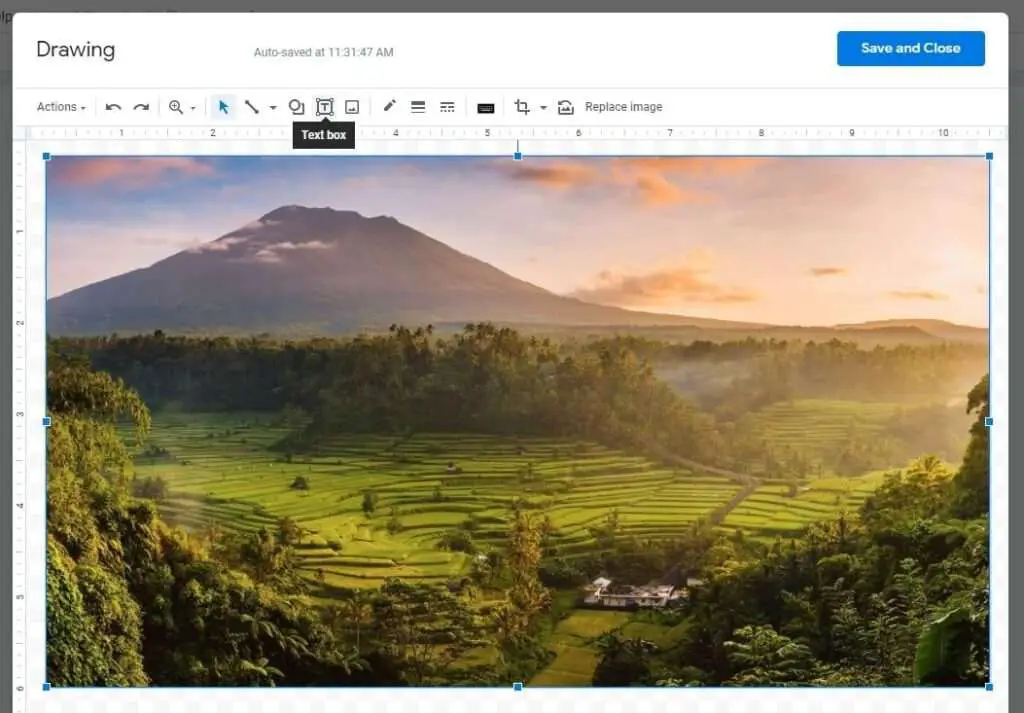

5. Create a text box area by clicking and dragging the cursor.
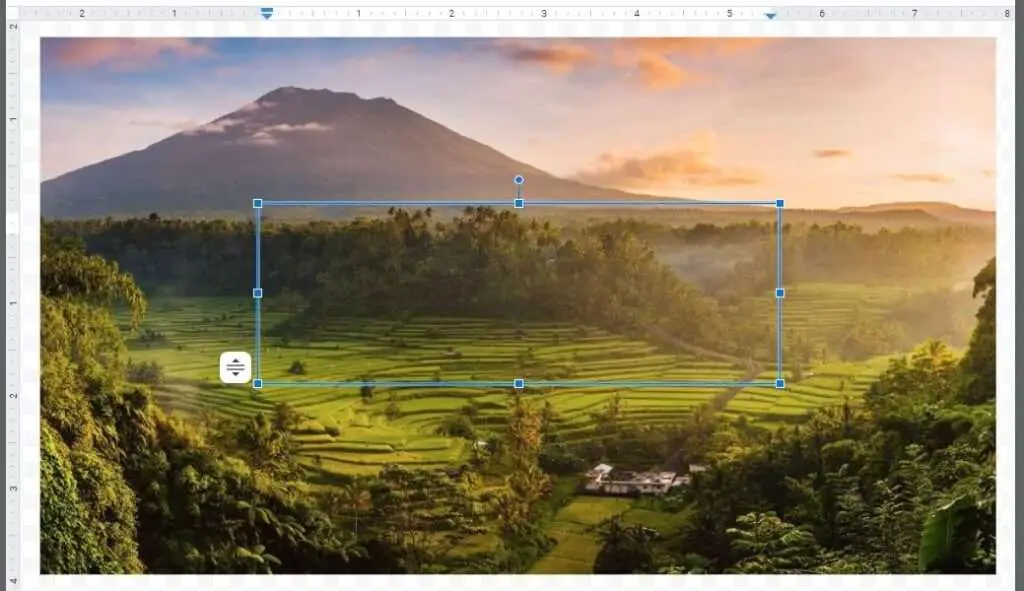

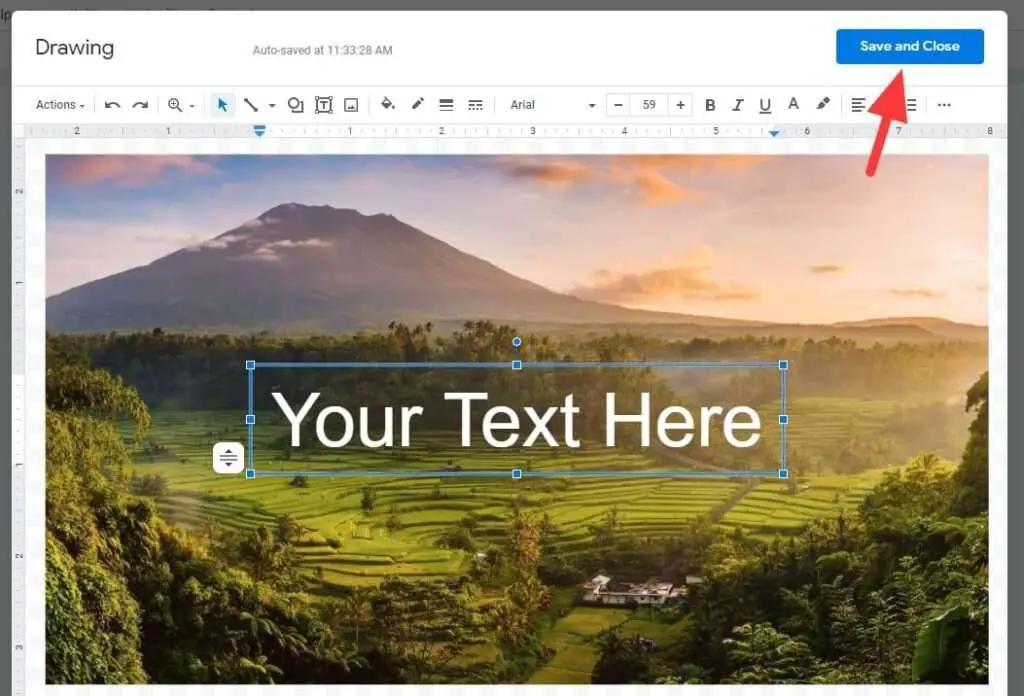
6. Type the text. You may change the size, font type, color, and more. Then hit Save and Close.

7. The image along with the text will be inserted into the document page.
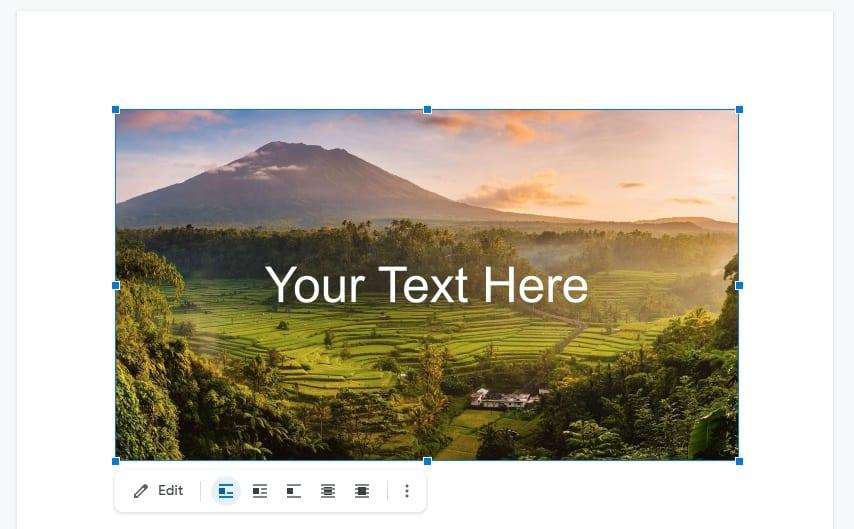

If you want to change the picture or replacing the text, just click the Edit button and it will launch the Drawing window.
#2 Using text wrap
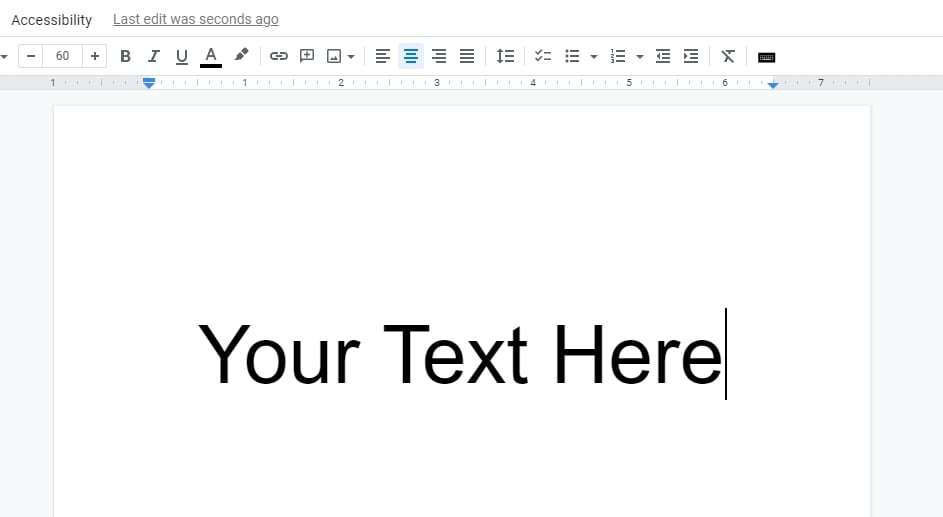
1. Write the text first.

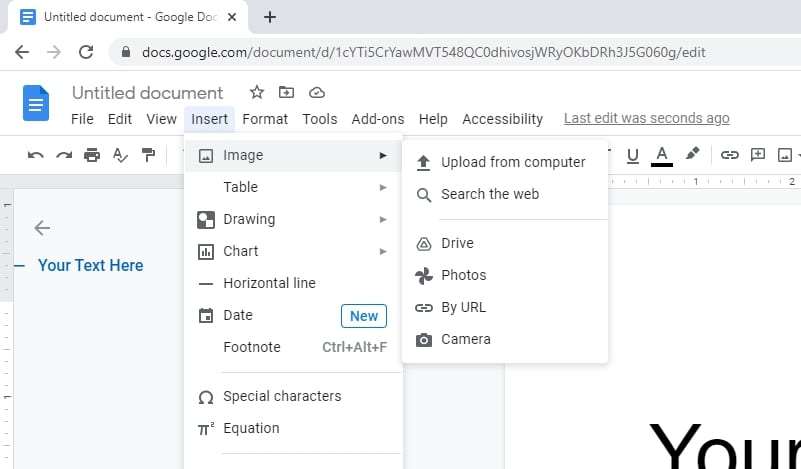
2. Then go to Insert > Image to embed an image into the page.

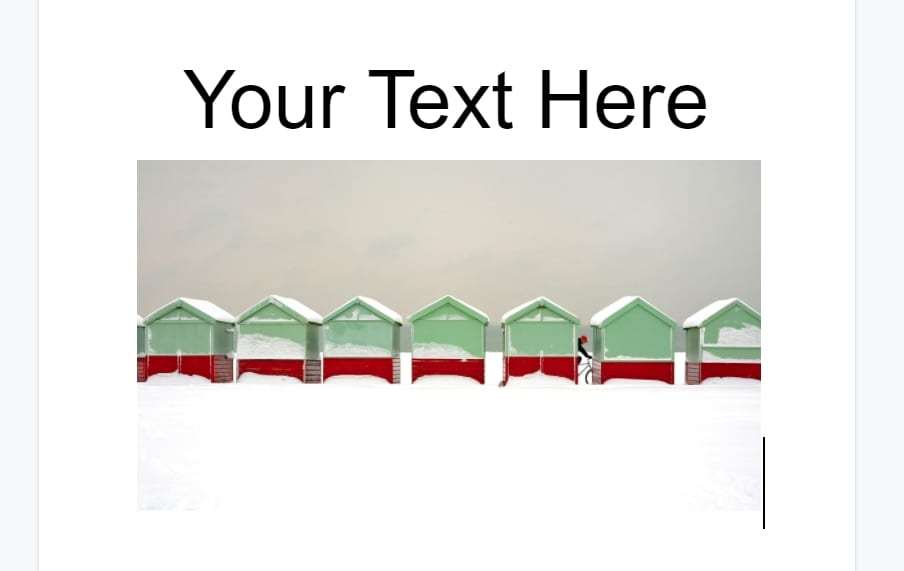
3. The image and the text are in a separate places. We are going to move the picture to the text.

4. Click on the image and select Behind text.
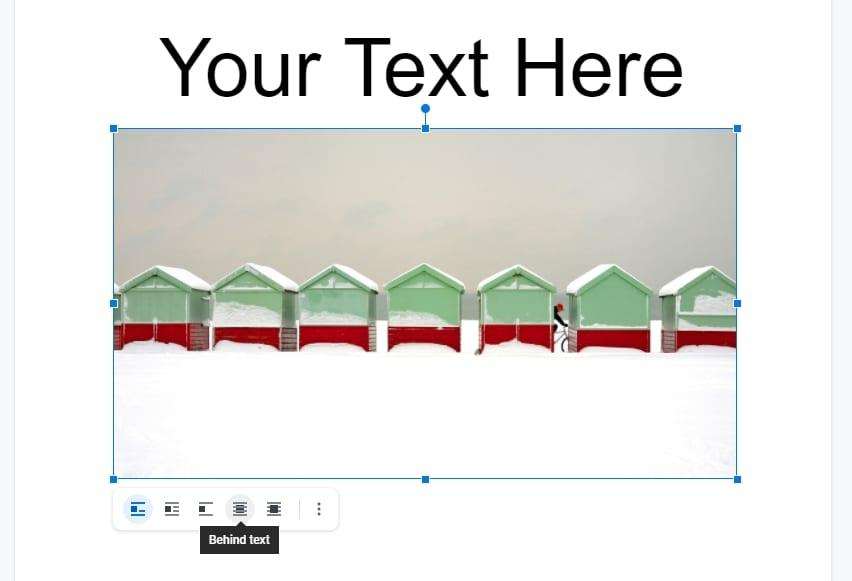

5. Drag the image to the text area. It should appear behind.
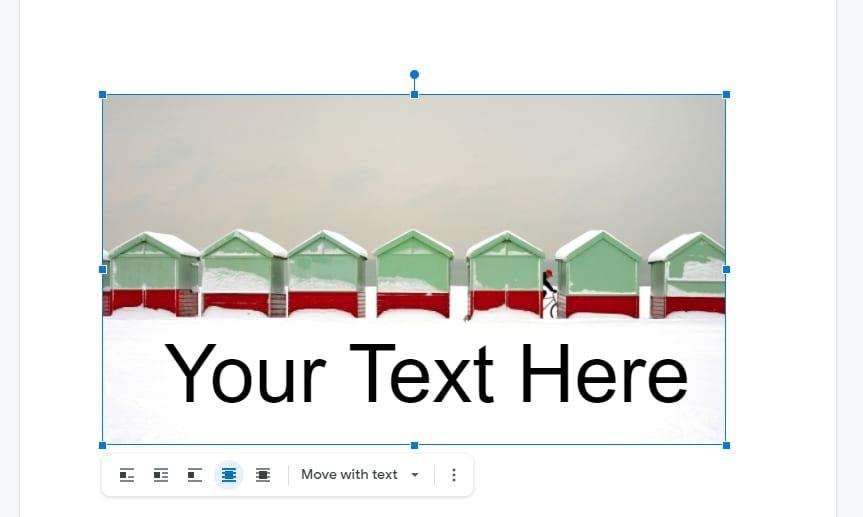

While you can freely edit the text, this method might introduce some compromises on the existing document. New lines have to be created to give enough area for the image to settle in among other content. Be sure to recheck the whole document structure after doing it.
