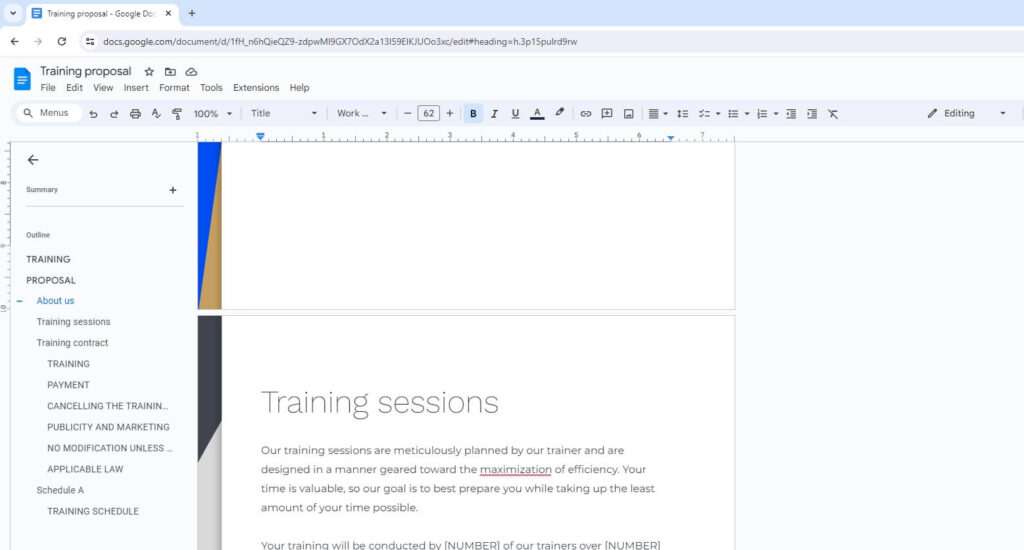
When creating tables in Google Docs, you may want to customize how the content inside each cell is aligned. By default, text and other content are aligned to the top left of table cells. However, Google Docs provides options to change the vertical alignment to top, middle, bottom, or baseline.
Changing the vertical alignment can help make your tables more visually appealing and easier to read. This article will explain the steps to change cell vertical alignment in Google Docs.
Prerequisites
Before getting started, make sure you have:
- A Google account
- Google Docs launched in your web browser or mobile app
- A document open in Google Docs with an existing table
If you don’t already have a table, you can easily add one by going to Insert > Table on the Google Docs toolbar.
Steps to Change Vertical Alignment
Follow these steps to change the vertical alignment in table cells:
1. Select the cells you want to align
- Click inside a cell to select it.
- To select multiple cells, click and drag your mouse across all the cells you want to select.
2. Open the Table Properties box
- On desktop: Right click in one of the selected cells and choose Table Properties.
- In mobile apps: Tap one of the selected cells and choose Table Properties.
3. Go to the Cell tab
In the Table Properties box, click on the Cell tab if it’s not already selected.
4. Change the vertical alignment
Under Cell Vertical Alignment, choose one of the following options:
- Top: Aligns content to the top of the cell
- Middle: Vertically centers the content in the middle of the cell
- Bottom: Aligns content to the bottom of the cell
- Baseline: Aligns text to the baseline grid (default option)
Table properties dialog box
5. Click OK
Review the vertical alignment preview in the dialog box, then click OK to apply the changes.
The content in the cells should now realign according to your selection!
Aligning Text, Images, and Other Objects
The vertical alignment options work to position text, images, charts, and other objects inside table cells:
- Text: Choose top, middle, or bottom alignment to position paragraphs of text higher, centered, or lower in cells.
- Images: Align small images higher, centered, or lower without having to resize them.
- Charts and drawings: Ensure charts or drawings are precisely aligned within cells.
- Merged cells: Apply consistent alignment across merged cells with shared formatting.
Here is an example table with images aligned to the top, middle, and bottom of different cells:
| Top aligned | Middle aligned | Bottom aligned |
| :-: | :-: | :-: |
| Red icon | Yellow icon | Green icon |
Aligning Cell Content to a Baseline Grid
Choosing the Baseline vertical alignment option positions text and embedded objects to align perfectly with a baseline grid shared across all cells and rows.
This creates a uniform look, with text and objects seamlessly lining up:
Table with baseline vertical alignment
The baseline grid is relative to the font size, so resizing text will keep everything aligned.
Baseline alignment is enabled by default in Google Docs tables. Change to top/middle/bottom alignment if you want to override the baseline grid.
Align Groups of Cells
When building complex tables, you may want to mix and match different vertical alignment approaches within the same table:
- Align header rows differently than the main table content. For example, having bottom-aligned headers can help distinguish them visually.
- Emphasize specific columns or rows by aligning them differently than other cells.
To do this:
- Select the cells you want to align differently
- Open the Table Properties box
- Choose the desired vertical alignment
- Click OK to apply
Repeat this process for any other cell groups you want to align independently.
Here’s an example table with the header row bottom-aligned and the “Total” column middle-aligned:
Table with mixed vertical alignment
Feel free to get creative with mixing and matching alignments to suit your design needs!
Aligning New Tables by Default
If you create tables frequently, you may want new tables to use a specific vertical alignment automatically rather than the baseline grid default.
To set this up:
- Insert a new blank table
- Open the Table Properties box
- On the Cell tab, choose your preferred vertical alignment
- Check the box for Apply to all new tables
- Click OK
Going forward, new tables will now use the vertical alignment you selected by default.
You can still change alignment on a table-by-table basis using the steps outlined earlier. The default alignment just saves you time!
Conclusion
With the above steps, you should now feel comfortable changing vertical alignment within Google Docs tables to create more organized, readable tables.
Key takeaways:
- Choose Top, Middle, Bottom or Baseline Grid alignment
- Select cells first before opening Table Properties
- Mix and match alignments between cell groups as needed
- Set defaults through Table Properties to save time
Changing vertical alignments is one of many formatting options to customize Google Docs tables. Be sure to also explore options like adding borders, merging cells and more using the Table Properties box.
Let me know in the comments if you have any other questions!


