Text boxes are useful for emphasizing or highlighting text in Google Docs. You can move text boxes around your document to place them wherever you like. Here is a step-by-step guide on how to move a text box in Google Docs.
Insert A Text Box
To move a text box, you first need to insert one:
- Open your Google Docs document
- Click Insert > Drawing > New in the toolbar
- In the drawing toolbar, click the Text Box icon (it looks like a “T” in a box)
- Click and drag your mouse on the document to draw the text box to your desired size
- Type or paste your text into the box
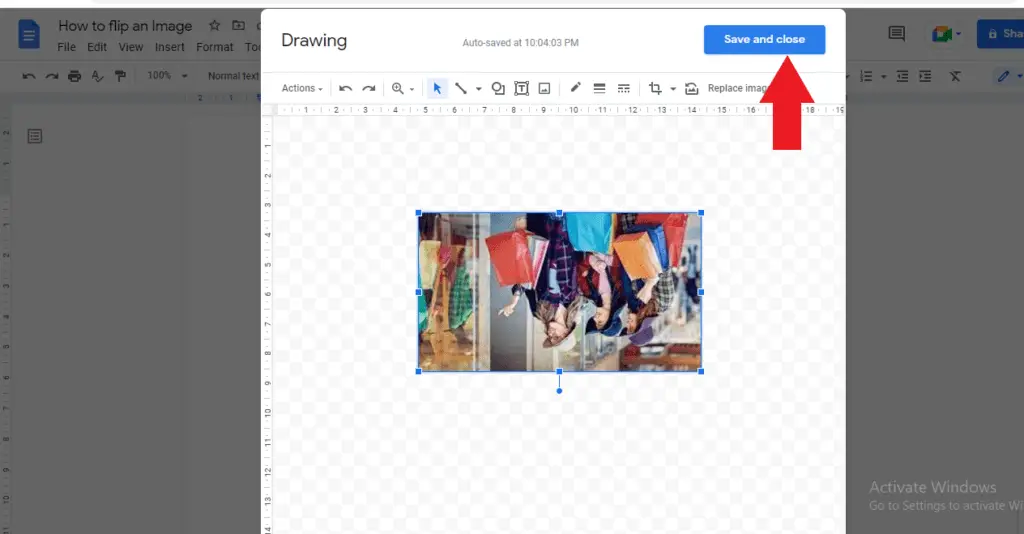
- Click Save and Close when finished
The text box will now be inserted into your document.
Select The Text Box
To move the text box, you first need to select it:
- Hover your mouse over the text box and click to select it
- Control handles will appear around the edges of the text box indicating it is selected
Move The Text Box
With the text box selected, you can now move it:
- Hover your mouse over the text box until the cursor changes to a four-way arrow
- Click and drag the text box to its new location on the document
- Release the mouse button when the text box is repositioned
You can place your text box anywhere on the page, including over or under existing text.
Wrap And Break Text
When moving a text box over text, you have two options for how the text interacts with the box:
- Wrap Text: Text will wrap around the edges of the box
- Break Text: Text will not wrap around the box, but break to below it
To set these options:
- With the text box selected, click the Wrap text or Break text icons below the box
- The icon that is blue is the active setting
Experiment with both to see which option you prefer.
Resize The Text Box
In addition to moving the text box, you may want to resize it:
- Click the text box to select it
- Hover your mouse over any edge or corner until the cursor changes to a two-way arrow
- Click and drag the edge or corner to expand or shrink the text box
Align Multiple Text Boxes
When using multiple text boxes, you’ll want them to be aligned properly:
- Select all the text boxes you want to align
- Click the Align icon below the text boxes
- Choose your desired alignment option:
- Align Left
- Align Center
- Align Right
- The selected boxes will align accordingly
This keeps your text boxes organized.
Change Text Box Stacking Order
If text boxes overlap, you can control which one appears on top:
- Select the text box you want to reorder
- Click the Order icon below the box
- Choose Bring to front or Send to back
- The selected box will move forward or backward in the stacking order
Bring overlapping boxes forward or send them to the back as needed.
Add A Border Or Background Color
To make your text box stand out more:
- Select the text box
- Click the Border color or Fill color icons
- Pick a color from the palette
- The border or background will change to that color
This can help the text box contrast against the document background.
Copy And Paste A Text Box
To reuse a text box you’ve already created:
- Select the existing text box
- Copy it with Ctrl/Cmd + C
- Paste it where desired with Ctrl/Cmd + V
- The exact text box will be duplicated
Now you don’t have to build a text box from scratch every time!
Use The Drawing Tools
For more control, open the drawing tools while the text box is selected:
- Double click the text box
- The drawing toolbar will open
- Make text edits or use the formatting options
- Click Save and Close when finished
The drawing toolbar offers more formatting options than what is available below the text box on the document.
Add Linked Text Boxes
You can link text boxes together:
- Insert multiple text boxes
- Type text into the first box
- Select the overflow icon in the corner of that text box
- Choose Link text boxes
- Select the next text box
- Text will flow from one box to the next
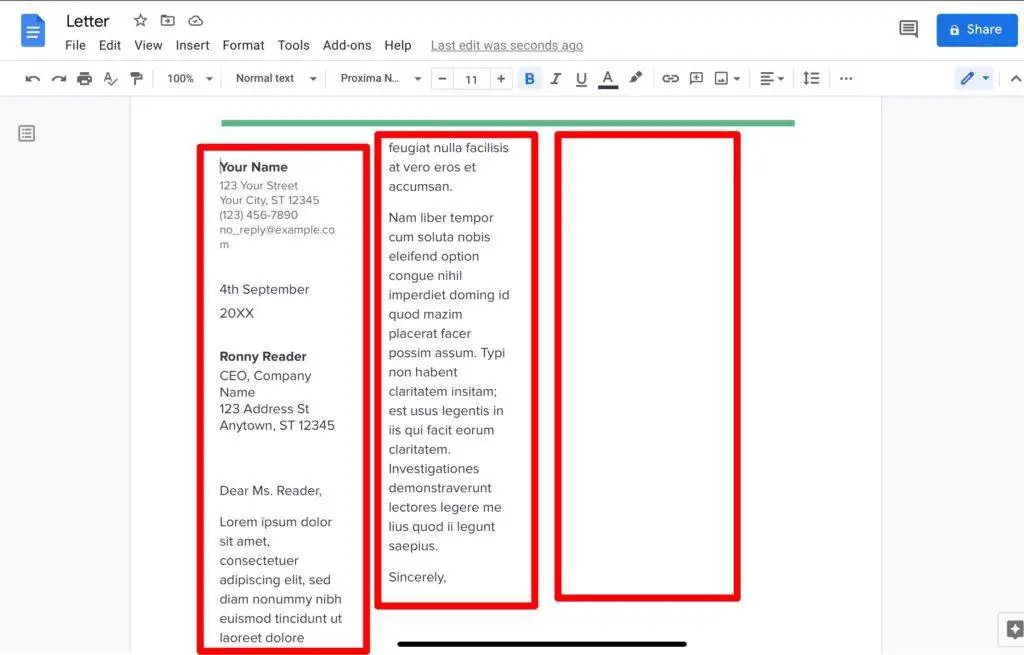
This connects text boxes like columns or text wrapping. The text will reflow as you add or remove content.
Troubleshooting Tips
If you have issues moving your text box, try these tips:
- Make sure the text box is selected before trying to move it
- Check that the text box does not have lock aspect ratio enabled
- Try selecting just the text box and no other objects
- Copy and paste the text box to easily duplicate it elsewhere
- Use the drawing tools to reset the text box properties
With some practice, moving text boxes in Google Docs becomes quick and easy!
Conclusion
Text boxes are a useful way to emphasize important content while organizing your document’s layout. Now that you know how to insert, format, align, resize, and troubleshoot text boxes in Google Docs, you can utilize them effectively in your documents.
Feel free to move text boxes fluidly around the page and even overlap them over text. Keep playing around with the various formatting options covered here. In no time, you’ll have beautiful, professional-looking Google Docs enhanced by strategically-placed text boxes tailored to your content.


