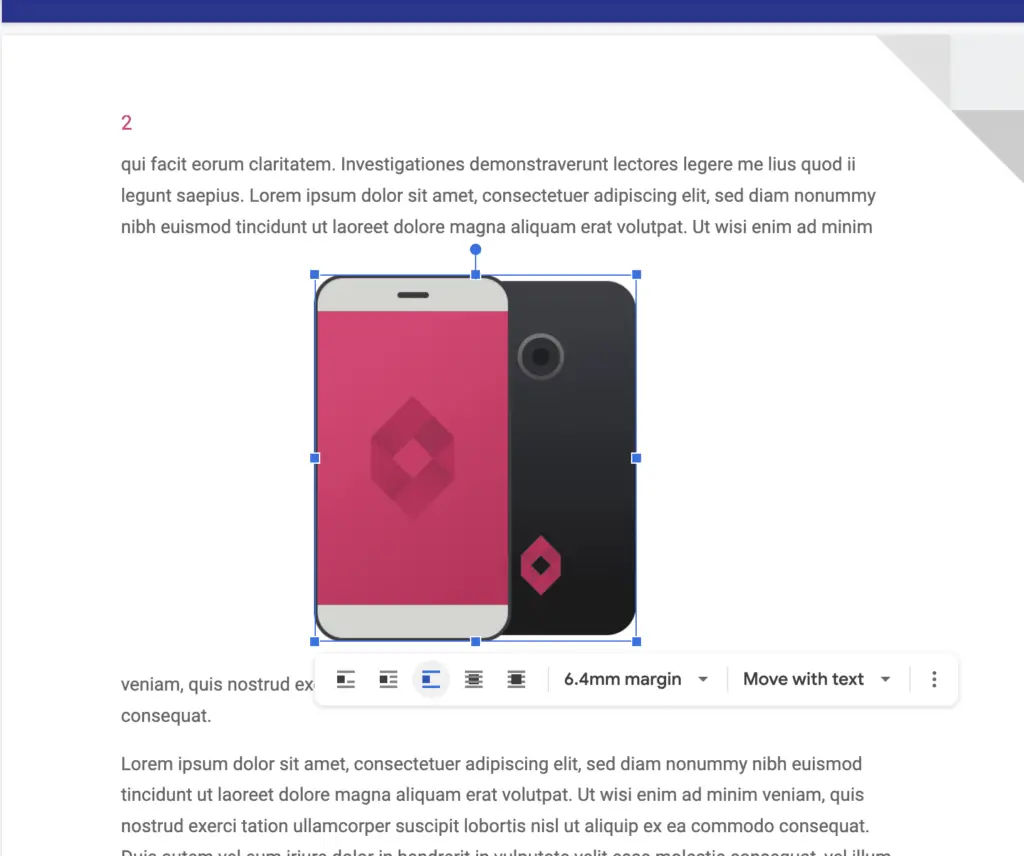
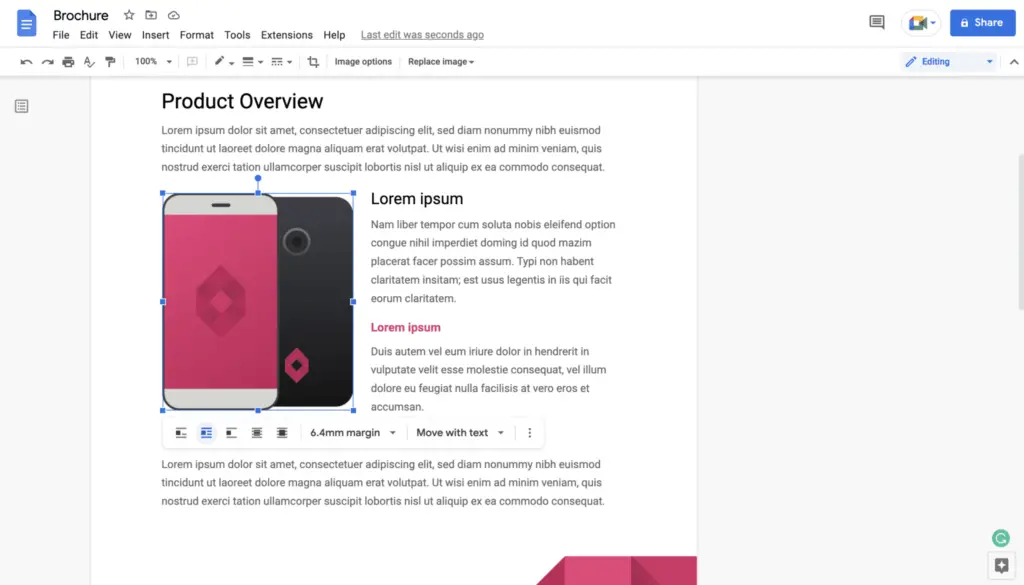
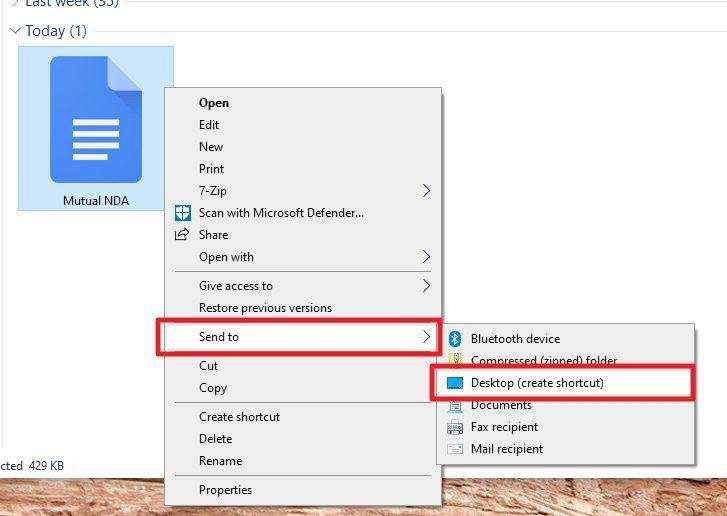
When using Google Docs, you always have the option to relocate an image to a different section of the page. For instance, you might need to relocate a graphic such that it is more closely adjacent to the text that describes it.
The only thing that is truly required of you is to drag and drop an image into place, but there are some parameters that you should be aware of to ensure that the image fits precisely.
What you should do from the Google Docs website is as follows:
Step 1. You can move a picture by selecting it, holding the mouse button, and then dragging it. Keep an eye on where the cursor is located because it will determine where the image lands once you let go of it.
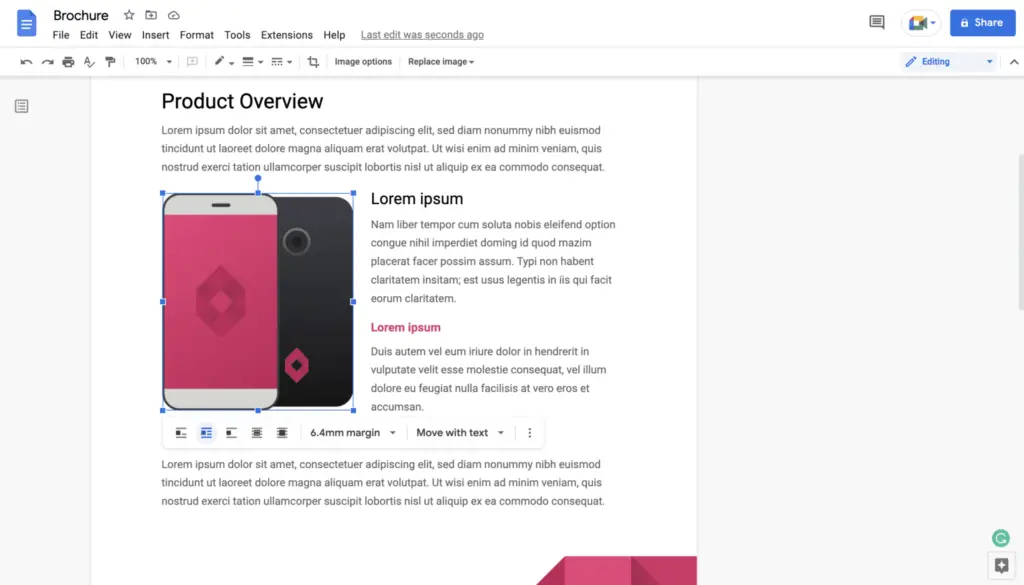
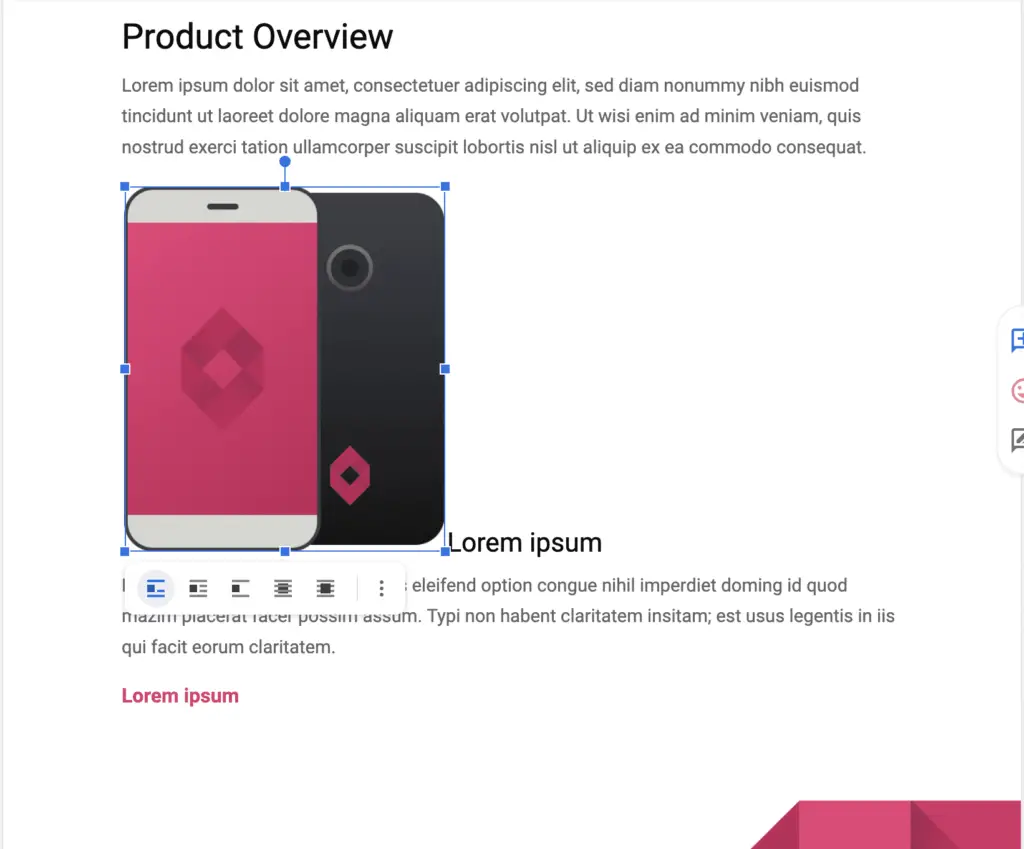
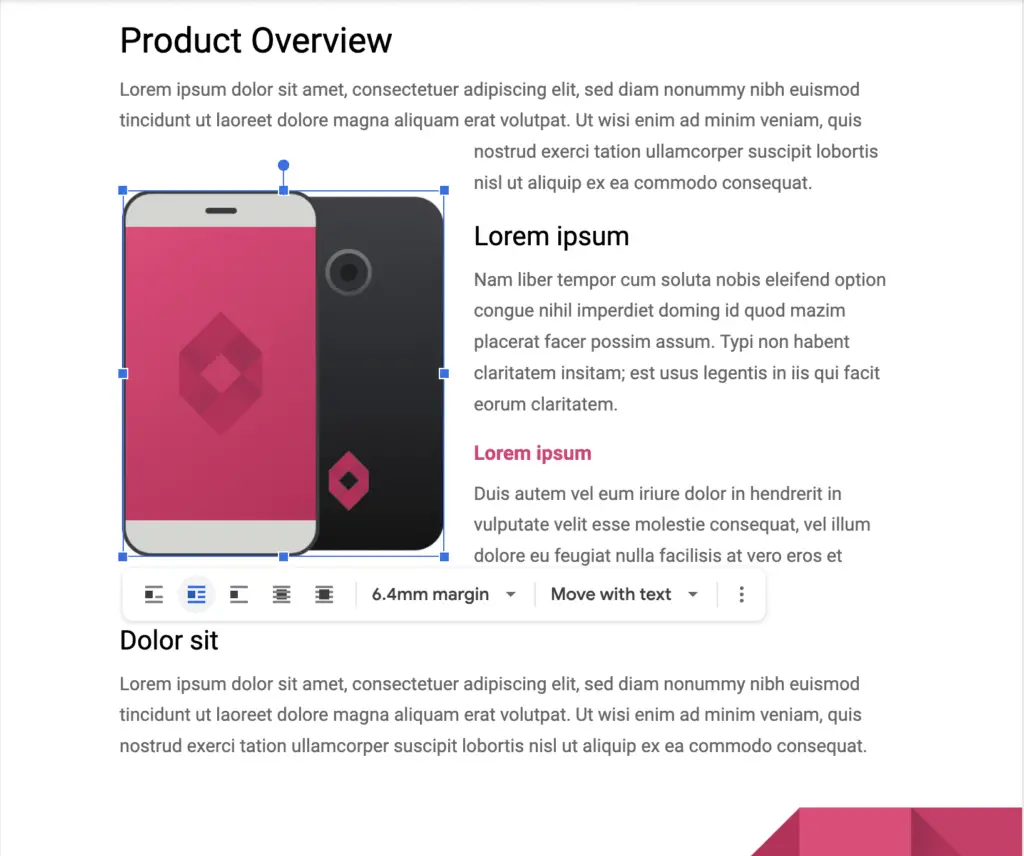
Step 2. Selecting the image will bring up a menu directly below it, which you can use if the image and the text are not aligned the way you want them to be. Pick one of the following alternatives:
- In-Line: This function places the image on the line you provide, making it appear almost exactly like it would if it were text within the sentence.
- Wrap text: It offers many more customization options by enclosing the text entirely within the image. You are free to move it to any location you choose. When you select this option, you will also be able to modify the size of the margin surrounding the photo.
- Break text: It eliminates the possibility of text appearing on the left or right side. By adjusting the margin, you can determine the amount of white space between the image and text.
