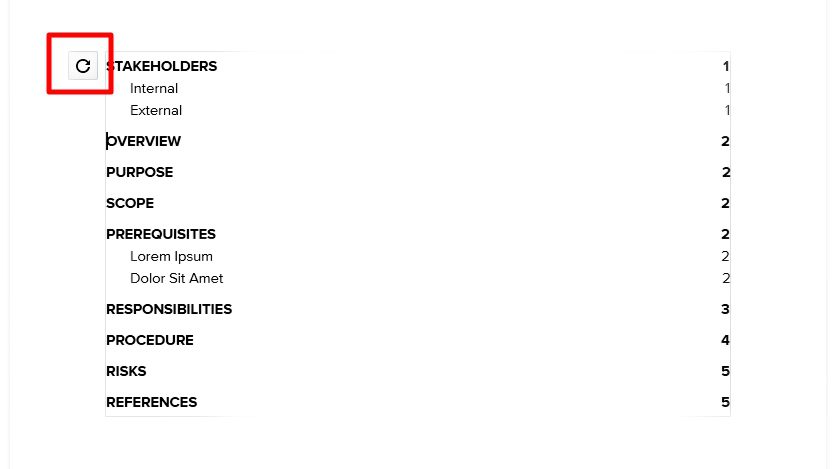
The table of contents has been one of the most prominent elements in Google Docs. In fact, it would be created automatically once you made headings or titles in a document. The table would appear on the left side of the web page.
However, this feature is somewhat exclusive on Google Docs alone. When viewed with Microsoft Word, the table is hidden. They do support headings and titles but the table of contents is not something that will show by default. And this could be a problem if you want to share a Google Docs document with colleagues using other services.
The only way for them to easily see the list of content is by importing it right into the document page. Here, I will show you just how to do it in Google Docs.
1. Launch the Google Docs document.
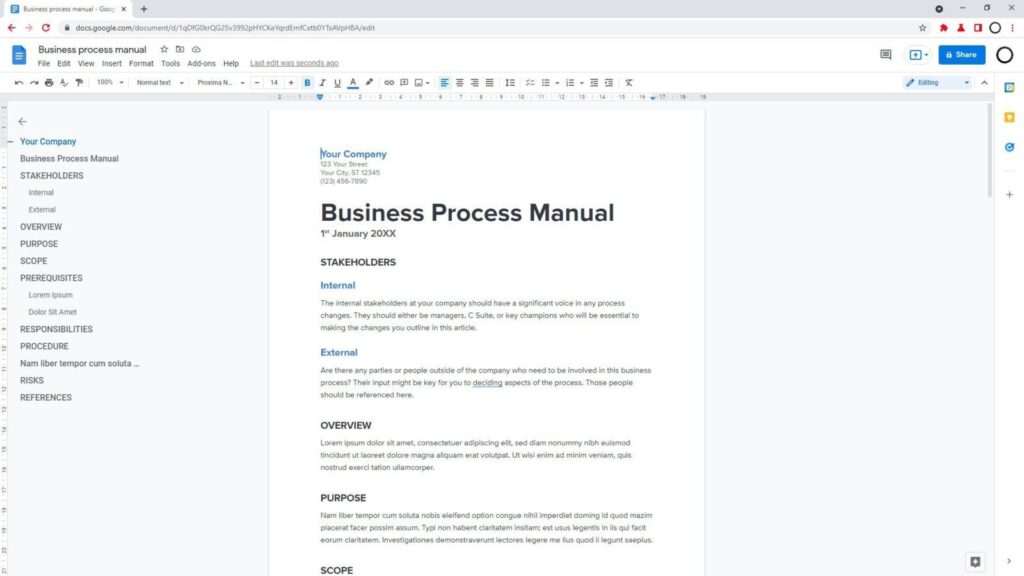

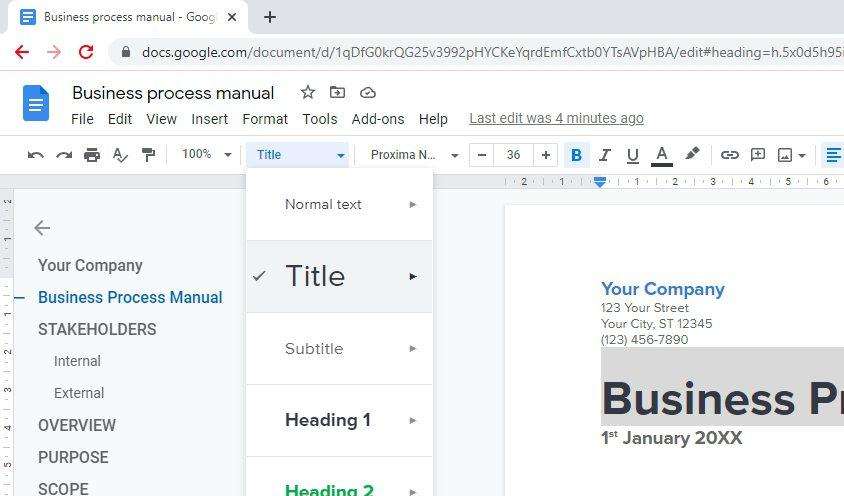
2. Be sure that you have created headings or titles as they will be used as references for the table of contents.

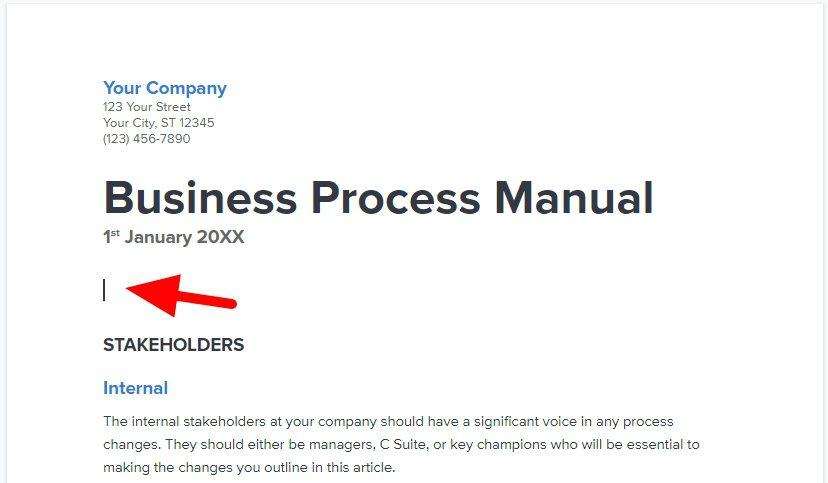
3. Put the cursor where you want to insert a table of contents. As a general rule of thumb, it is usually located at the top section of the document, but feel free to place it anywhere.

4. Next, go to Insert > Table of contents and select the style you want. Google Docs offers plain dark gray and blue (similar to hyperlinks).
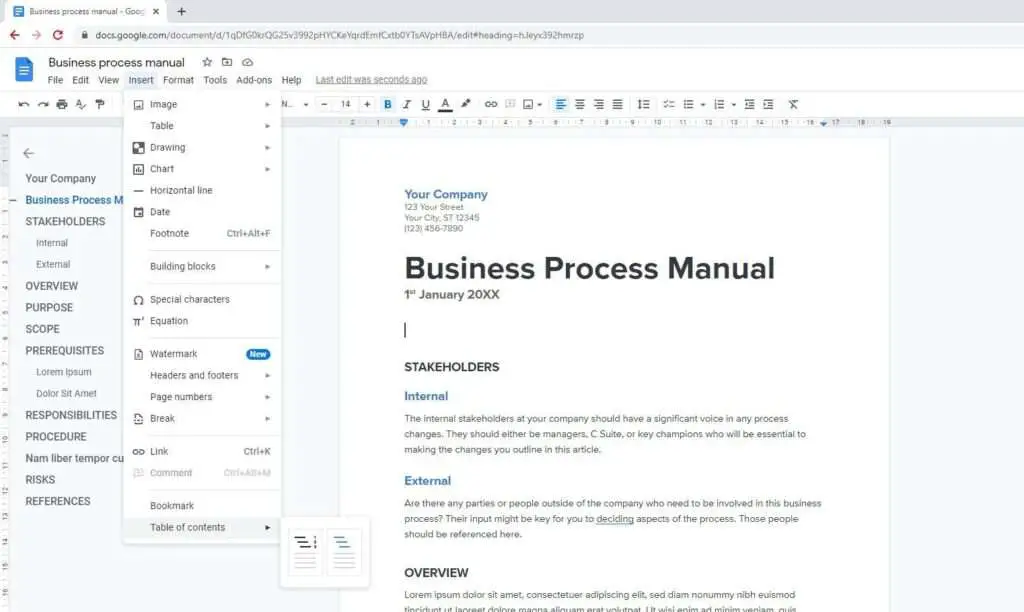

5. And the table of contents has been created.
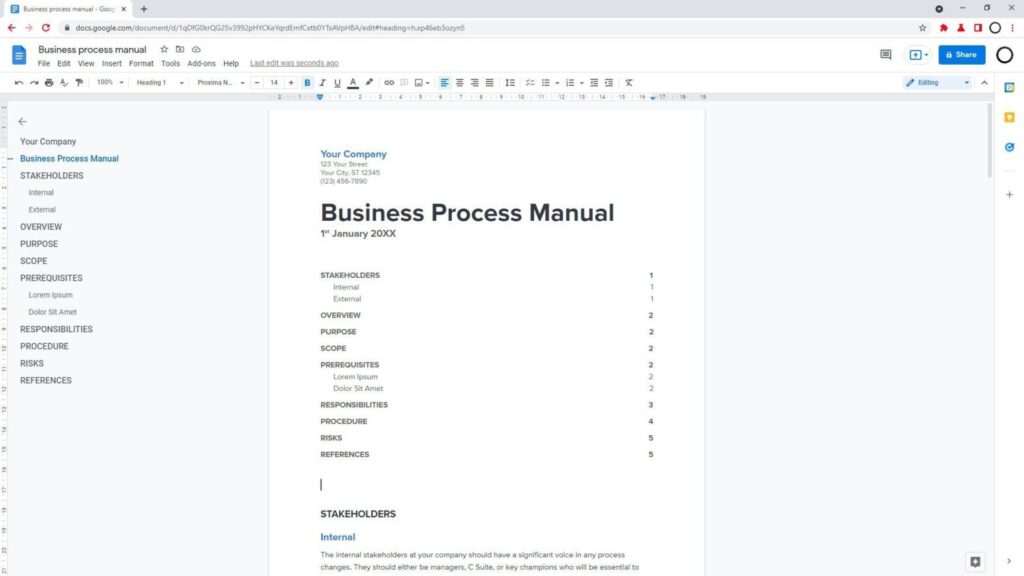

6. After you made some changes that affect the heading and title, always Update table of contents so it will stay relevant.


The table will retain its look and functions across various formats. I have tried it on PDF, DOCX, ODT, and HTML and all of them work flawlessly. I haven’t tried other formats, but pretty sure they would work as well.
