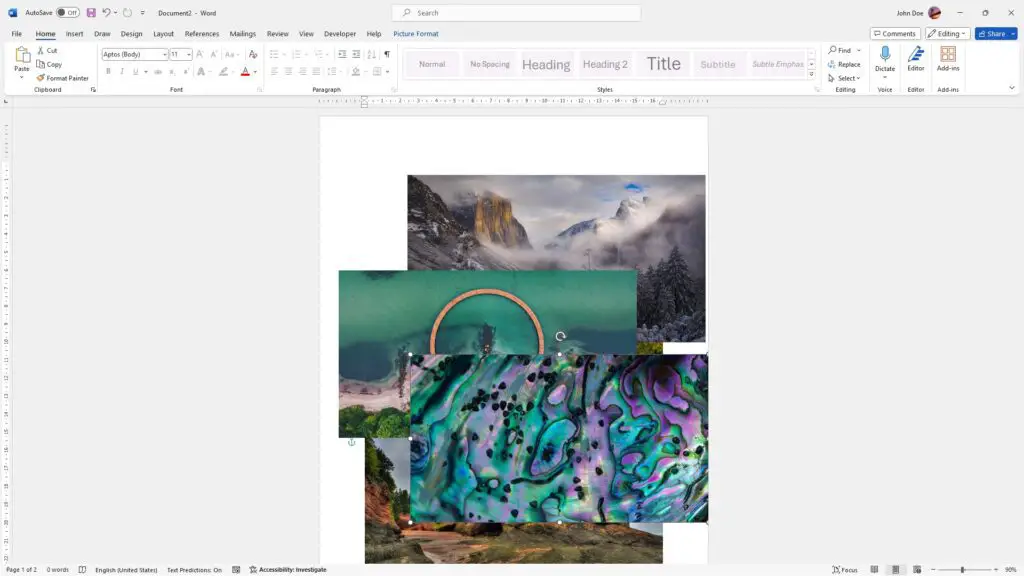
Layering images in Microsoft Word allows you to create visually appealing designs by stacking multiple images on top of each other. This opens up creative possibilities to make posters, flyers, invitations, and more.
Follow this step-by-step guide to learn how to layer images in Word.
Insert Images into the Document
First, insert the images you want to layer into the Word document.
To do this:
- Place your cursor where you want the images.
- Go to the Insert tab.
- Click on Pictures.
- Select the images you want to insert from your computer or other sources.
Multiple images will now be present in the document.
Choose Image Position
Next, decide on the positioning of the images.
There are a few ways to position images:
- Click and drag to freely move images.
- Use the Layout Options icon next to images to align or distribute them.
- Go to Format > Position to precisely set position values.
Position the images roughly where you want them layered.
Set Text Wrapping
Then, set the text wrapping to Square so images can overlay each other.
To set text wrapping:
- Right-click the image.
- Click on Wrap Text.
- Choose Square.
Do this for all images you want to layer.
Layer Images
Now layer the images by dragging and dropping them on top of each other.
To layer images:
- Click and hold one image.
- Drag it on top of another image.
- Release to drop the image.
The image you dragged will now overlay the image underneath it.
Additionally, use these options to adjust layering:
- Bring Forward – Brings image one layer up
- Send Backward – Sends image one layer down
- Bring to Front – Puts image on topmost layer
- Send to Back – Puts image on bottom layer
Adjust Layer Appearance
Optionally, make adjustments to fine-tune the layered images:
- Reorder Layers – Change the front-to-back order of layers
- Resize Images – Make images bigger/smaller as needed
- Crop Images – Cut out only the parts you want visible
- Opacity – Fade images to reveal underlying layers
Keep adjusting until you achieve your desired creative effect with layered images.
Additional Formatting
Finally, apply any other formatting to complete your image layer design:
- Styles – Add borders, shadows, reflection effects
- Color – Change hue, saturation, brightness
- Artistic effects – Apply paint, chalk, or other presets
Complete Image Layering
And that’s it! Use these steps to overlay images for cool designs in Word. Experiment with layering to unleash your creativity.
Here are some key tips to remember:
- Wrap images as Square to overlay them
- Drag images to stack them in layers
- Adjust transparency to create a collage effect
- Apply styles for extra dimension and flair
With a bit of practice, you’ll be able to make stunning image compositions in Word effortlessly. Have fun layering!


