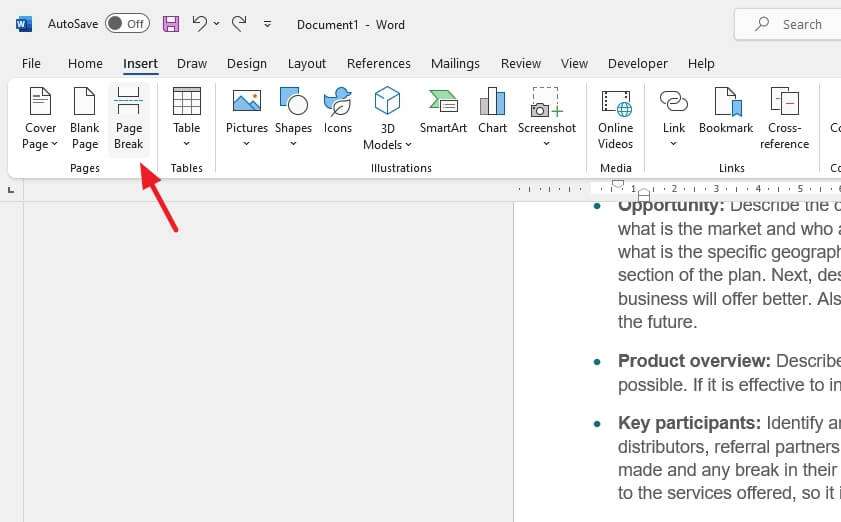
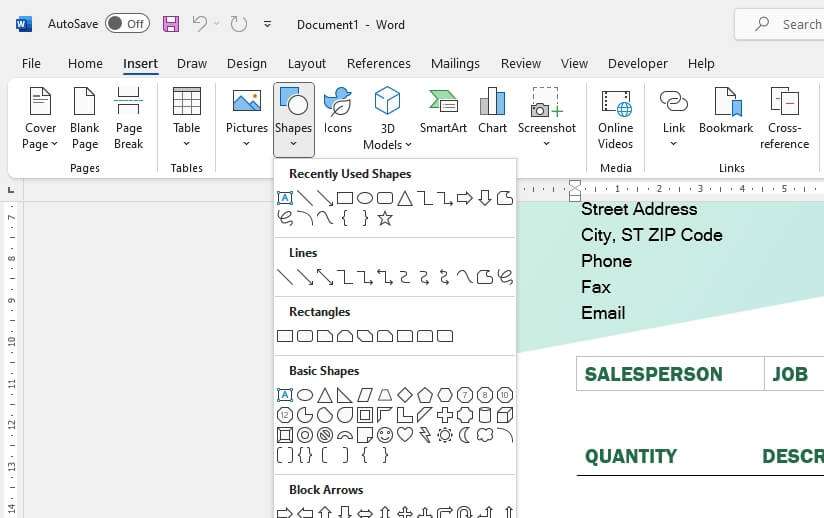
Page breaks are used in Microsoft Word documents to control where one page ends and the next one starts. While Word inserts automatic page breaks for you, you can also insert manual page breaks. However, sometimes these manual page breaks cause issues in your document. This article will teach you how to find and remove unwanted page breaks in Word.
Display Page Breaks
The first step to getting rid of problematic page breaks is to make them visible.
- Go to the Home tab
- Click the Show/Hide button in the Paragraph section. This displays formatting marks such as page breaks.
Page breaks will now appear as dotted lines spanning the width of the page.
Delete a Single Page Break
To remove an individual page break:
- Double-click directly on the page break to select it.
- Press the Delete key.
The page break is now removed.
Remove All Page Breaks
To delete all manual page breaks at once:
- Go to the Home tab and click the Find button.
- Click the Replace button to open the Find and Replace pane.
- Click the More button.
- Select Special from the dropdown menu.
- Select Manual Page Break from the next dropdown menu. This enters ^m in the Find field.
- In the Replace field, enter a space.
- Click Replace All.
This will remove every manual page break in the document while replacing it with a space. You can then delete the spaces if desired.
Adjust Automatic Page Breaks
While the above steps remove manual page breaks you insert, automatic page breaks added by Word remain. However, you can adjust where Word places automatic breaks.
Select the paragraph after an unwanted automatic page break. Open the Paragraph dialog box and on the Line and Page Breaks tab:
- Uncheck Keep lines together to allow a page break in the middle of a paragraph.
- Uncheck Keep with next to allow a break between specific paragraphs.
- Uncheck Page break before to remove an automatic break before a paragraph.
Change Pagination Settings
Adjusting pagination settings can also help control where page breaks occur:
- Go to Layout > Breaks > Section Breaks > Next Page.
- Select the section after the break and click Page Setup on the Layout tab.
- On the Layout tab, change the Section start dropdown to New page. Click OK.
This will force Word to start the next section on a new page.
Avoid Future Problems
To avoid page break issues when writing new documents:
- Use styles and section breaks rather than manual page breaks to control formatting and layout.
- Don’t use columns and text boxes unless necessary.
- Limit use of text wrap and floating objects like images.
Following these best practices will help page breaks flow naturally based on your document’s content and structure.
I hope this tutorial gives you the tools to efficiently find and eliminate unwanted page breaks in Word. Properly controlling page breaks makes your documents look more professional, readable, and consistent. Let me know if you have any other questions!


