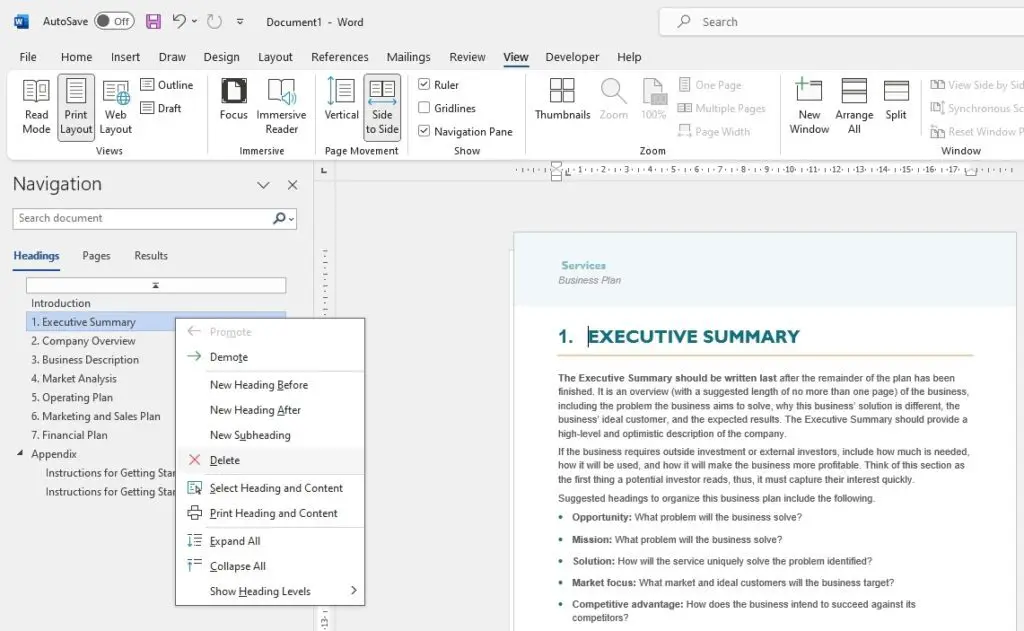
Lists are an essential tool for organizing information and structuring documents in Microsoft Word. Whether you need a simple bulleted list, multi-level numbered list, or outline, Word provides extensive formatting options to meet your needs.
In this article, we will walk through the steps for creating, customizing, and managing different types of lists in Word. By following these best practices, you can boost the readability, scannability, and SEO value of your Word documents.
Create a Basic Bulleted or Numbered List
Creating a basic list in Word is simple:
- Place your cursor where you want the list to start.
- Go to the Home tab.
- Click the Bullets or Numbering button in the Paragraph group.
Word will instantly format a bulleted or numbered list as you type each item and press Enter.
You can also turn existing paragraphs into a list by selecting the text first before clicking the Bullets or Numbering button.
Pro Tip: To end the list, press Enter twice after the final item.
Customize List Formatting
Don’t settle for Word’s default list formatting. With a few clicks, you can customize the appearance of bullets, numbers, and multilevel lists.
Change Bullet Style or Number Format
To modify the bullet symbol or number scheme:
- Select the list.
- Click the arrow next to Bullets or Numbering to open the menu.
- Select a different bullet or number format.
You can choose from bullets, numbers, letters, or other sequence types.
Define Custom Bullets or Numbering
For more advanced formatting, click “Define New Bullet” or “Define New Number Format” from the menu. This lets you:
- Change bullet symbol (e.g. arrowheads)
- Change number style (e.g. roman numerals)
- Set starting number value
- Change font, size, color
- And more!
Format Multilevel Lists
Turn any bulleted or numbered list into an outline with multiple levels. Click the Multilevel List button and select a format.
Use Tab and Shift + Tab or the Increase/Decrease Indent buttons to move items to higher and lower levels.
Pro Tip: Click “Define New Multilevel List” to customize spacing, numbering, fonts, and alignment for each level.
Continue Numbering Between Lists
When you have multiple numbered lists, having the numbering sequence restart in each list can be confusing for readers.
To continue numbering from one list to the next:
- Select the first item of the second list.
- Right click and select “Continue Numbering”.
This will pick up where the last list left off.
Fix Broken Numbering
If items in your numbered list become misaligned or the numbering restarts incorrectly:
- Select the list.
- Go to the Numbering menu.
- Choose “Restart numbering” and set it to 1 to fix the sequence.
This simple trick will renumber the entire list properly.
Pro Tip: Avoid manually typing numbers. Always use Word’s numbering tool so the sequence updates automatically when items are moved or deleted.
Use Multilevel Lists for Headings
Structured content helps boost your page’s SEO rankings. Use multilevel lists to format headings and subheadings rather than manually typing sizes.
- Create a new multilevel list style with Heading 2 for level 1, Heading 3 for level 2, etc.
- Type each heading title and use Tab or the Increase/Decrease Indent buttons to designate levels.
This produces semantic structure without tedious manual formatting.
Conclusion
With this guide, you are now equipped to create professional, polished lists that engage readers and structure Word documents properly.
Consistent use of customized bullets, numbering, indentation, and styles establishes hierarchy and flows logically. Lists make scannability effortless.
So ditch the default settings and implement these formatting best practices to communicate information effectively with lists.
Let us know in the comments if you have any other tips for managing lists in Word!


