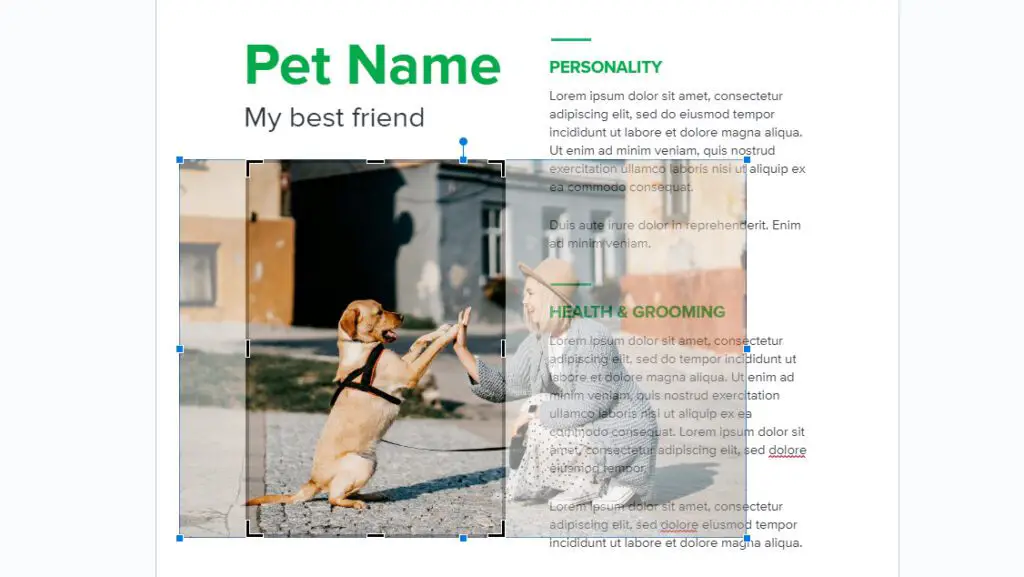
If you’re working on a document in Google Docs and need to crop an image, you’re in luck. Google Docs has a built-in image editor that allows you to crop, mask, and add borders to images you’ve added to your document. Cropping an image in Google Docs is a simple process that can be done in just a few steps.
Cropping is different than resizing. Cropping is essentially removing one part of the image while resizing won’t, but at the expense of the content of the image looking rather odd (because of the squeezing). Hence, cropping is the most elegant way to organize your document.
In this blog post, I’ll walk you through the steps to crop a picture in Google Docs so you can get the most out of your documents.
Table of Contents
How to crop an image in Google Docs
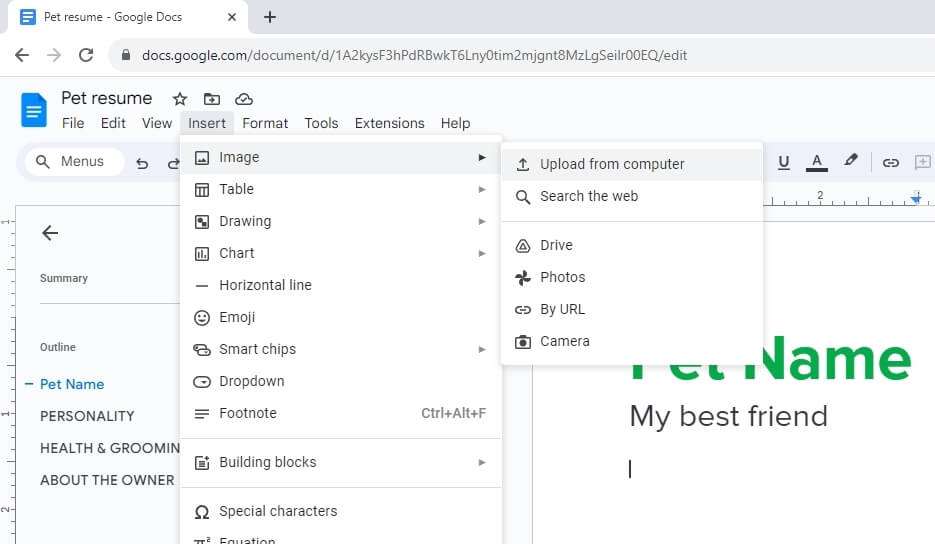
1. First, insert the image into your Google Docs document. To do that, go to Insert > Image and then select the image location.
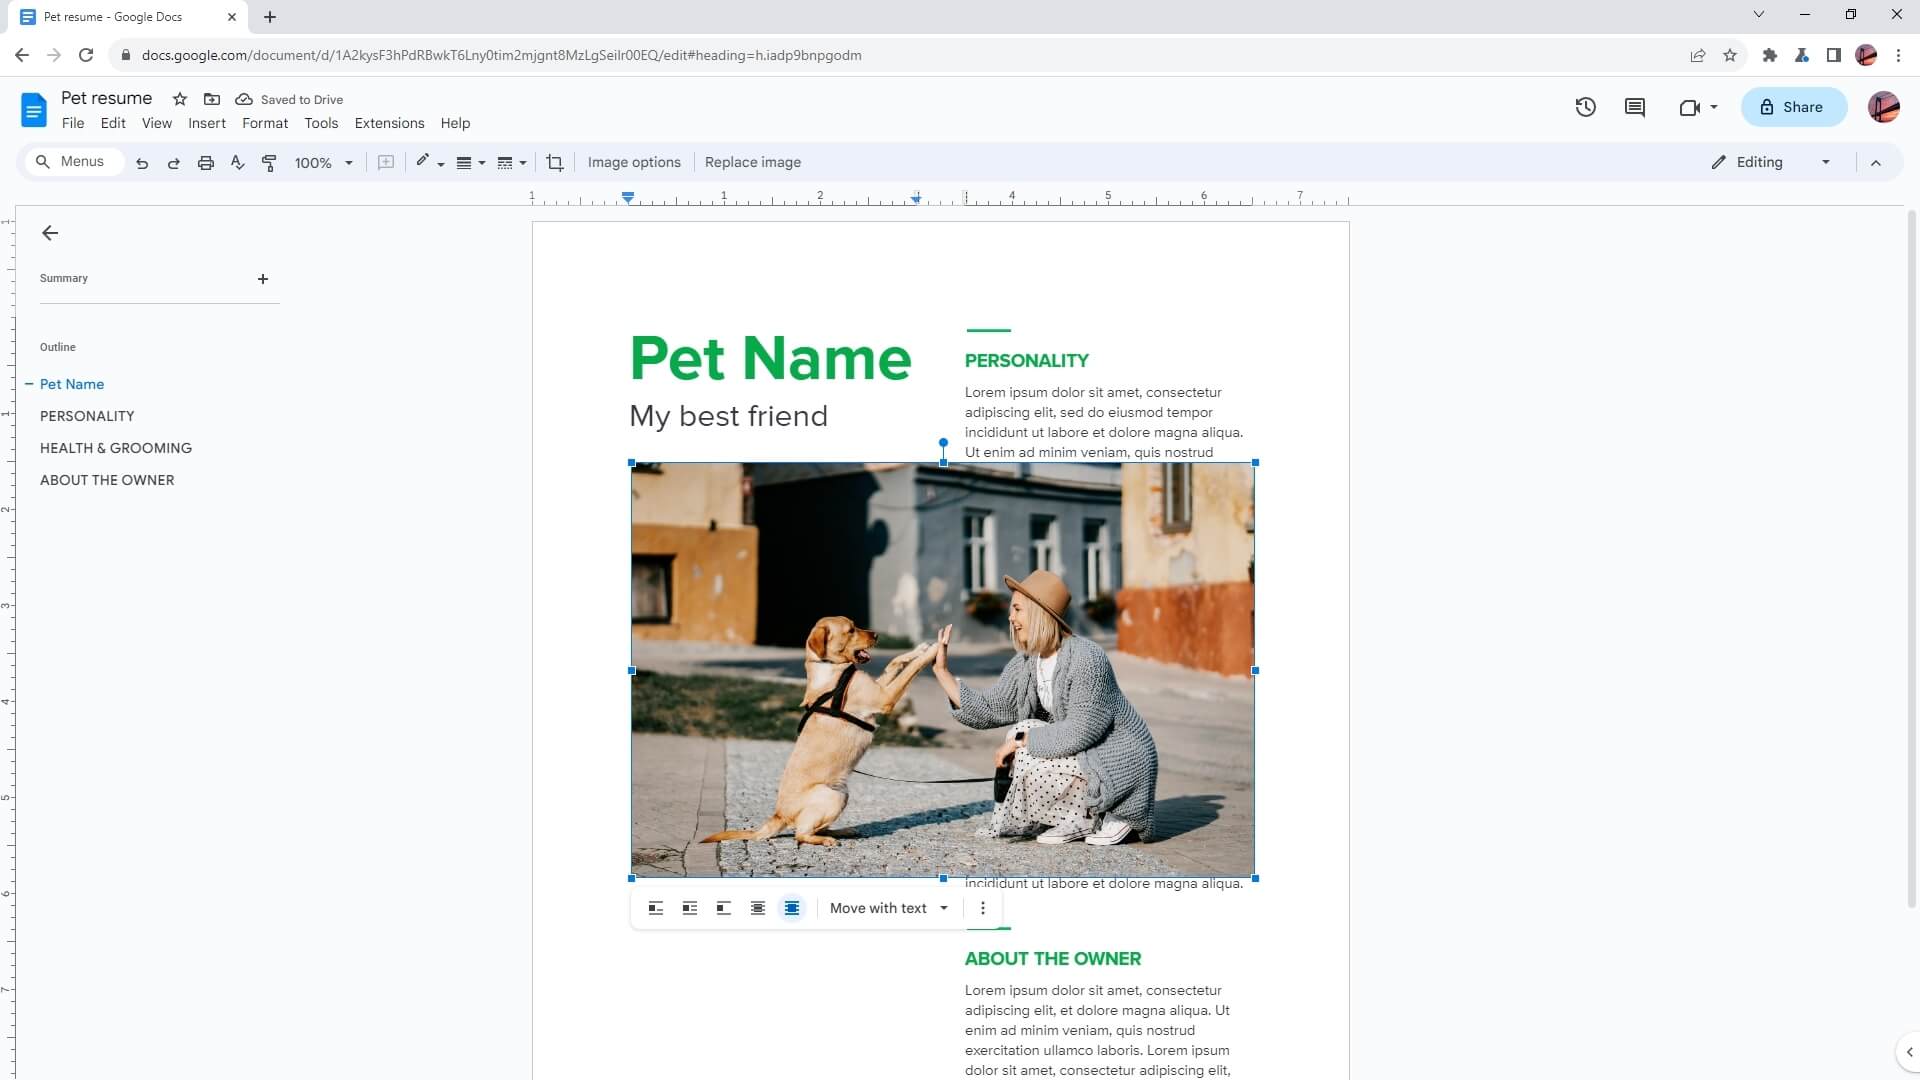
2. Place the image in the area you desire. In this example, I have a full picture, and I want to crop the part that is blocking the text.
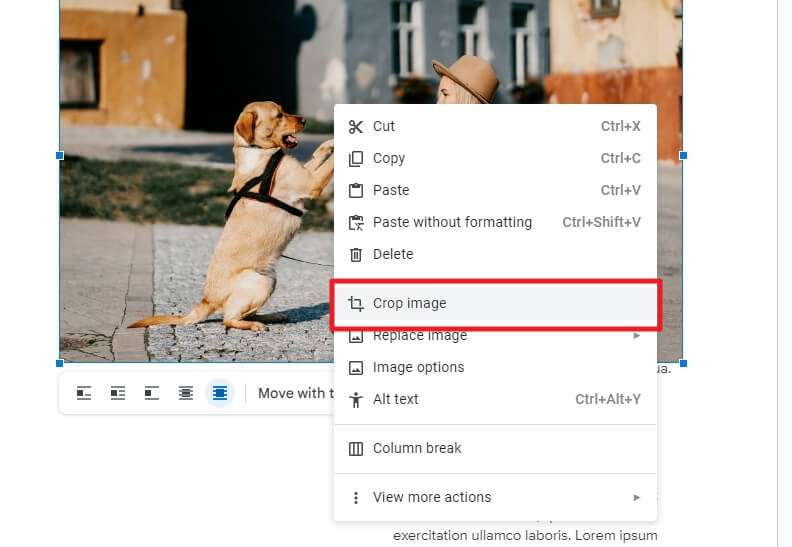
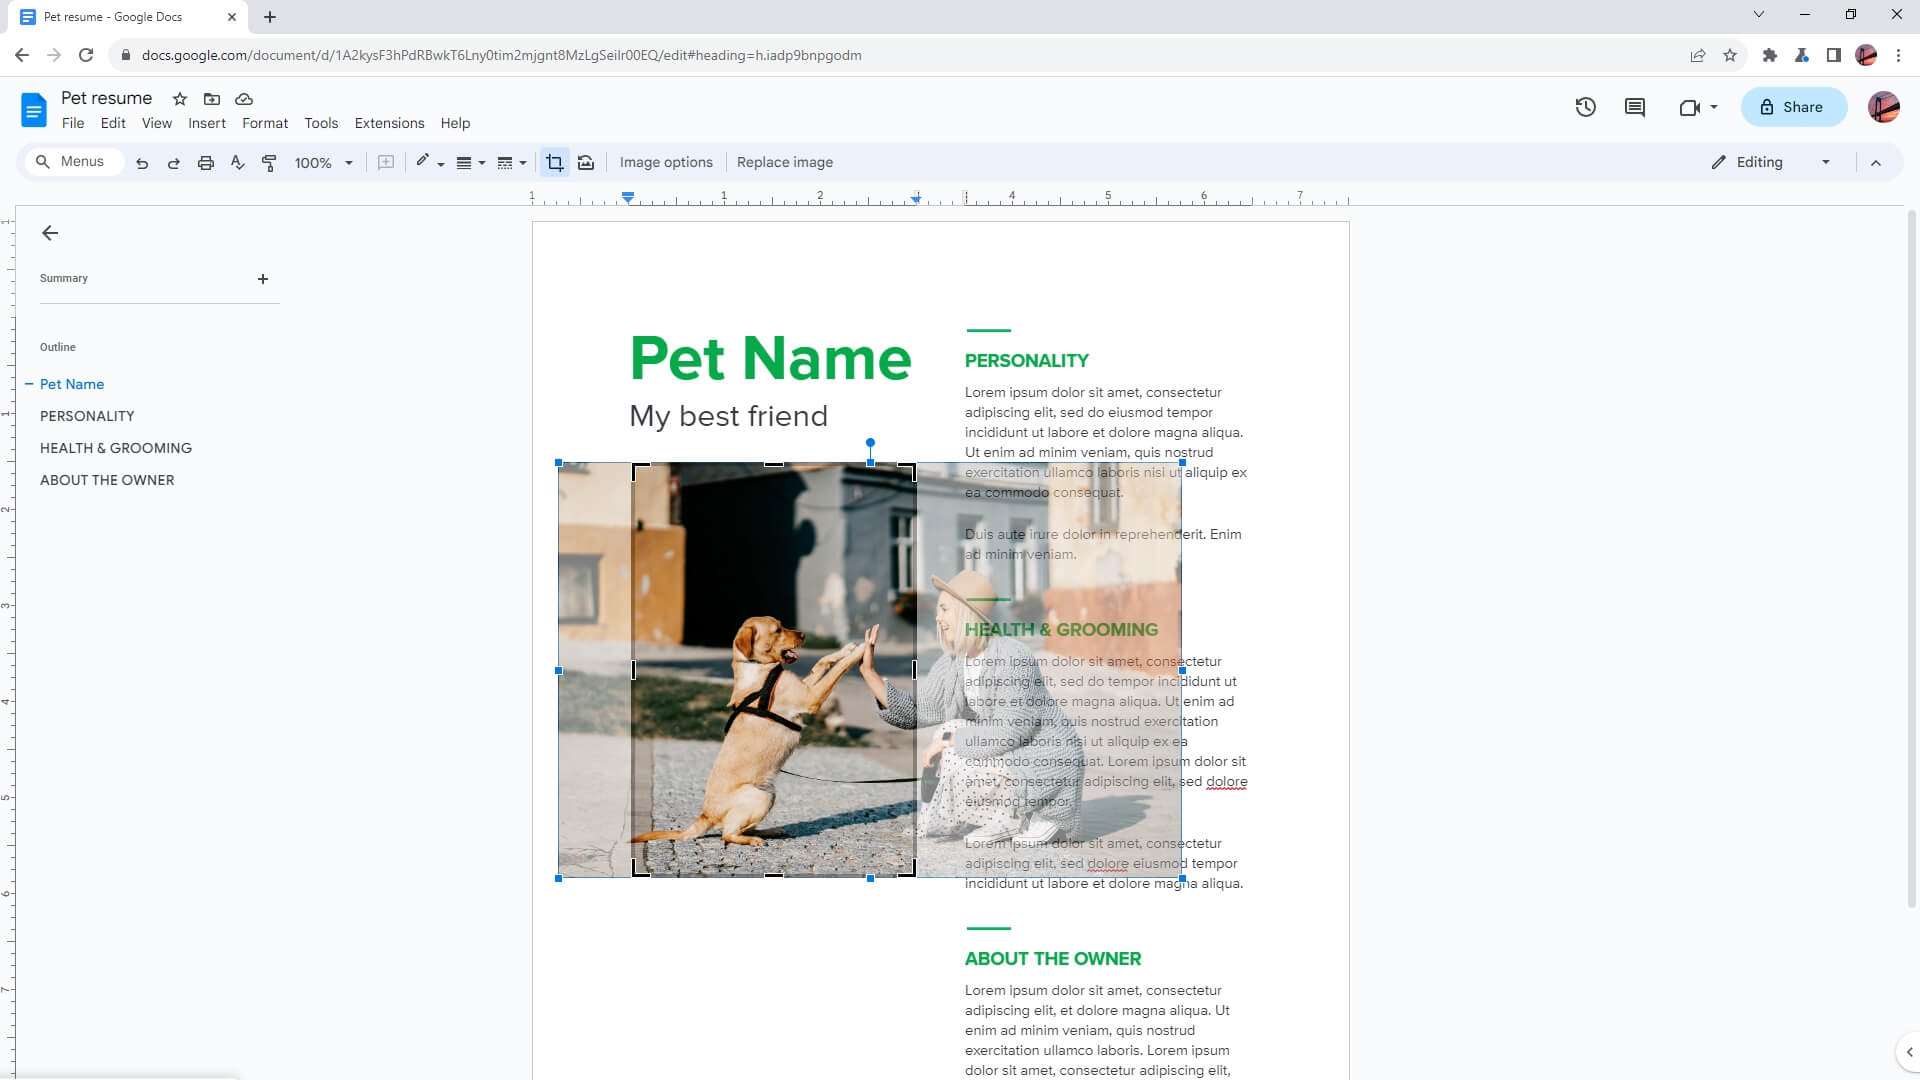
3. Right-click on the image and select Crop image.
4. Click and drag the black bars around the edge to crop the image. The area that is translucent will be hidden (cropped).
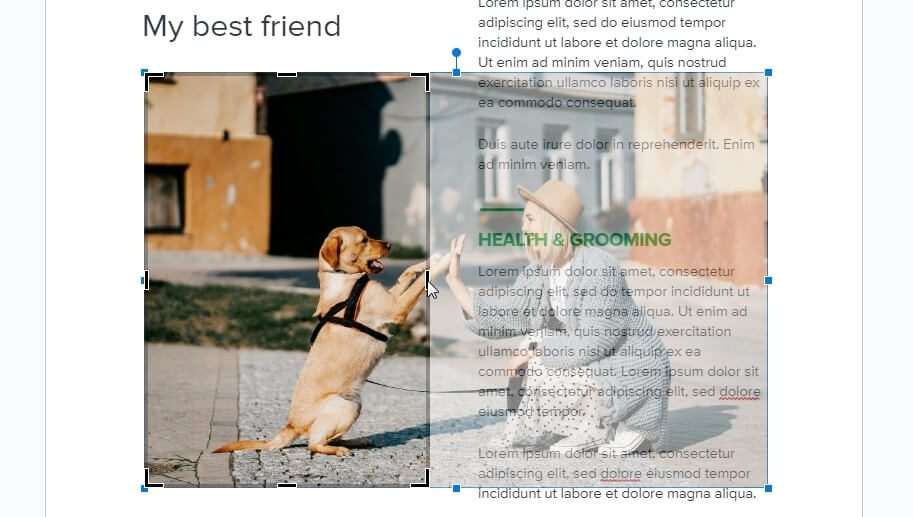
5. You can also drag the image to specify the area you want to show. In this example, I want to put the dog in the center.
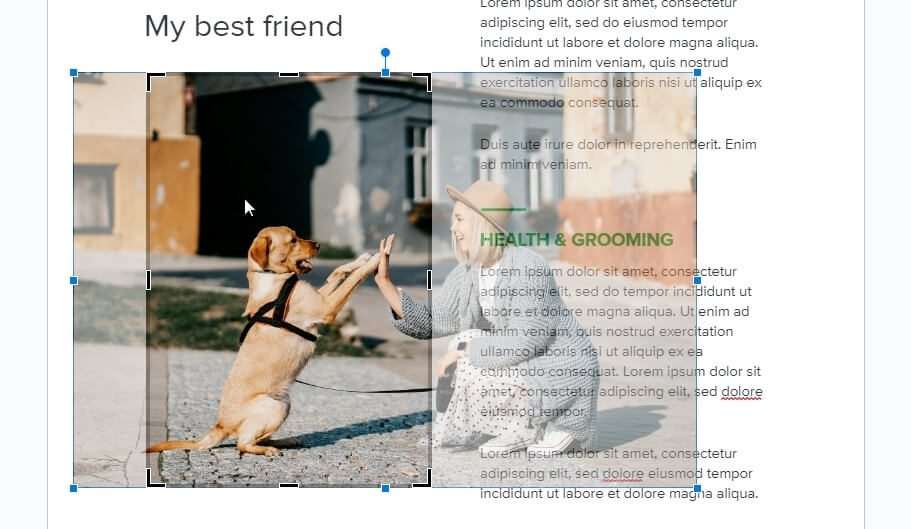
6. The image has been cropped.
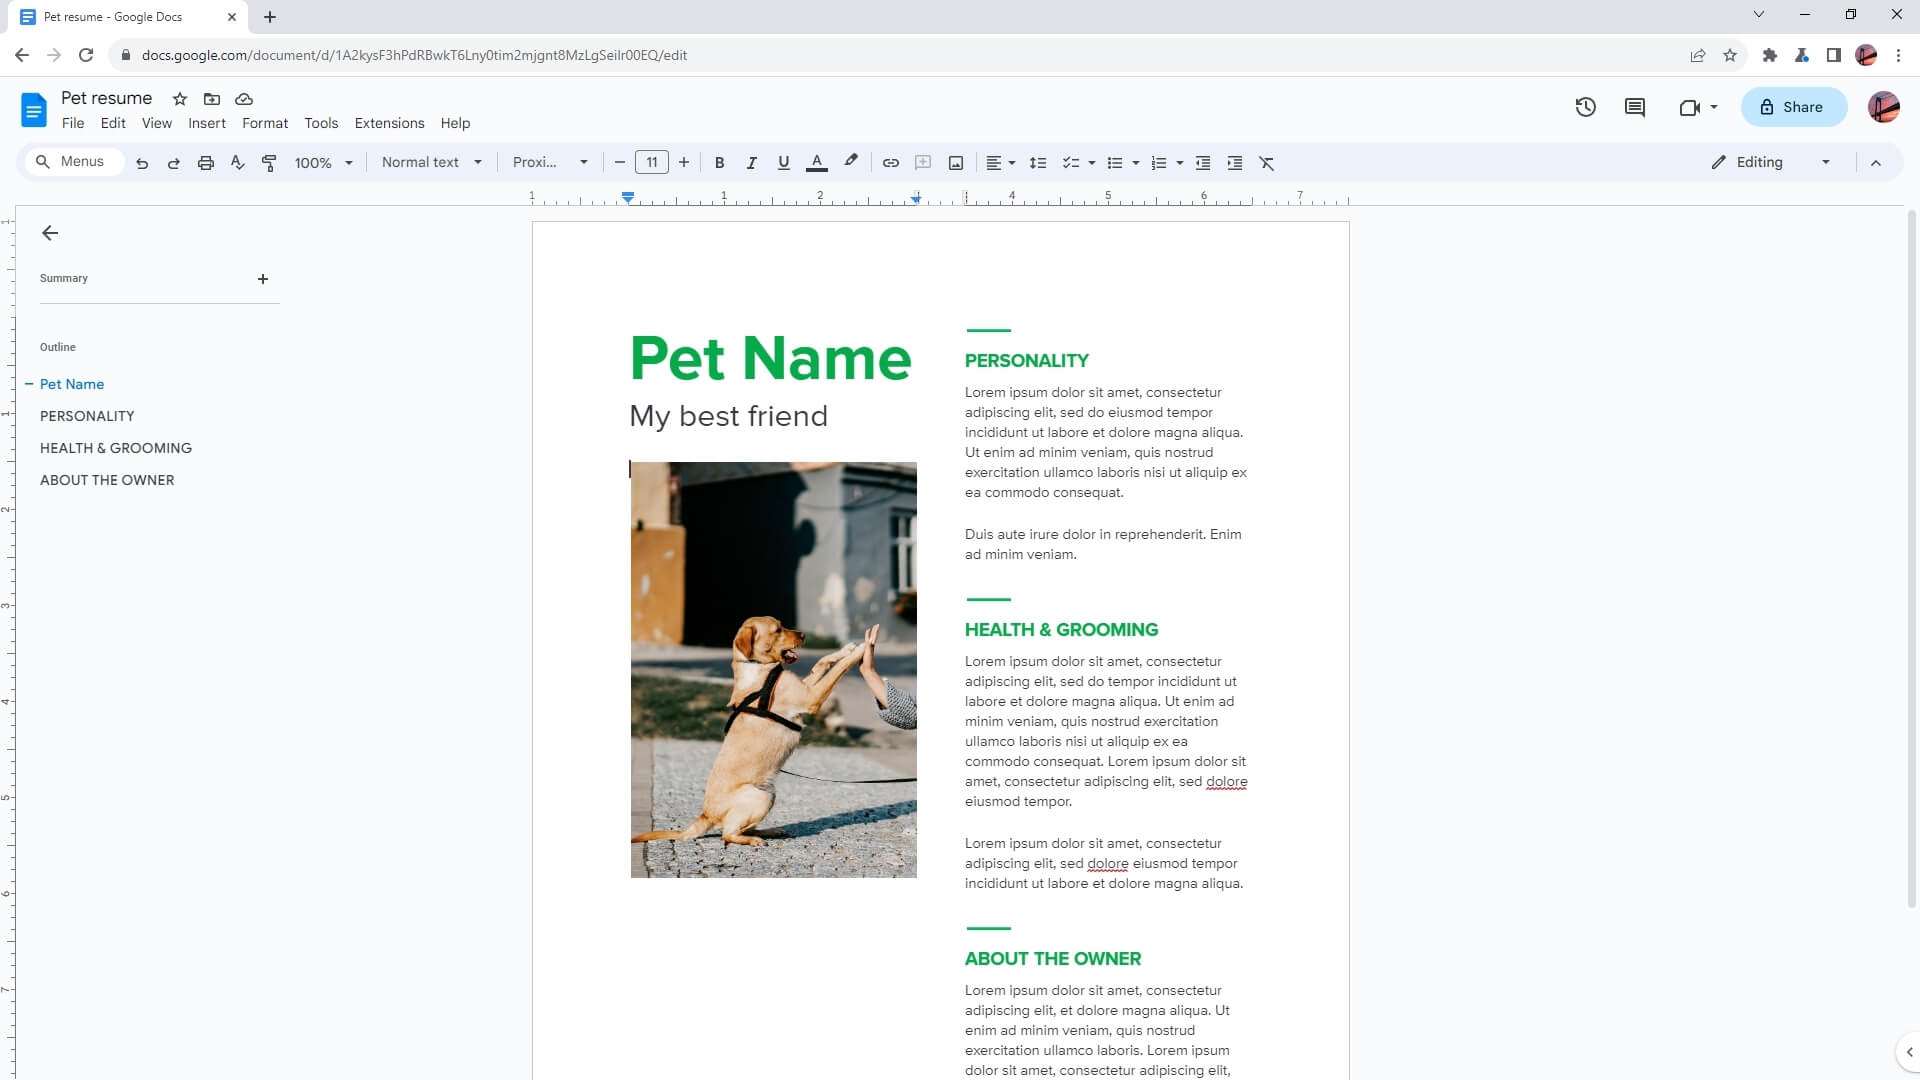
7. The remaining part of the image is not deleted but hidden. This means you can adjust the cropping later without manually reinserting the image to the document. To open the crop interface again, just double-click on the image.
And there you have it! You have learned the basics of cropping an image in Google Docs.
Frequently Asked Questions
Below are an FAQs about cropping a picture in Google Docs.
How do you crop a picture on the Google Docs app?
Cropping a picture in the Google Docs app on your Android device is a straightforward process. First, open the Google Docs app on your phone or tablet and access the document. Once you’ve selected the image, tap the Format icon and then choose Crop. You can then adjust the cropping area by touching and dragging the border as needed. When you’re satisfied with the crop, simply tap anywhere else within your document to complete the task.
How do you edit an image in Google Docs?

To edit an image in Google Docs, you can select the image in the document you wish to edit. In the top toolbar, select Image options. Image options include size and rotation, text wrapping, recolor, brightness and contrast, transparency, and more.
Can I adjust other aspects of an image in Google Docs?
Yes, you can also fit an image into a shape, add a border, adjust the color and filter, or reset an image. In the Image options panel, you can change the opacity, contrast, position, rotation, and more.

