Microsoft Word does come with various image editing tools that could help users modifying images that need to be retouched. Aside from adding effects or frames, you may use its resizing tool to quickly adjust the overall dimension without removing any part of the image.
Resizing is different from cropping. While cropping will definitely cut some parts of the image, resizing doesn’t — it’s simply just making the image dimension smaller or bigger.
Resizing an image in Microsoft Word is easy, but surprisingly not many people know how to use it, especially to resize by maintaining a proper height and width so it doesn’t look weird.
Here, you will learn how to resize an image in any Microsoft Word version.
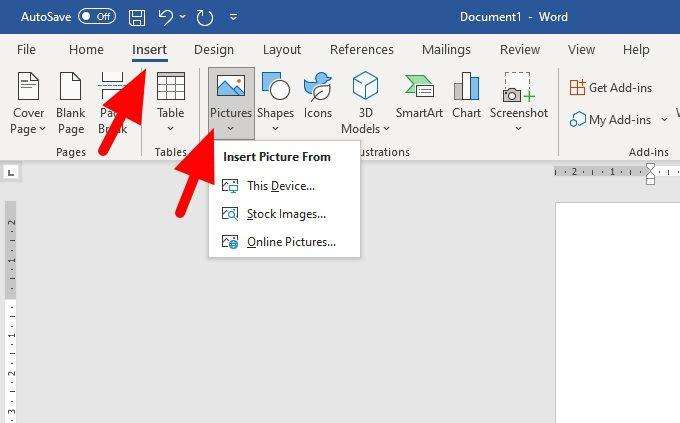
1. First, insert the image into the document.
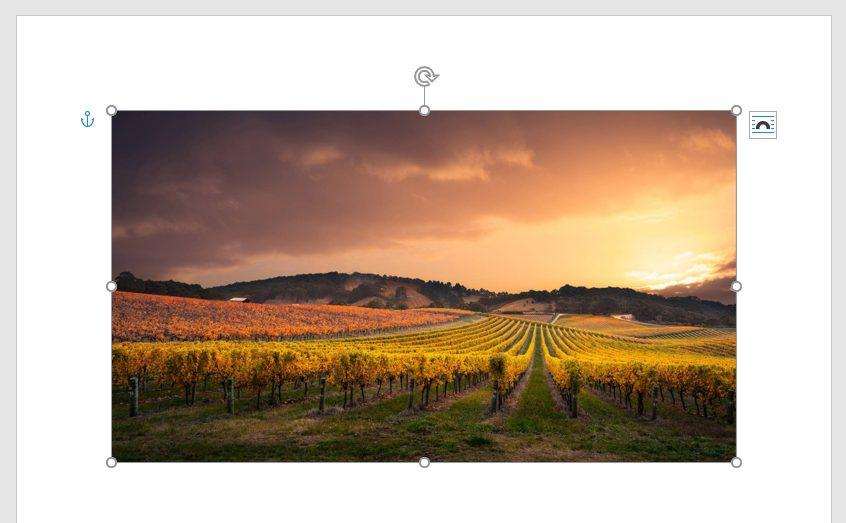
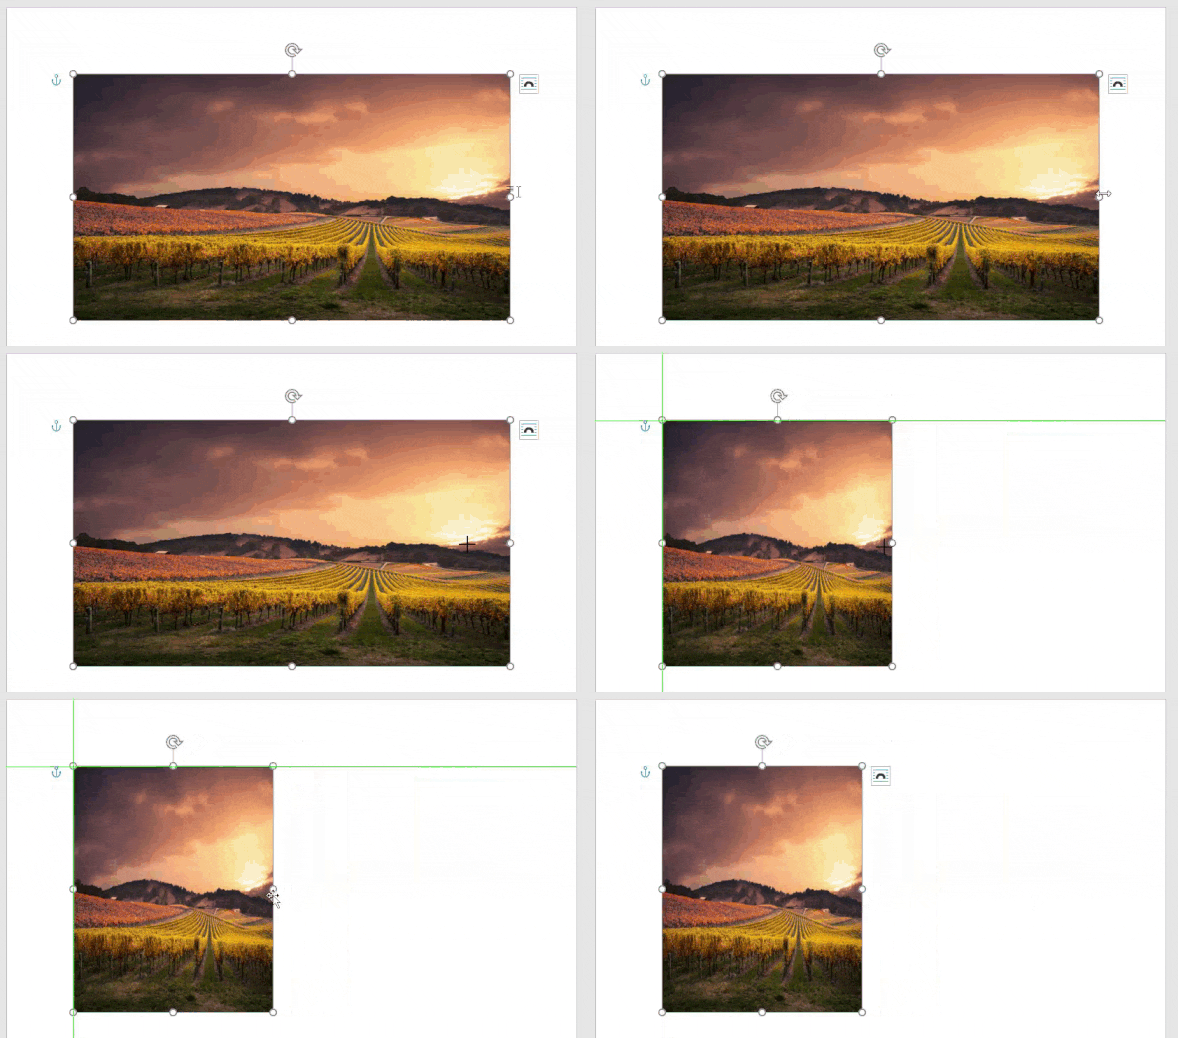
2. Click on the image to show anchor points around the edges of the image.
3. Click and hold on to one of the corner points, then drag it to resize.
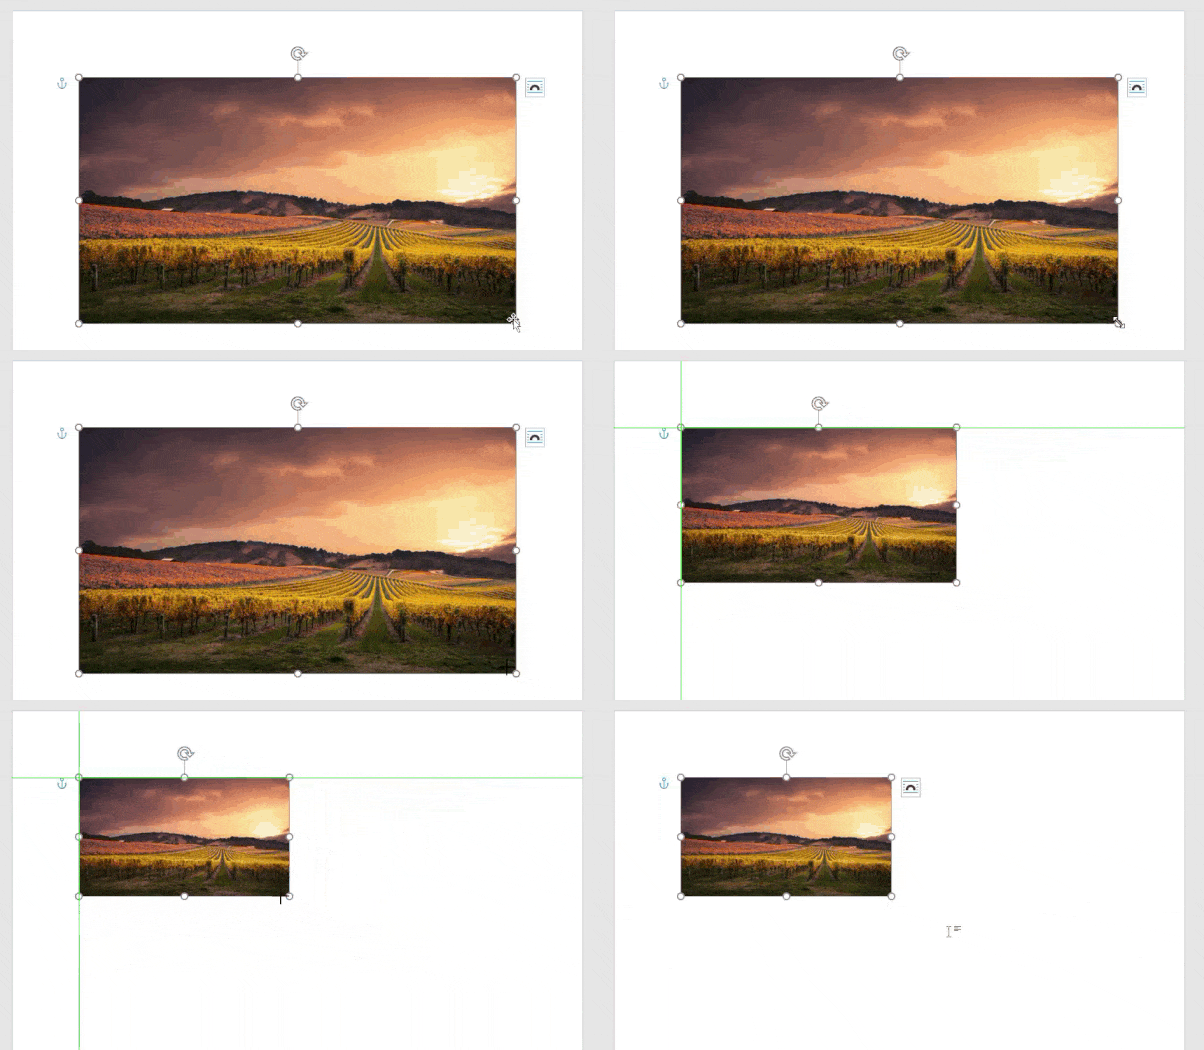
In the example above, I made the picture smaller without losing any part of the image. The same method can also be used to increase the size — you only need to drag it outward.
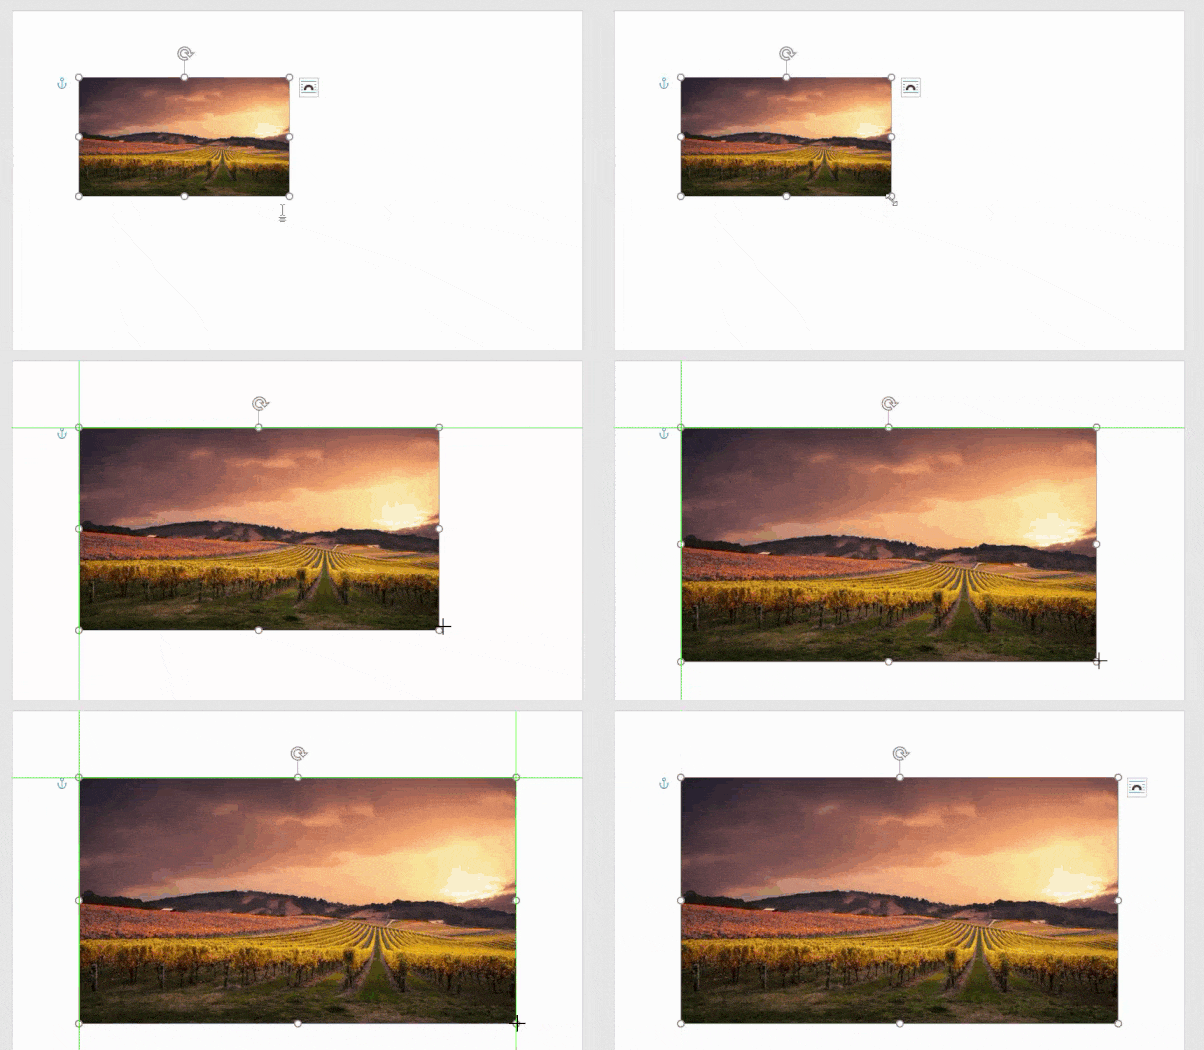
Resizing images to bigger dimensions could introduce artifacts and pixelated results. Therefore, don’t go over when doing this, or at least upscale the image using upscaler services beforehand.
Though can be justified sometimes, never resize using anchor points on the side. Otherwise, it would make the image seem off and not proportional. But then again, sometimes it’s justified.
Resizing images with a specific width & height
If you are a detailed person, Microsoft Word got you covered. Instead of blind-guessing the perfect dimension, you may change the number with a much more precise result.
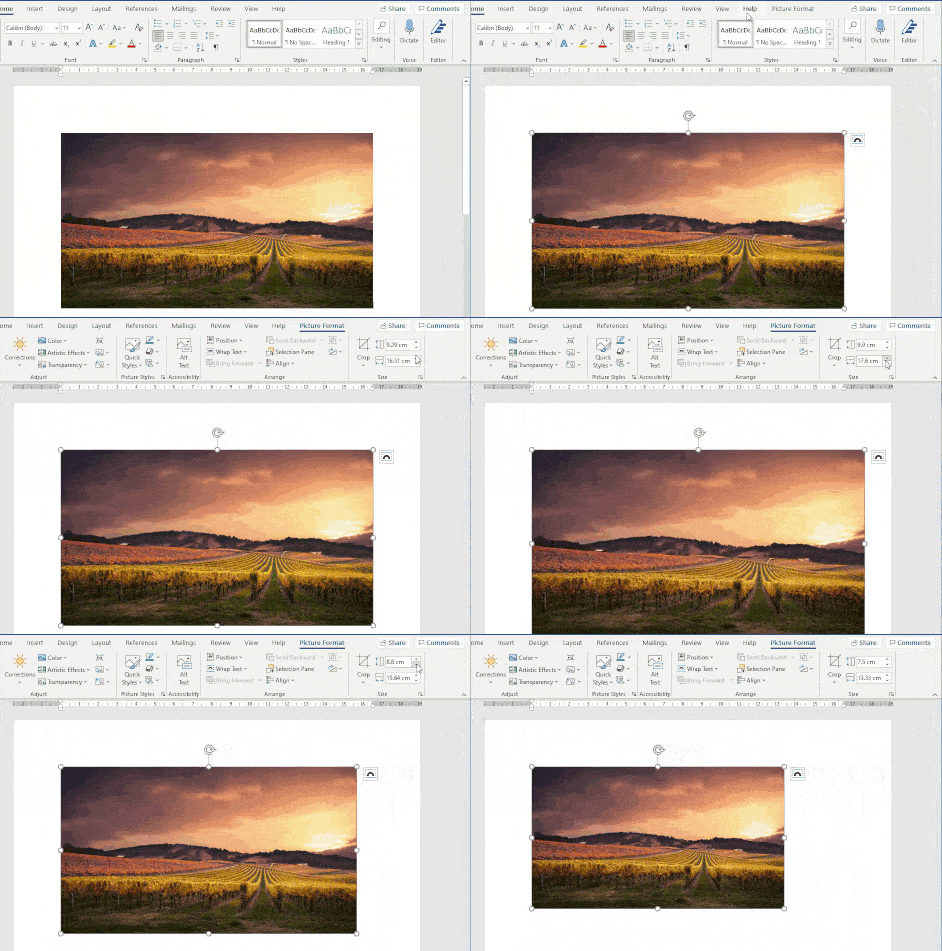
To do that, just click on the image, then head to Format Picture. Here, you can adjust the Height and Width while the image will resize accordingly. On some versions, modifying either one of the parameters will result in both being altered proportionally.


