Flowcharts are visual diagrams that show the steps in a process or workflow. They are useful for documenting procedures, analyzing systems, and planning projects.
While specialized flowchart software exists, you can easily create flowcharts directly within Microsoft Word. This guide will walk you through the entire process in 7 easy steps.
Benefits of Using Word to Make Flowcharts
Here are some of the main benefits of using Word to create flowcharts:
- No specialized software required – Word comes standard on most computers, so you likely already have access to the tools you need.
- Simple and intuitive – The built-in drawing tools in Word are easy to use, even for beginners.
- Visually appealing results – You can create professional-looking flowcharts with minimal effort.
- Easy to edit and update – Flowcharts made in Word are simple to adapt as processes change.
Step 1: Set Up Your Document
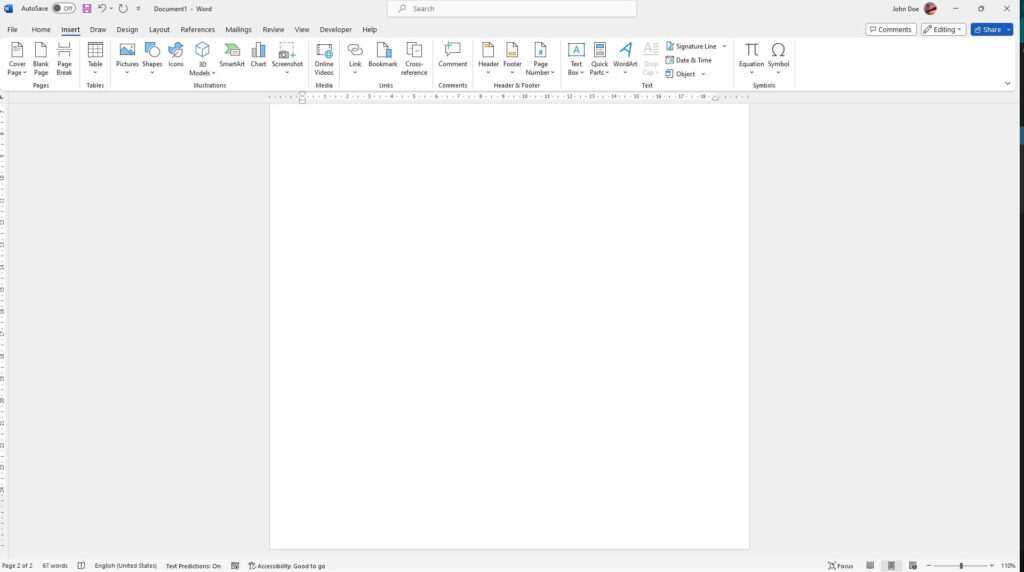
To start, open a new blank Word document. Next, make sure the Developer tab is enabled on your ribbon. This tab gives you access to key features for drawing shapes and diagrams.
If you don’t see the Developer tab, go to File > Options > Customize Ribbon. Then check the box next to Developer to enable it.
Step 2: Display Gridlines
Before adding any shapes, turn on gridlines by going to the Developer tab and clicking Gridlines.
Gridlines act as a guide, making it easier to align and organize shapes. They won’t show up on the final flowchart.
Step 3: Add Flowchart Shapes
Go to the Insert tab on the ribbon and click Shapes. This displays a menu of shape options.
Under Lines, select the shape you want to add. Common flowcharting shapes include:
- Flowchart – Process
- Flowchart – Decision
- Flowchart – Data
Click within your document to insert the selected shape. Repeat this process to continue adding shapes as needed.
Step 4: Connect the Shapes
To link your shapes together into a process flow, go back to Insert > Shapes and choose a connector line (e.g. right arrow, left arrow).
Click and drag between two shapes to connect them with the arrow. The line will automatically glue itself to the shapes.
Repeat this for each step of the process or workflow.
Step 5: Add Text to Shapes
Click inside any shape to type text. This allows you to label steps in the process or decision points.
You can format the text using options on the Home tab, including font type, size, color, and more.
Step 6: Format Shapes and Lines
To change the style, color, or other properties of a shape or connector line, right-click on it and choose Format Shape from the pop-up menu.
This displays a sidebar with formatting options for that individual object. Tweak them to achieve the look you want.
Step 7: Finalize the Diagram
When your flowchart is complete, take a final pass to polish and refine it:
- Organize shapes neatly and align them properly
- Adjust spacing between shapes consistently
- Proofread all text labels for spelling and grammar
- Consider adding a title and legend to introduce the diagram
And that’s it! With just a few simple steps, you can leverage Word to create professional, clear flowcharts to document procedures and processes.
The built-in drawing tools offer lots of flexibility, while gridlines and snap-to guides make alignment effortless. Don’t be afraid to experiment with layouts, connectors, and formatting until you achieve the optimal flowchart design.


