Adding unique symbols to your Microsoft Word documents can make them stand out. While Word comes with many built-in symbols and special characters, you may want to create custom symbols for your specific needs. In this blog post, I’ll walk you through the step-by-step process I use to design my own symbols and add them to Word.
Step 1: Design Your Symbol
The first step is to decide what kind of symbol you want to create. It can be anything – an icon, emoji, logo, or just an artistic character. Sketch it out on paper first before creating the digital version. This allows you to play around with different styles and make sure you end up with something you’ll actually use.
Once you’ve settled on a design, use an image editing program like Photoshop or GIMP to create the symbol digitally. Make sure to save it as a high-quality PNG file when you’re done. This will ensure it renders cleanly in Word later on.
Step 2: Add Your Symbol to a Font (Windows)
On Windows, we’ll use a hidden native app called Private Character Editor to add custom symbols to fonts. Here’s how:
- Open the start menu and type “private character editor” to search for the app.
- Open the editor and click “New Font” in the bottom left corner.
- Give your new font a name and click OK.
- In the grid, click an empty box to open the symbol properties on the right.
- Click “Import” and select your symbol PNG file.
- Tweak the symbol’s properties like width and position as needed.
- Click the save icon in the top left when you’re done.
After saving the symbol, your custom font will now be available in Word’s font menu.
Step 3: Add Your Symbol to a Font (Mac)
Mac users can create custom symbol fonts using a site called Calligraphr. Follow these steps:
- Go to calligraphr.com and click on the big plus button to start a new font project.
- Upload your symbol PNG file and arrange the characters on the preview grid.
- Click the download button in the top right and install the font file on your Mac.
- Open the Font Book app to confirm your new font was installed correctly.
Step 4: Insert Symbols into Word
To insert your freshly created custom symbols into Word documents:
- Open a Word document and place your cursor where you want the symbol.
- Select the Insert tab > Symbols dropdown > More Symbols.
- In the font selector, choose your new custom font.
- Double click the symbol you want to insert.
You can insert as many copies of your custom symbol as you want. Have fun designing your own creative characters!
Customize Your Symbols Further
After inserting your custom symbol, there’s a few ways to customize it further in Word:
- Change the font size to make it larger or smaller
- Add bold/italic formatting
- Alter the text color
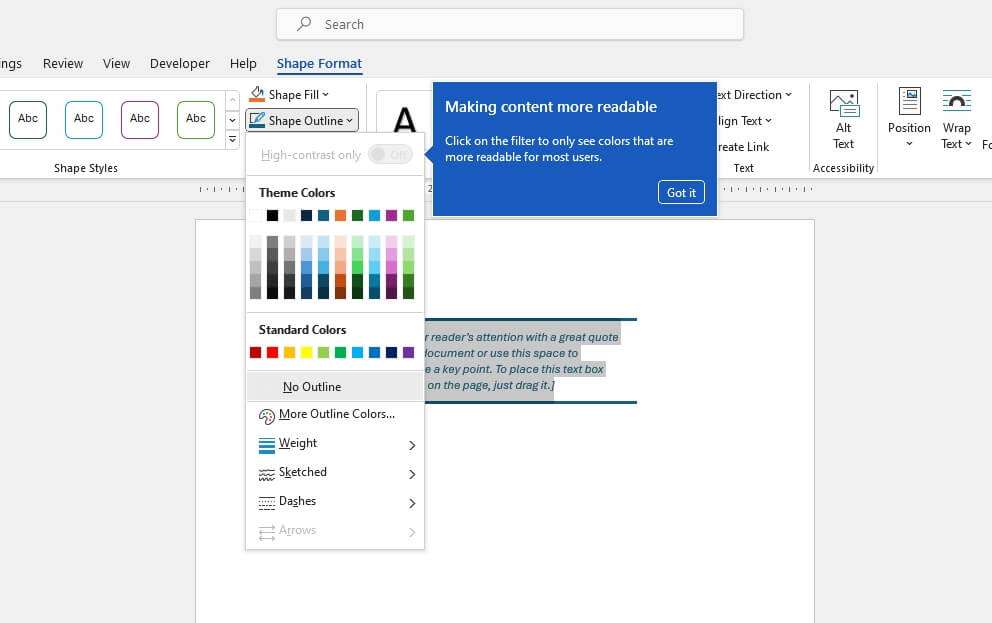
- Give it a border
Experiment with different formatting options under the Home tab to see what looks best. The key thing is your symbol will remain high quality no matter how much you resize it since it’s a vector image.
Conclusion
Creating and installing custom symbols is easy once you know the steps. On Windows, use Private Character Editor, while Mac users can utilize Calligrphr. Then simply insert your special characters into Word documents as needed.
Adding unique symbols is a great way to spice up boring documents and make them more visually engaging. With the power to design your own, the options are endless! Let me know in the comments if you end up making any cool custom symbols.


