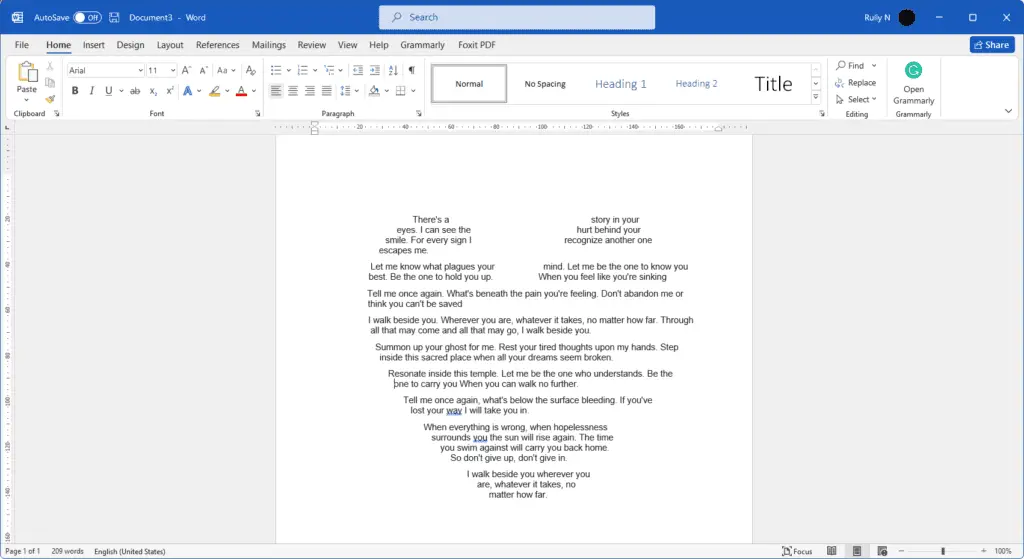
Knowing how to properly clear formatting in Word is an essential skill for creating professional, polished documents. When you copy and paste content or apply direct formatting like bold, italics, or custom fonts, it can leave your document looking inconsistent and sloppy. Thankfully, Word provides several simple ways to strip formatting and restore your default styles.
In this guide, you’ll learn the various methods for clearing text and document formatting in Word.
Clear Formatting from Selected Text
When you only need to remove formatting from a portion of text, you can select it and clear those formats. Here’s how:
1. Select the text:
Use your mouse or keyboard shortcuts to highlight the text you want to clear formatting from. This can be a few words, sentences, paragraphs or everything in the document.
2. Click the Clear Formatting button:
On the Home tab in the Font group, click the Clear Formatting button. This is the eraser icon:
Clear Formatting button
3. Direct formatting removed:
Once clicked, the selected text will be stripped of all direct formatting. This includes font, font size, color, bold, italic, underline, strikethrough, superscript, subscript, and any custom paragraph alignment.
The text will revert to the styles defined in the template or Normal style.
Use this method when:
- You want to remove bold, italic, font changes, etc. from some text
- You copied text from another document and want to strip its formats
- You no longer want custom character or paragraph formatting applied
It’s quick and easy for cleaning up a few rogue formatting issues.
Clear All Formatting in the Entire Document
If you want to completely remove ALL formatting from an entire document, you can do so in two clicks:
1. Select all text:
Press Ctrl + A on your keyboard or go to the Home tab and click the Select drop-down > Select All. This highlights your entire document.
2. Click the eraser icon:
Just like before, go to the Home tab > Font group and click the Clear Formatting button.
3. Global format reset:
Once clicked, all text and paragraphs in the document will be cleared of formatting. It will uniformly revert to the Normal style’s font family, size, alignment, etc.
This method completely resets fonts, paragraphs, lists, tables – everything. It’s useful when:
- You want to undo all direct formatting applied in a document
- You have an inconsistent mix of formats from copy-pasting
- You need to revert the document to a blank template state
Keep in mind it will also clear any Styles you have applied, like Heading 1, Heading 2, etc. Use with caution or you may have to reapply some designs.
Show or Hide Tracked Formatting Changes
When Track Changes is enabled in Word and someone edits your document, it tracks any formatting changes they make in addition to text revisions. You can choose to show or hide formatting changes separately from text changes.
Here’s how to manage tracked formatting:
1. Go to the Review tab:
At the top of Word, click the Review tab. This is where you manage markup and edits by others.
2. Open the Show Markup drop-down:
In the Tracking group, click Show Markup and a menu appears.
3. Check/uncheck relevant options:
The menu has checkboxes that allow you to separately show/hide formatting changes, comments, insertions, and deletions.
For example, uncheck “Insertions and Deletions” to hide text changes but leave tracked formatting visible.
You can also show/hide specific types of formatting changes:
- Formatting – Font, color, alignment, etc.
- Table Cell Formatting – Table borders, shading, alignment
- Paragraph Formatting – Spacing, borders, indentation
Use these options to filter tracked changes and see only what you need.
Accept or Reject Tracked Formatting Changes
When you finish reviewing changes made by others, you can accept or reject them individually or all at once. This goes for tracked formatting too.
To accept/reject only formatting changes:
- On the Review tab, open the Show Markup drop-down
- Uncheck the boxes for Comments, Insertions and Deletions – leave Formatting checked
- Click the Accept drop-down > Accept All Changes Shown or Reject All Changes Shown
This will accept or reject only the formatting changes currently visible.
You can also right-click certain changes to Accept or Reject them individually.
Use this to clean up formatting revisions without losing text content edits.
Set Default Font for New Documents
You can customize the default font used across all new documents based on the Normal template. This saves time from having to set the font every time.
Here’s how to set it up:
1. Open the Styles pane
Go to the Home tab and in the Styles group click the Styles dialog launcher. Alternatively press Ctrl + Alt + Shift + S.
2. Right-click Normal style
In the list, right-click the Normal style and select Modify. This is the base style for all document text.
3. Change default font
In the Modify Style dialog, go to the Formatting section. Choose your preferred Font family and size. You can set color, spacing, alignment and more here too.
4. Set new document default
At the bottom, check the box for “New documents based on this template”. Click OK.
Now when you create any new document, it will automatically use the default font you set for the Normal style. Keep in mind this won’t retroactively affect existing documents.
Final Thoughts
Knowing how to properly clear Word document formatting saves tons of time and prevents formatting inconsistencies. Use the Clear Formatting button to quickly strip direct formats from text. Clear entire documents to completely reset formatting.
Manage tracked changes to accept or reject formatting revisions by others. And set global defaults to start new documents with your preferred font or designs.
With these simple tips, you can take control of formatting in Word and prevent messy documents.


