When you make a document with Google Docs, a default font will be applied. If you aren’t satisfied with how it looks, you can change the font used by default so that you won’t have to edit it manually. Here’s how.
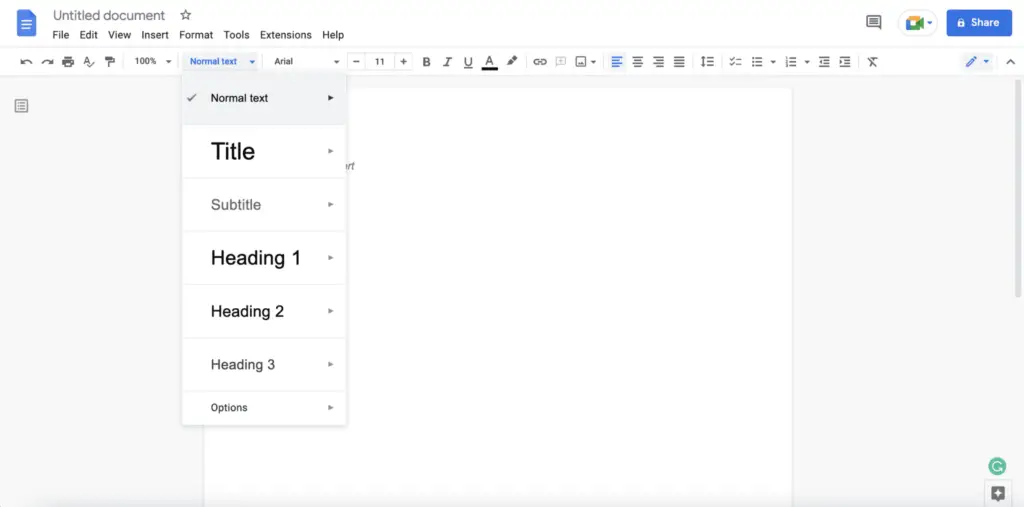
1. Start your web browser, go to Google Docs, and then adjust the font after you’ve opened the file. Click the arrow next to the drop-down box, and then check to see that the Style is also set to “Normal Text.” This refers to the primary text style that is used across the entirety of your page, excluding titles and headings.

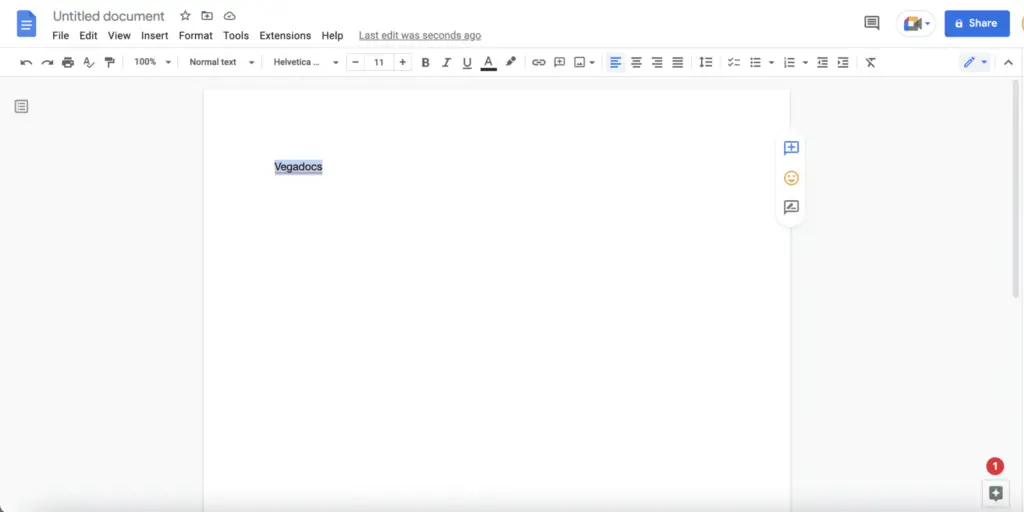
2. You can experiment with different fonts by typing a few words or lines and then highlighting them with your mouse once you’ve done so.

3. Next, pick “Update ‘Normal Text’ to Match” from the drop-down menu after navigating to Format > Paragraph Styles > Normal Text.
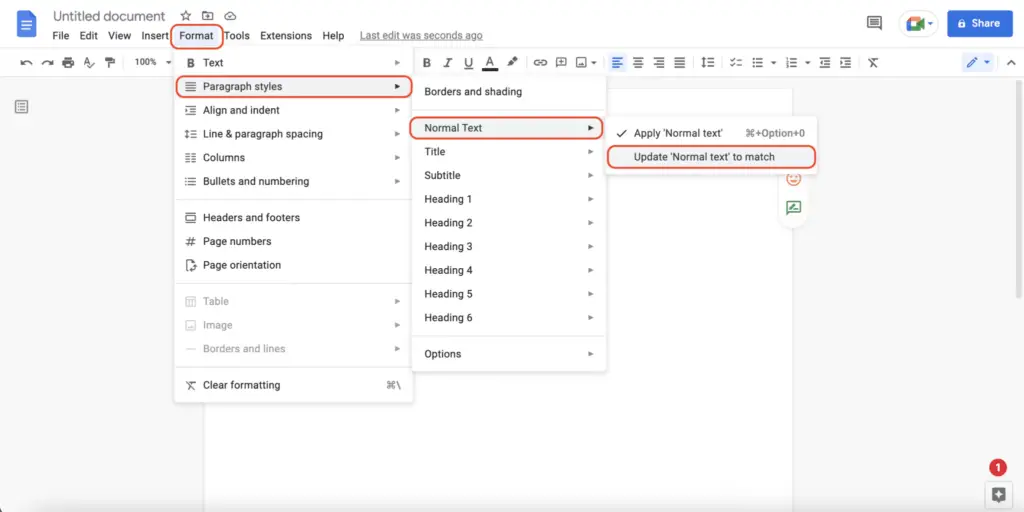

4. You have the option of altering the default font that will be used for headers and headings before you save your changes to the Normal Text.
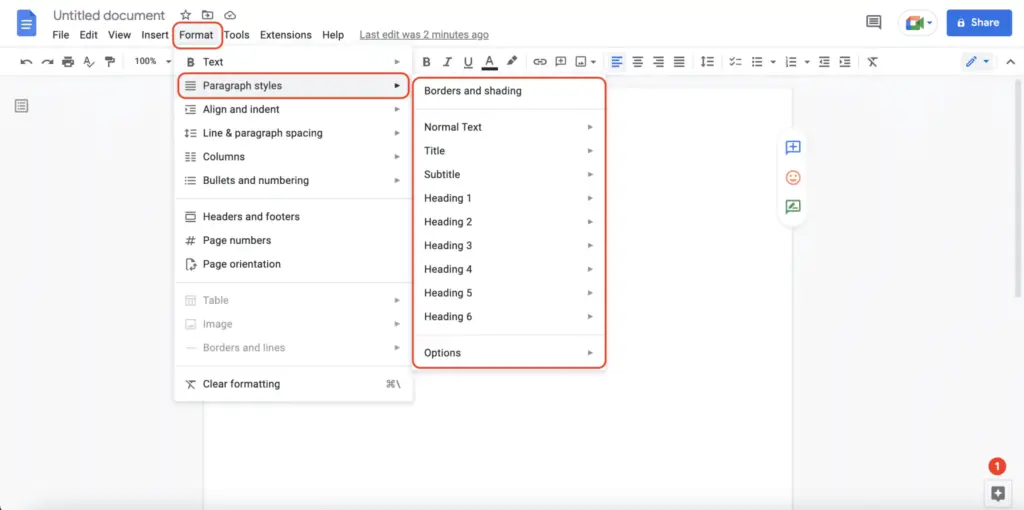

5. Click the Format menu, then select Paragraph Styles > Options, and then select “Save as My Default Styles” to make this style the one that is applied automatically whenever a new document is opened.
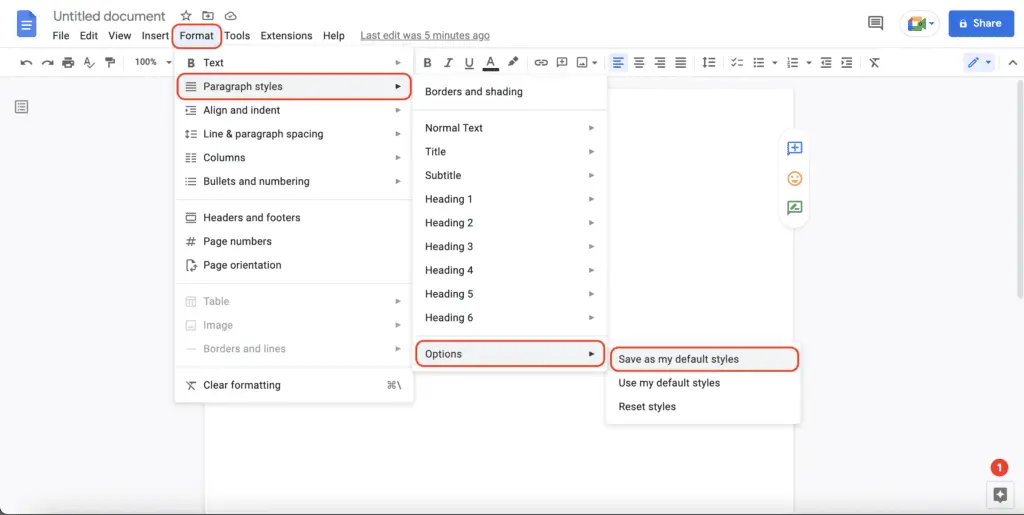

That wraps it up! The following time you open a new document and start typing, the text you create will automatically use the selected font.


