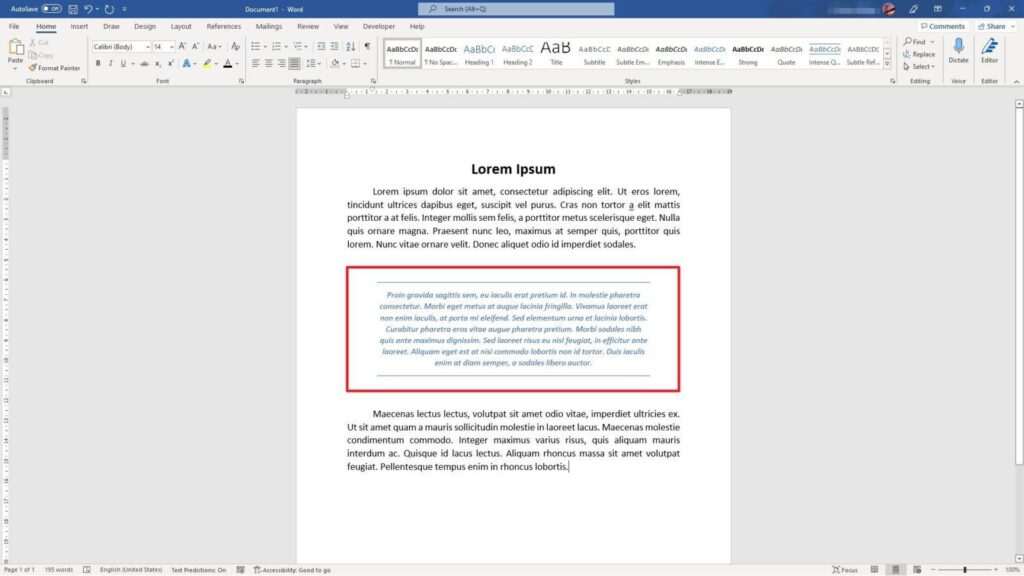
Tables are a useful way to present data and information in an organized manner in Word documents. However, at times you may want to wrap text around the table for a more visually appealing layout.
Wrapping text around a table allows text to flow around the table, creating a frame effect. This helps integrate the table into the flow of text, rather than having it sit isolated as an object on the page.
In this article, we will walk through simple steps to wrap text around tables in Word.
Prerequisites
Before we get into the step-by-step instructions, ensure you have the following:
- Microsoft Word installed on your computer (this tutorial covers the latest desktop versions of Word for Windows)
- An existing Word document open, with a table inserted that you want to wrap text around
If you don’t already have a table in your document, you can quickly add one by going to the Insert tab and clicking on Table.
Step 1: Select the Table
To wrap text around a table, you first need to select it:
- Click anywhere in the table to place the cursor inside it.
- Navigate to the Table Tools Layout tab on top.
- In the Table group, click on Select and choose Select Table from the drop-down menu. This will select the entire table.
Alternatively, you can simply click on the table’s border to select it as well. The selected table will have resizing handles around it.
Select table in Word
Step 2: Open Table Properties
With the table selected, open the Table Properties dialog box:
- Right click on the table.
- Select Table Properties from the context menu.
Alternatively, you can also go to the Table Tools Layout tab and click on Properties in the Table group.
The Table Properties dialog will open.
Step 3: Set Text Wrapping
In the Table Properties dialog box:
- Navigate to the Table tab.
- In the Text Wrapping section, click the dropdown next to Wrapping style.
- Select Around.
This will set text to wrap around the table.
Set text wrap around table in Word
Step 4: Set Table Alignment
While still in Table Properties, set the alignment for the table:
- In the Alignment section, click on the dropdown next to Horizontal.
- Choose Left, Right, or Center alignment depending on where you want the table positioned horizontally in relation to wrapped text.
For example, selecting Left will left align the table so wrapped text flows on the right side of it.
Step 5: Adjust Positioning (Optional)
If needed, you can fine tune the exact positioning of the table in relation to wrapped text:
- In Table Properties, navigate to the Positioning tab.
- Adjust the Vertical and Horizontal position settings as needed.
- Uncheck the Move object with text box. This will lock the table in place on the page.
Position table in Word
Step 6: Drag Table Manually
As an alternative to setting precise positioning, you can also simply drag the table to the desired location:
- Click on the table handle in the top left corner.
- Keeping the mouse button held down, drag the table left/right/up/down and place it at the location you want in relation to text.
Step 7: View Text Wrapping Results
That’s it! Close the Table Properties dialog box and you will now see text wrapping around the table.
The exact wrapping effect will depend on the alignment, positioning, and size of your table. You can continue to adjust these table properties and drag the table manually to fine-tune text wrapping results.
Text wrapped around table in Word
Some additional tips:
- You can double click on any table edge to auto-fit it to contents
- For more control over wrapping, consider inserting the table into a text box instead
- Pay attention to table row heights and column widths in relation to wrapped text
And that’s all there is to it! By following these simple seven steps you can quickly wrap text around tables for better visual layouts in Word documents.
Troubleshooting Common Issues
Here are solutions to some common issues you may encounter:
Text overlaps the table
If text is overlapping the table after wrapping, the table is likely too wide. Try reducing column widths or adjusting table positioning to resolve overlap issues.
Wrapping is uneven on left and right side
Uneven wrapping with too much space on one side can occur if the table isn’t perfectly centered. Double check the alignment setting in Table Properties and adjust if needed.
Table moves away from text
If you notice the table moving away from text inconsistently, make sure to disable the Move object with text option in Positioning properties. This will lock the table in place.
Wrapping disappears when table moves to next page
If wrapping works as expected, but disappears when the table moves to the next page, you need to select the “Allow row to break across pages” option in Table Properties > Row tab.
Conclusion
Wrapping text around tables in Word gives you more layout and formatting flexibility. Using the straightforward steps covered in this article, you can quickly achieve a wrapped text effect around any table in your documents.
Remember to play around with table positioning, size, alignment, and other properties to fine-tune the wrapping visually. And apply these text wrapping skills to insert tables seamlessly within written content.
Let us know in the comments if you have any other questions!


