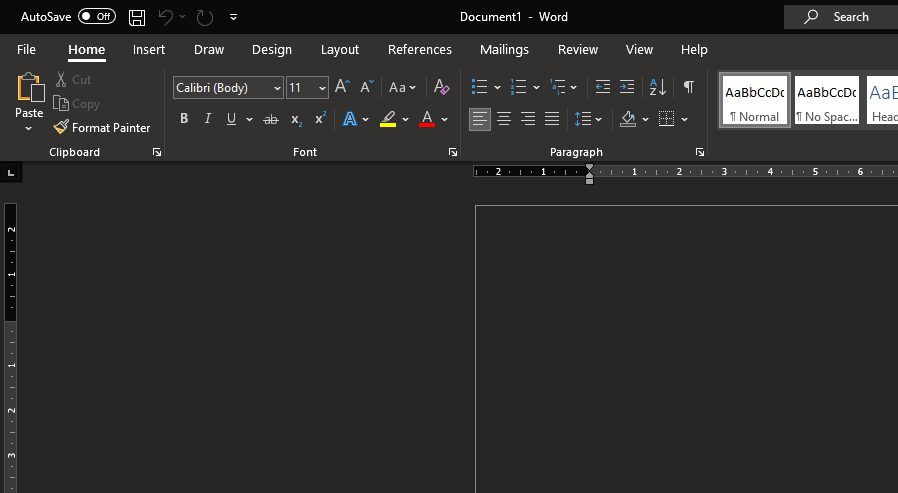
Viewing two pages side-by-side in Word allows you to compare documents or see more of your text at once. Whether you’re editing a long report or need to check differences between versions, this guide will show you how.
Why Show Two Pages Side-by-Side
Here are some common reasons for using Word’s side-by-side view:
- Compare documents – Quickly spot differences by placing drafts, versions, or related files next to each other.
- View more text – See up to two whole letter-sized pages at the same time instead of one. Helpful for skimming through a long document.
- Check layout and formatting – Ensure headings, images, captions, and other elements align properly across facing pages.
- Improve readability – View full pages as they will print instead of scrolling up and down. Easier to follow text in a book or report layout.
Activate the View Side by Side Feature
Displaying two pages side-by-side is easy in Word thanks to the built-in View Side by Side mode. Follow these simple steps:
- Open the document you want to view in Microsoft Word. This can be an existing file or a new blank document.
- Click the View tab on the ribbon.
- In the Window section, click the View Side by Side button. View Side by Side button
- Word will now show two pages at once with a divider line in the middle.
The pages will automatically scale to fit side-by-side on screen. You can use the zoom slider on the status bar to increase text size if needed.
View Two Different Documents
The instructions above show how to view two pages of the same document. But you can also use View Side by Side to compare two different Word files:
- Have one document open in Word. This will be shown on the left side.
- Click the View tab > Window group > Arrange All button.
- Select Tile Vertically from the drop-down menu.
- Open the second document you want to view side-by-side. It will open split screen on the right.
Now you can scroll independently or click sync scroll to move both documents simultaneously.
Adjust the Position of the Split Line
By default, View Side by Side splits pages vertically down the middle of your screen. But you can adjust the divider line position to suit your needs:
- Hover over the black split line in the middle until the cursor changes to a double-headed arrow.
- Click and drag the line left or right to resize the page widths.
For example, make one page narrower to focus on the other, or view one whole page with just a sliver of the second showing.
Switch Pages
When you first enable View Side by Side, Word shows page one on the left and page two on the right. But you may want to compare different parts of your document.
Use these controls to change the visible pages:
- Scroll bars – Independently scroll each side using the scroll bars or mouse wheel.
- Arrows – Click the forward/back arrows in the vertical scroll bar to change the left or right side.
- Page numbers – Type specific page numbers in the boxes at the top of the vertical scroll bar and press Enter to jump to them.
Exit View Side by Side
Once you’ve finished comparing, editing, or reviewing, turn off the split view:
- Click View Side by Side in the Window section again to toggle it off.
- Or click one of the other view buttons like Print Layout.
The pages will return to a normal single document view.
Keyboard Shortcuts
Saving mouse clicks and learning keyboard shortcuts can help you enable the side-by-side view faster:
- Windows – Ctrl + Alt + S
- Mac – Option + Command + S
Use the same shortcut again to exit back to regular view.
Troubleshooting View Issues
Sometimes the two-page view doesn’t display properly or pages appear clipped. Try these tips:
- Zoom out – Reduce zoom level to fit more on screen using the slider.
- Resize window – Expand the Word window width to show full pages.
- Adjust margins – Reduce margin sizes under Layout tab to fit more text space.
- Change orientation – Flip to landscape view if your content is wider than it is long.
- Extend page height – Increase the page height under Layout > Size > More Paper Sizes.
- Check compatibility – Older versions of Word may not render the view correctly.
More Handy View Options
View Side by Side is great for quick comparisons, but Word provides other useful ways to change your document view:
- Split window – View different parts of the same document top and bottom.
- Book layout view – See facing pages like an open book.
- Outline view – Work with just the headings in an outline format.
- Draft view – Focus on words without seeing formatting.
- Full screen reading – Eliminate on-screen clutter as you read.
Take advantage of all these viewing modes to customize Word to your workflow!
We’ve covered the essentials for displaying two pages side-by-side using Microsoft Word’s built-in view options. Now you can more easily compare documents, check formatting, improve readability, and boost your productivity.


