Microsoft Word has a built-in text-to-speech feature that allows you to make the program read aloud any text that you type. This feature is especially useful for people with visual impairments or dyslexia, as it allows them to easily access the written content. Furthermore, it can be used by anyone who wants to proofread their documents quickly and accurately.
In this tutorial, we will show how you can use Microsoft Word’s text-to-speech feature and make it read aloud your documents. Let’s begin.
First method: using Read Aloud
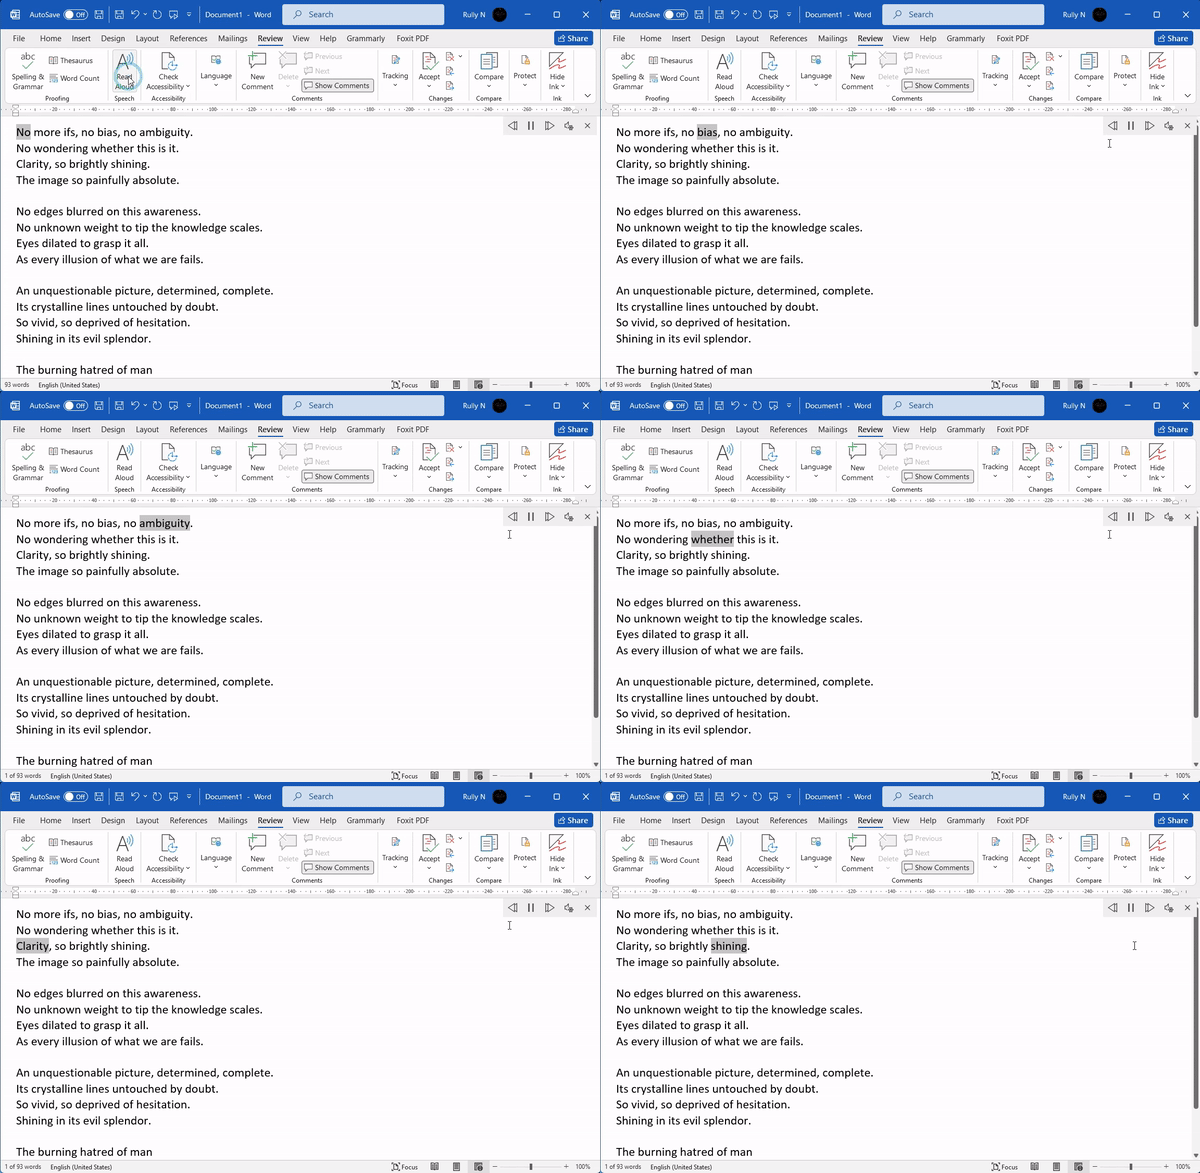
1. Prepare your document, go to the Review tab, and click Read Aloud.

2. You’ll notice a little bar comes up in the top right corner. If you click Play, Word will read the document for you from the beginning.

3. If you want to change the narrator’s voice, click Settings and change it from David to Mark or Zira. To change the reading speed, move the slider to the left for a slower speed.

Second method: using Speak
Another way is to use TTS or text-to-speech technology which they called Speak. The difference between Read Aloud and Speak is, Speak doesn’t have any customization. You can’t speed it up or slow it down, or change the voice, and it’s designed only to read segments.
1. Click the File tab, and select Options.

2. In Quick Access Toolbar, then change from Popular Commands to All Commands.

3. Scroll down and look for Speak. Double click and it will show in the right box. Click OK.

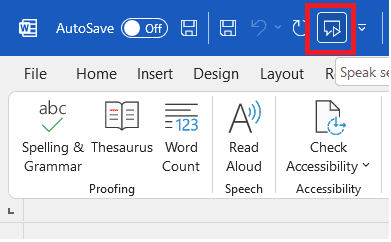
4. It’s going to show up in the top left.

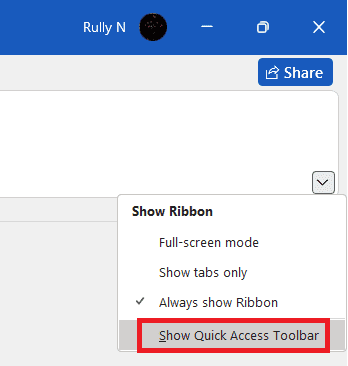
5. If somehow it didn’t show, make sure you have activated Show Quick Access Toolbar.

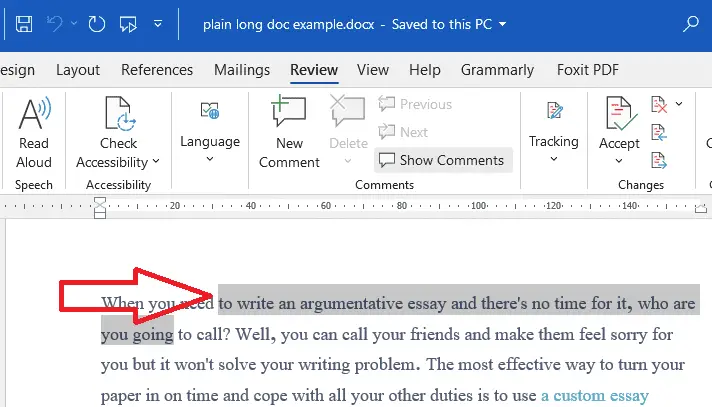
6. So if you want Word to read it for you, highlight a segment or sentence, then click Speak.

You can sit back and relax, and listen as the narrator reads the documents out loud.


