Grammarly is a proofreading and editing app to improve your writing and it does work with word processors like Google Docs and Microsoft Word. Grammarly makes sure everything you type is not only correct but also clear and easy to read.
We’re going to show you how to install and turn on Grammarly to work in Google Docs. However, this does work with Microsoft Edge, Mozilla Firefox, Apple Safari, and other browsers. But the steps are going to end up being very similar if you use a different browser.
1. First what you need to do is add a Grammarly extension. Using your browser, go to Chrome web store at https://chrome.google.com/webstore/category/extension and search Grammarly.

2. Then from here you can select Grammarly, and click Add to Chrome.

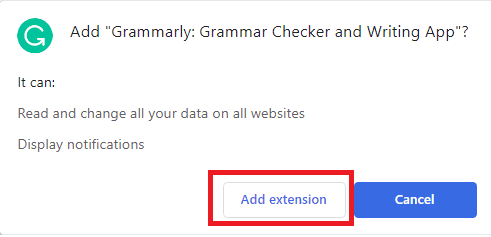
3. In a pop-up window, click Add extension
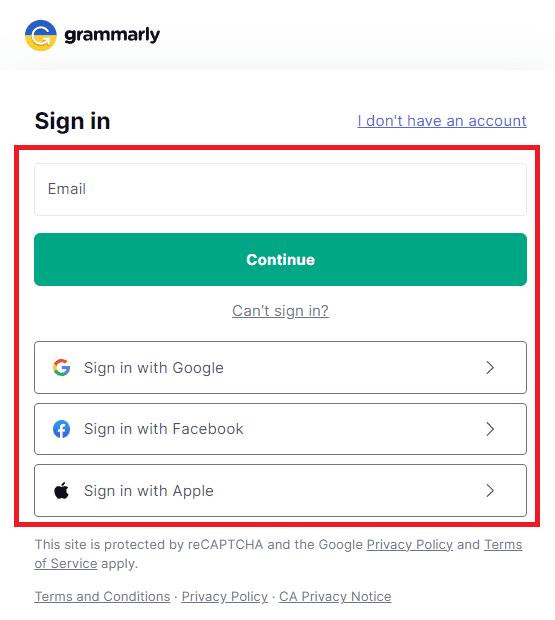
4. Once you have it installed then you need to create a free account at www.grammarly.com to get it to work. After that, once your account is all set up and logged in then you can begin using it.
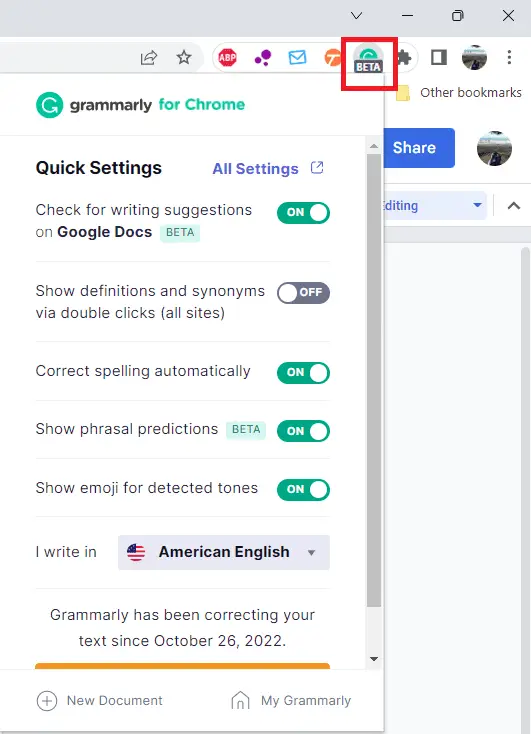
5. Here in the top right of Google Chrome, you have all these settings for Grammarly.
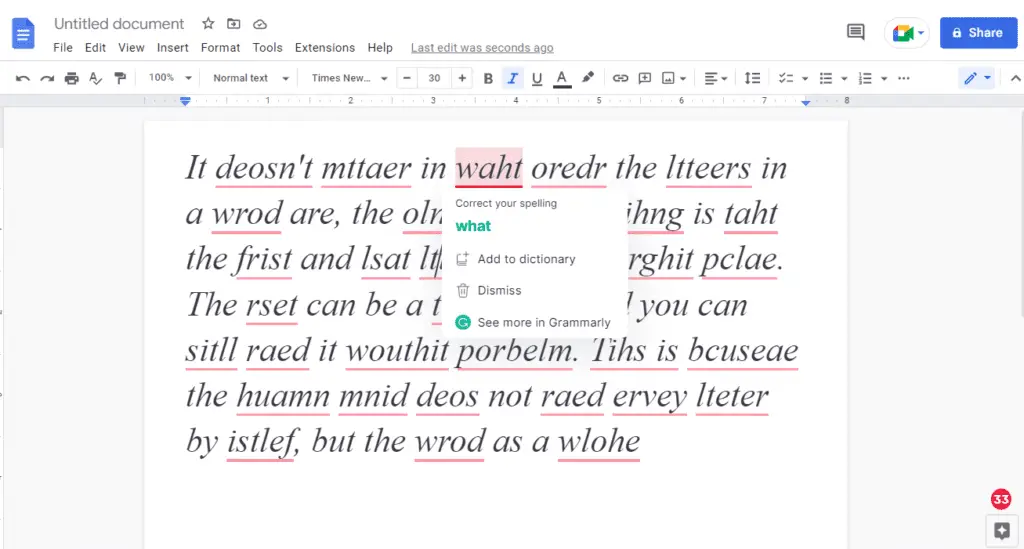
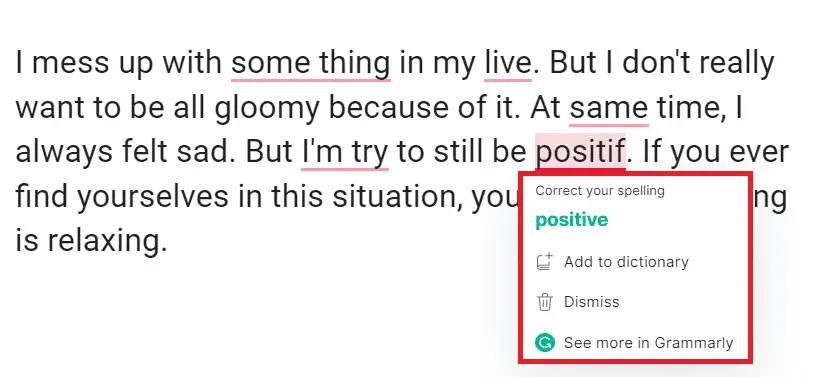
6. We have some text here that purposefully has been written wrong just so you can see how Grammarly works. If there are red underlines over a word that Grammarly thinks it’s wrong, just hover your mouse pointer and Grammarly will ask you whether you want to correct your spelling.
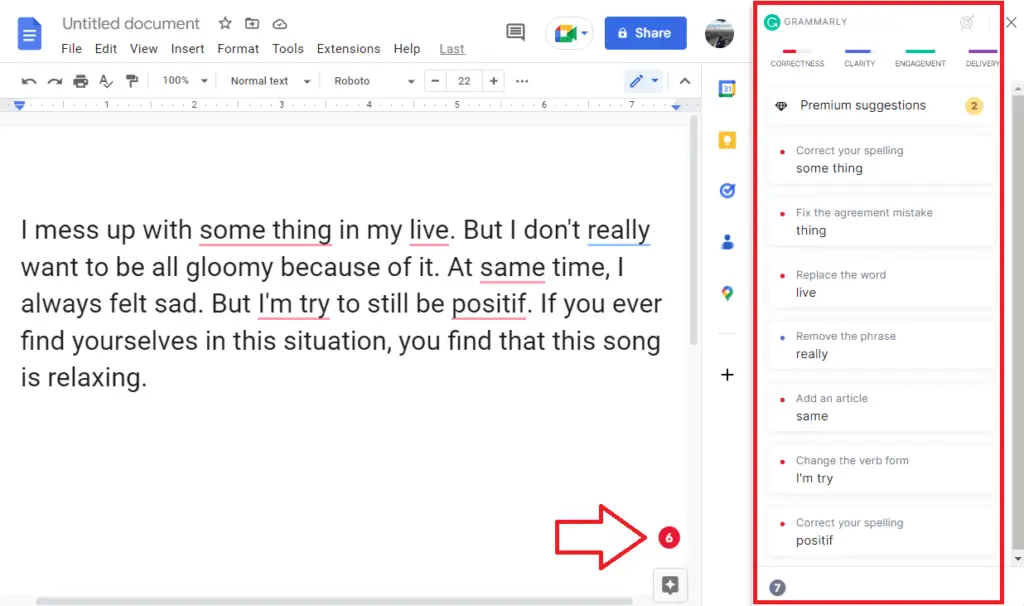
7. You can also select the Grammarly icon on the bottom right to see more in Grammarly. Then on the right-hand side, you should see a sidebar open up and this will show every error in your entire document.
Grammarly is very useful if you are regularly writing, whether for personal or professional use. Their free plan is pretty much a no-brainer. It’s very powerful.

