Being able to view page breaks in your Word documents can be extremely helpful when formatting and designing your documents. Here is a step-by-step guide on how to view page breaks in Word on both Windows and Mac.
What are Page Breaks?
Page breaks are markers that specify where a new page will start in your document. Word automatically inserts page breaks for you when text reaches the end of a page.
However, you can also insert manual page breaks to control where pages start and end. This is useful for controlling what text appears on each page.
Viewing page breaks in Word allows you to see where new pages start. This helps ensure your pages break where you want them to when printing or exporting to PDF.
View Page Breaks on Windows
Viewing page breaks in Word on Windows is very easy:
- Open the Word document you want to view page breaks in.
- On the Home tab, click the Show/Hide button in the Paragraph group. Show/Hide button
- Make sure All nonprinting characters is checked. This displays formatting marks like page breaks, section breaks, tabs, paragraph marks, and more.
- You will now see page break symbols that look like dotted lines in your document: Page break example
The page breaks indicate exactly where each new page starts in your document.
You can now see if the pages are breaking where you want them to or if adjustments need to be made.
View Page Breaks on Mac
To view page breaks on Word for Mac:
- Open the Word document.
- On the View tab, check the Show All option. Show All option on Mac
- Page break symbols will display in your document, indicating where new pages start.
The steps are very similar to Windows, except you enable the formatting marks through the Show All option rather than the Show/Hide button.
Remove or Modify Page Breaks
With the page breaks now visible, you may want to remove or modify them:
- To remove an automatic page break, modify the text by adding or removing content until the break moves to a better spot.
- To remove a manual page break, double click on the break and press the Delete key.
- To move a manual page break, click and drag it to a new paragraph.
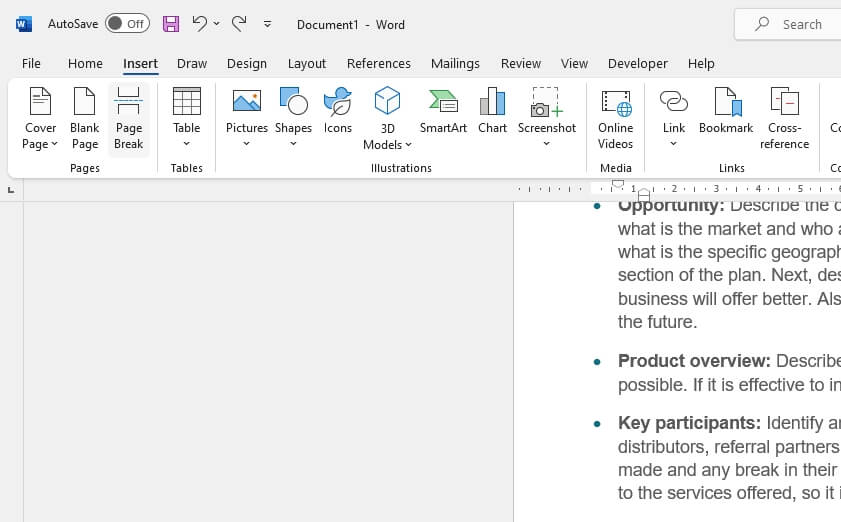
- To add a new page break, place your cursor where you want the new page to start and go to Insert > Page Break.
Experiment with moving page breaks around to get your desired pagination.
Additional Tips
Here are some additional tips for working with page breaks:
- Use the Print Layout View to preview exactly where your pages will break for printing.
- Page breaks set in Draft View may move around when you switch to Print Layout.
- The page break symbols do not appear on the final printed or PDF pages – they are just for reference.
- Turn page breaks back off when done by unchecking Show All or All nonprinting characters.
Video Demonstration
Here is a quick video showing the steps to view page breaks in Word:
I hope this tutorial gives you the skills to easily view and adjust page breaks in Word! Proper pagination can go a long way in making your documents look clean, professional, and printed correctly.


