The Modern Language Association (MLA) format is a commonly used style for academic papers, especially in the humanities like literature and language studies. Using MLA format ensures uniformity and consistency in formatting, allowing readers to easily navigate and comprehend papers.
Mastering MLA format in Microsoft Word is key for students and professionals working on essays, research papers, dissertations, and manuscripts. This comprehensive guide will teach you how to set up MLA format in Word properly.
Setting Up the Basics in Microsoft Word
When you open a new blank Word document, some default MLA format settings are already set. However, you still need to check and adjust the following:
Margins and Paper Size
- Set all margins to 1 inch. Go to Layout > Margins > Custom Margins to change this.
- Set paper size to 8.5 x 11-inches. Go to Layout > Size > Letter to adjust.
Font
- Use 12 pt Times New Roman font. Go to Home > Font to change this.
Spacing
- Double-space the entire document. Go to Home > Paragraph > Line Spacing > Double.
Indentation
- Indent the first line of every paragraph 0.5 inches. Go to Home > Paragraph > Indentation > First Line to change this.
Creating the Header
The header goes in the top right corner and includes:
- Your last name
- Page number
To create the header:
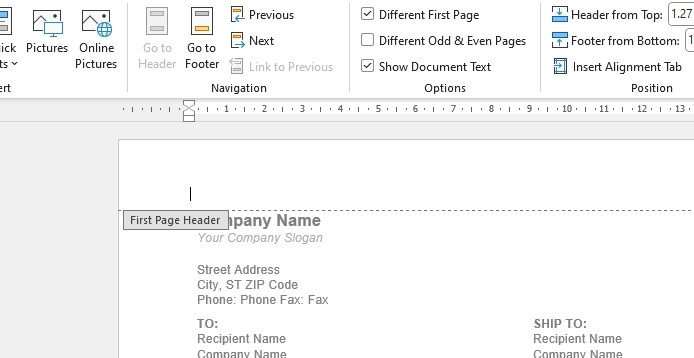
- Go to Insert > Header.
- Type your last name and hit Tab to move to the next section.
- Click on the Page Number button and select a style.
- Double click on the header area when done to exit.
Adding the Title Section
The title section includes important assignment details. Follow these guidelines:
- Center align all text in the title section.
- Type the title of your paper in bold and title case.
- Hit Enter once and type your full name.
- On the next line, type your professor’s name, course number, and assignment due date, separated by commas.
- Double space between all lines in this section.
Formatting Headings
To break up sections in your paper, use numbered headings. Follow this hierarchy:
- Level 1 Heading: Centered, Bold, Title Case
- Level 2 Heading: Flush Left, Italicized, Title Case
- Level 3 Heading: Flush Left, Bold, Title Case
Make sure to double space before and after each heading.
Creating Lists
For numbered lists, go to Home > Paragraph > Numbering. For bulleted lists, go to Home > Paragraph > Bullets. Use single spacing and indent each item 0.5 inches.
Inserting Tables
When inserting tables from the Insert > Table menu, make sure to use the MLA Table Style to properly format table borders and font.
Using In-Text Citations
To cite sources in the body of your paper using MLA format:
- Use the author’s last name and page number with no comma in between: (Belasco 54).
- For sources with no known author, use the source title: (“Climate Change” 89).
- Place citations before punctuation: (Kurlansky 64).
- Separate sources in one citation with semicolons: (Belasco 54; Kurlansky 64).
Creating the Works Cited
The Works Cited page lists all sources referenced in your paper. To create it:
- Place it after the conclusion of your paper.
- Label the page “Works Cited” centered at the top.
- Alphabetically order sources by the authors’ last names.
- Use a hanging indent of 0.5 inches for each source.
- Double space the entire page.
With practice, using MLA format on Word will become second nature. Be sure to proofread carefully and run the spelling and grammar check as a final step before submitting assignments.


