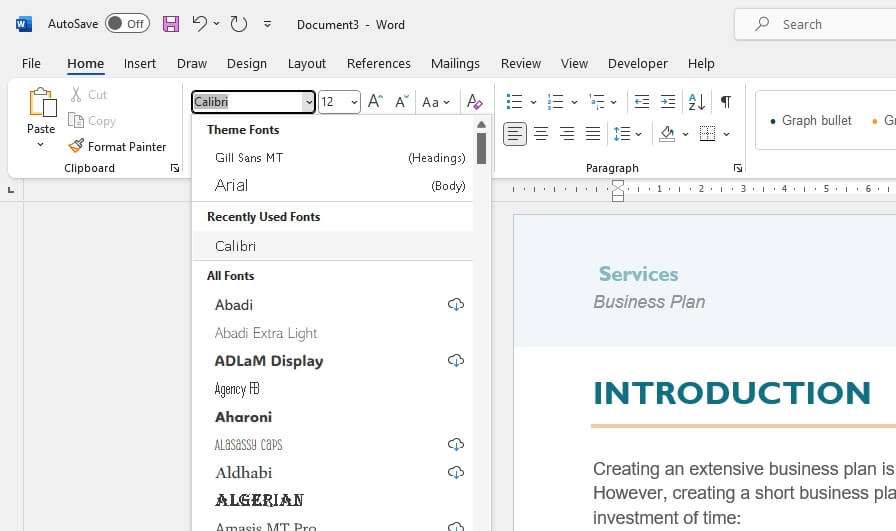
Choosing the right font is an important part of creating professional, visually appealing documents in Microsoft Word. The default font in Word for Mac is Calibri 11 pt, but you may prefer to use a different font for all of your documents. Fortunately, it’s easy to change the default font so every new document you create will use your preferred font automatically.
In this tutorial, I’ll walk you through the steps to change the default font in Word for Mac. We’ll cover:
- Checking your current default font
- Opening the font formatting options
- Selecting a new default font, style, and size
- Applying the changes to all new documents
Let’s get started!
Check the Current Default Font
First, let’s check what font is currently set as the default.
- Open a new blank Word document
- The font used for the normal text body is the default font. In a new document, this should be Calibri 11 pt.
Now we know the current default. Next, we’ll change it.
Open the Font Formatting Options
To change the default font, we need to access the advanced font formatting options. Here’s how:
- Go to the Format menu at the top
- Select Font
Alternatively, you can use the keyboard shortcut Command + D.
This will open the Font formatting window.
Choose a New Font
In the Font window that appears:
- Go to the Font tab
- Open the Font dropdown menu and select your new preferred default font. For this example, let’s choose Times New Roman.
- You can also change the font Style and Size here. I’ll make my new default Bold, 14 pt.
- Ensure any other font formatting changes are made here too.
Set as Default
Now that we’ve selected the new font, style, and size, we need to set it as the default.
Still in the Font window:
- Click the Default button in the lower left.
- In the pop-up, choose the option All documents based on the Normal template.
- Click OK to confirm.
This applies your new default font to all future new documents instead of just the current one.
Confirm the Changes
To check that it worked:
- Close the current document
- Open a brand new blank document
- The body text should now appear in Bold, 14 pt Times New Roman
And that’s it! Every new document you create will now use your personalized default font rather than the standard Calibri 11 pt. You can repeat these steps at any time to choose a different new default font for Word documents.
Some key pointers:
- Use Format > Font or Command + D to open font options
- Choose font, style, size in the Font tab
- Click Default > All documents based on the Normal template
- Changes apply to new Word documents only
I hope this tutorial gives you the control to easily set your preferred default font in Word for Mac. Let your documents reflect your personal style!
Frequently Asked Questions
Here are answers to some common questions about changing the default font in Word for Mac:
What if my changes don’t save properly?
If your new default font doesn’t stick, there may be an add-in or organizational permissions overriding the settings. You may need IT support to identify and disable the conflicting add-in.
Can I change the default font for headings or other styles?
Yes! In the Font window, use the dropdown menu at the top left to choose any other style, like Heading 1. Make your changes, click Default, and apply to the Normal template to customize headings.
What if I want different defaults for new documents vs templates?
When you click Default, choose “This document only” to apply to the current document or template. Choose “All documents based on the Normal template” for new documents.
What’s the keyboard shortcut to open the Font window?
Use Command + D to quickly open the font formatting options on Mac.
Can I change the default font color or size too?
Absolutely! When selecting your new default font, also customize the font color, size, underline, and any other formatting. Set as the new default to apply these universally.
I hope these tips help you master setting a personalized default font for all your Word for Mac documents. Reach out if you have any other questions!


