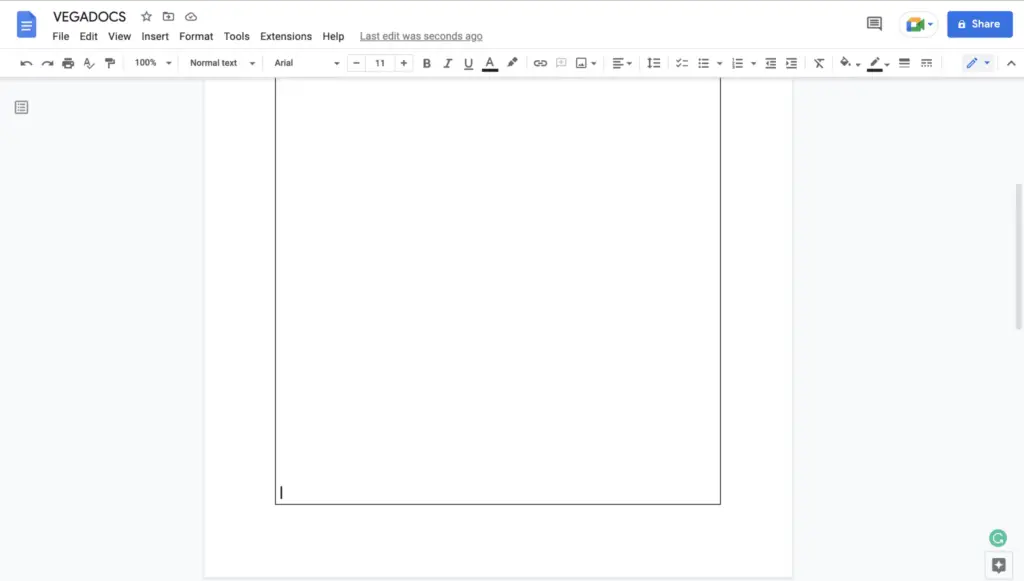
Google Docs is a fantastic tool for collaborative work. But with multiple people editing the same document, it can sometimes be hard to keep track of all the changes. Luckily, Google Docs has a built-in feature called Version History that allows you to see all the edits made to your document. Here’s a step-by-step guide on how to use it.
Step 1: Open Your Google Docs File
First things first, you need to open the Google Docs file you want to check. Just sign in to your Google account, head over to Google Drive, and double-click on the document you want to open.
Step 2: Accessing Version History
Once your document is open, it’s time to access the Version History. If you’re on a desktop, you can do this by clicking on File in the top menu, then hover over Version history, and finally click on See version history. Alternatively, you can use the keyboard shortcut Ctrl+Alt+Shift+H to open the Version History panel. Unfortunately, if you’re on an Android mobile device, you won’t be able to access this feature as it’s only available on the desktop web version.
Step 3: Reviewing Changes
Now that you’ve opened the Version History panel, you’ll see a list of all previous versions of your document, arranged in chronological order. Each version is timestamped, so you can see exactly when each change was made.
To see the changes made in a particular version, just click on it. The changes will be highlighted in the document, with different colors representing different editors. If you hover over these highlights, you’ll see who made each change. This is a great way to keep track of who’s doing what in your document.
Step 4: Restoring or Copying an Older Version
Sometimes, you might want to revert back to an older version of your document. To do this, just click on the version you want to restore, and then click on Restore this version. Be careful though, as this will replace your current document with the older version.
If you don’t want to replace your current document but still want to retrieve some content from an older version, you can make a copy of it. Just open the version you want to copy, click on File in the top menu, and then click on Make a copy.
Step 5: Tips for Using Version History
To make the most of the Version History feature, here are a few tips:
- Name your versions: This can make it easier to find specific drafts or versions of your document. To name a version, just click on the three-dot menu next to it in the Version History panel, and then click on
Name this version. - Use the “See New Changes” notification: This notification pops up when you open a document that has been edited since you last viewed it. Clicking on it will take you straight to the Version History panel, where you can review the recent edits.
- Remember that Version History works the same way in Google Docs, Sheets, and Slides: So you can use these steps to review changes in any of these applications.
And there you have it! With these steps, you can easily keep track of all the changes made to your Google Docs file. Happy collaborating!


