Rotating text boxes in Microsoft Word allows you to add visual interest to your documents. You can make section headers stand out, emphasize key points, and draw attention to important text.
In this comprehensive tutorial, you’ll learn 5 methods to rotate text boxes in Word on both Windows and Mac.
Method 1: Use the Rotation Handle
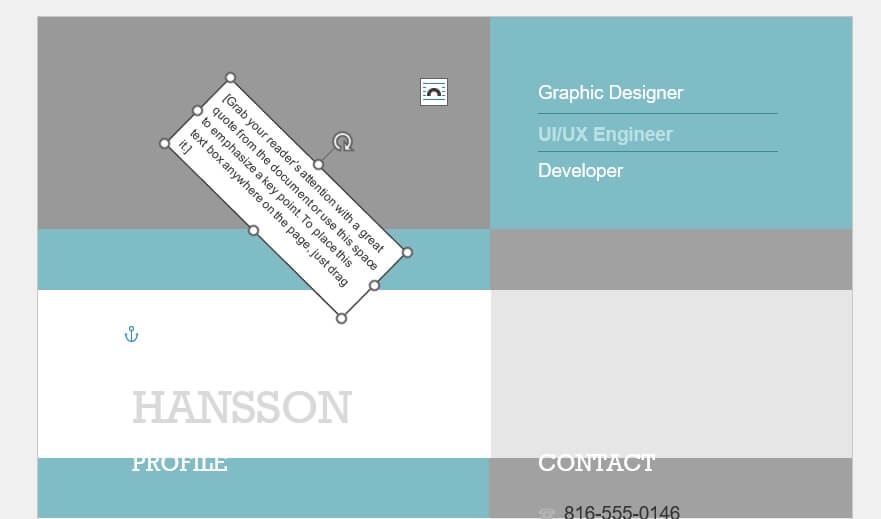
The easiest way to rotate a text box is using the rotation handle. Here are the steps:
- Insert a text box and enter your text (Insert > Text Box)
- Click inside the text box to select it
- A circular rotation handle will appear at the top of the text box
- Click and drag the handle left or right to rotate the text box
Pro Tip: Hold the Shift key while rotating to constrain the movement to 15 degree increments.
Method 2: Ribbon Tools
You can also use Word’s ribbon tools to quickly rotate text boxes 90 degrees left or right:
- Select the text box
- Go to Shape Format > Rotate Objects
- Choose Rotate Left 90° or Rotate Right 90°
On Mac: Go to Shape Format > Arrange > Rotate instead.
To set a custom rotation angle (like 45 degrees or 135 degrees):
- Select the text box
- Go to Shape Format > Rotate > More Rotation Options
- Enter the angle in degrees (0 to 360)
On Mac: Choose Shape Format > Arrange > Rotate > More Rotation Options
Method 3: Format Shape Task Pane
Another option is to use the Format Shape task pane:
- Right-click the text box and choose Format Shape
- Go to the Size & Properties tab
- Under Text Box, choose a rotation option from the Text Direction dropdown
You can rotate text left, right, or reverse it upside down.
Method 4: Keyboard Shortcuts
My favorite way to quickly rotate a text box is using keyboard shortcuts:
On Windows:
- Ctrl + Shift + Right Arrow: Rotate 90° right
- Ctrl + Shift + Left Arrow: Rotate 90° left
On Mac:
- Option + Right Arrow: Rotate 90° right
- Option + Left Arrow: Rotate 90° left
Method 5: Drag and Rotate Freely
You aren’t limited to 90 degree rotations. To freely drag a text box to any angle:
- Select the text box
- Hold the Ctrl key (Windows) or Command key (Mac)
- Click and drag a corner handle to rotate
Release the mouse when the text box reaches the desired angle.
Tips for Rotating Text Boxes
When rotating text boxes in Word, keep these tips in mind:
- Resize the text box after rotating to fit the text properly
- Realign or center the text within the rotated text box
- Add a text box fill color or border to make it stand out
- Experiment with different rotation angles to find what looks best
Common Questions about Rotating Text Boxes
Here are answers to some common questions about rotating text boxes in Word:
Can I freely rotate text without a text box?
No, you must first place text inside a text box in order to rotate it.
How do I rotate an image?
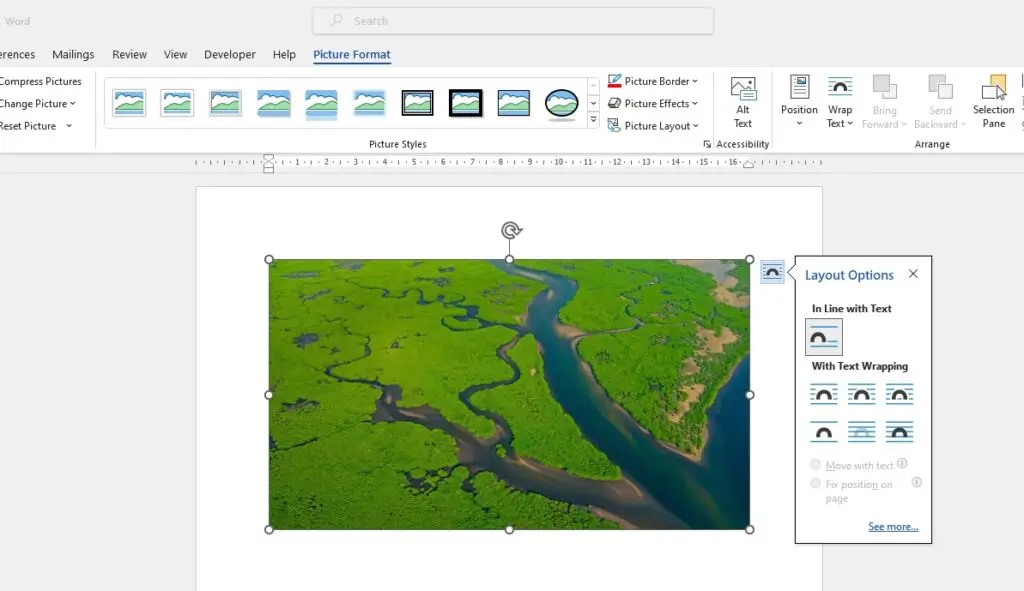
The same rotation tools work for shapes, images, charts, and other objects. Select the object, then use the rotation handle or ribbon commands.
Why is my text disappearing when I rotate the text box?
This happens if the text box is not sized properly. After rotating, you may need to enlarge the text box manually so all the text is visible.
Can I rotate an entire line of text on the page?
No, Word does not allow rotating loose text on the page. You must first select the text and insert it into a text box before rotating.
Is there a way to rotate text without distortion?
Yes, if your text appears distorted after rotating, right click the text box and choose Format Shape. On the Properties tab, check the Do Not AutoFit option to prevent distortion.
I hope this comprehensive tutorial gives you the skills to easily rotate text boxes to customize your Word documents! Let me know if you have any other questions.


