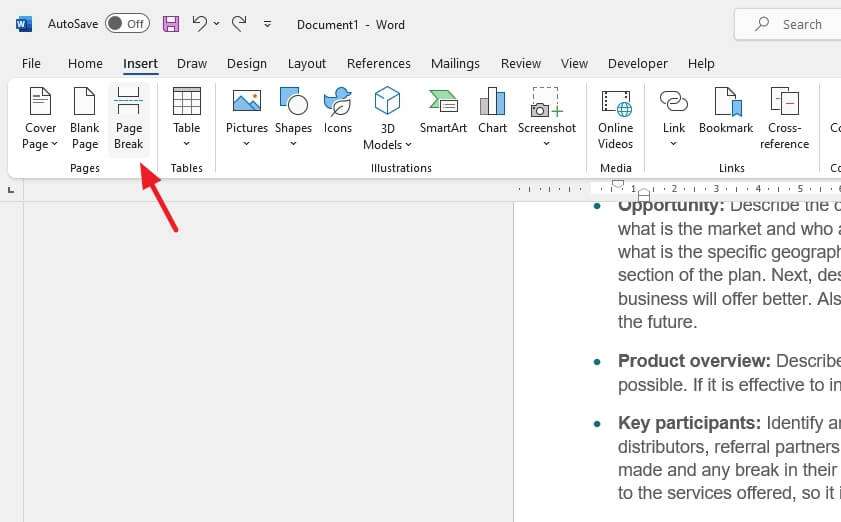
Page breaks in Word documents allow you to control where one page ends and the next one begins. While Word inserts automatic page breaks for you, you can also insert manual page breaks yourself. However, you may later decide you don’t want a particular manual page break anymore. Fortunately, Word makes it easy to remove page breaks that you no longer want.
Types of Page Breaks
There are two main types of page breaks in Word:
- Automatic page breaks – These are inserted by Word automatically as you add content. You cannot remove automatic page breaks, but you can adjust where they occur.
- Manual page breaks – Also called hard page breaks. These are inserted manually by the user. You can delete manual page breaks.
View Page Breaks
Before removing page breaks, it helps to view them in your document first. To view page breaks:
- Go to the Home tab
- Click the Show/Hide button to show nonprinting characters
- Page breaks will appear as dotted lines across the page
By default, only manual page breaks are shown using this method. To view automatic page breaks as well:
- Go to File > Options > Advanced
- Under Show Document Content, check the box for Show automatic page breaks
- Click OK
Remove a Manual Page Break
To remove a manual page break:
- Make sure nonprinting characters are showing (see above)
- Double-click the manual page break to select it
- Press Delete
That’s it! The page break is removed, allowing content to flow onto the previous page.
Adjust Automatic Page Breaks
While you cannot delete automatic page breaks, you can adjust where they occur in your document. There are a few ways to do this:
1. Reposition the Page Break
In Print Layout view:
- Turn on rulers by clicking the View Ruler button on the status bar
- Hover over the intersection of the vertical and horizontal ruler where you want the page to break
- Drag the page break indicator up or down
2. Change Page Break Settings
- Select the paragraph(s) you want to apply settings to
- On the Layout tab, click the Breaks button
- Select Page Break Before or another option
3. Modify Paragraph Line and Page Break Settings
- Select the paragraph(s)
- Right-click and select Paragraph
- On the Line and Page Breaks tab, set page break options
Remove All Manual Page Breaks
To quickly remove all manual page breaks at once:
- Press Ctrl + H to open the Find and Replace dialog box
- Click the More > > button
- Select Special from the dropdown menu
- Check the Manual Page Break checkbox
- Leave the replace with field empty
- Click Replace All
And all manual page breaks will be removed!
Troubleshooting Tips
- If page numbers change unexpectedly after removing a page break, insert a section break before the affected text
- Use headings and styles consistently so removing page breaks doesn’t affect formatting
- View all nonprinting characters to identify the cause of any odd formatting issues
Following these simple steps will allow you to remove page breaks efficiently in Word without hassle. Just view the breaks, select them, and delete!


