Printing on envelopes in Microsoft Word is easy once you know the steps. Here is a comprehensive guide on envelope printing in Word.
Set Up the Envelope
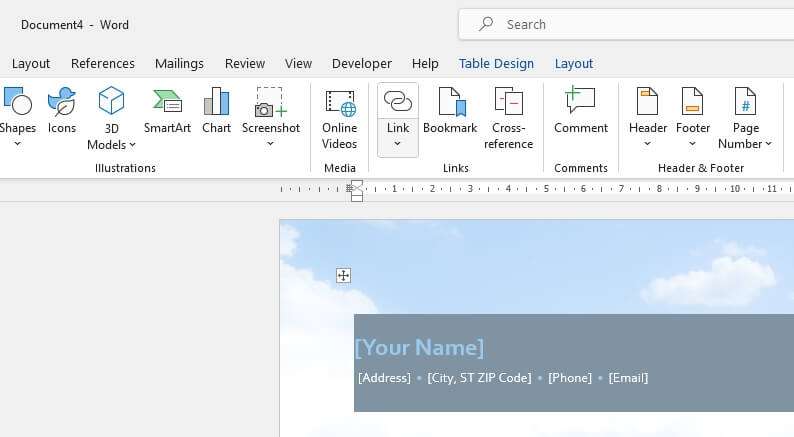
- Go to the Mailings tab and click Envelopes
- Enter the delivery address and return address
- Click Options to set envelope size, font, layout, etc.
- Click the Printing Options tab and set the feed method
- Insert a test envelope in the printer tray as shown in the diagram
- Click Print to test the envelope
Adjust Envelope Settings
- If the test print is off, go back and tweak the layout, font, feed method, etc.
- The trickiest part is orienting the envelope properly in the printer tray
- Consult your printer manual if the alignment is still off
- For extra long addresses, increase the left margin offset
- Click Add to Document to save the envelope formatting
Print Envelopes in Batch
- Once the test print works properly, you can print multiple envelopes
- Create a blank document and go to Mailings – Start Mail Merge – Envelopes
- Choose your data source (Excel sheet, Outlook contacts, etc)
- Use the arrow buttons to preview each envelope before printing
- When ready, click Finish and Merge, then Print Documents
More Envelope Printing Tips
- Save custom envelope sizes to reuse later under Options – Envelope Options
- Use mail merge for mass mailing with personalized envelopes
- Print a single envelope from an open document using Print Current Page
- Troubleshoot issues by updating printer drivers and checking Word print settings
Format the Envelope Template
Envelopes can be formatted just like documents in Word. You can:
- Change font sizes, types, color for addresses
- Add images and logos in the header or return address
- Set margins, layout, orientation, etc.
- Use page borders, watermarks and other effects
The key things to keep in mind are:
- Adjustments require clicking back into Envelope Options
- Graphics may need to be shrunk to fit the envelope space
- The correct paper size must be set in Page Setup
Customize Envelopes for a Professional Look
Once you understand the basic envelope printing process, you can customize envelopes in Word to suit your business or personal needs.
Use Color and Graphics
Add your logo, images, or text effects to the envelope template. This adds a nice professional touch to envelopes. Just be careful with ink use if printing color envelopes in bulk.
Size Them Right
Rather than settling for common envelope sizes, enter custom dimensions for square envelopes, oversized envelopes, catalog envelopes, invitation envelopes, etc.
Match to Letterhead
Design custom envelopes to perfectly match your letterhead font, colors and formatting. This makes for beautiful professional stationery.
In conclusion, Word makes printing envelopes fast and easy. With a little practice, you can customize them to match letters, invoices, invitations or marketing mailings. So rely on Word’s envelope printing capabilities to save time and effort.


