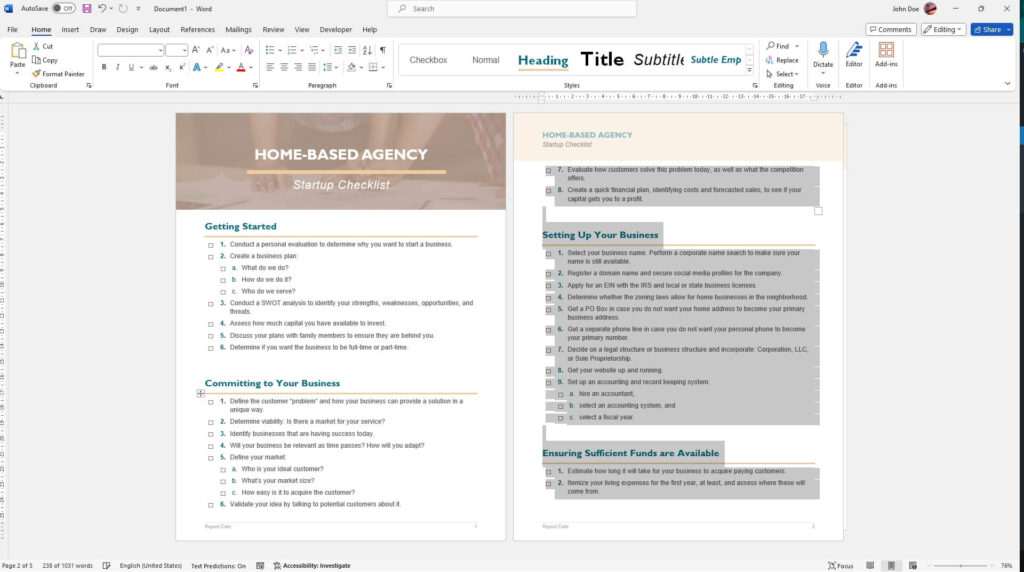
Microsoft Word is the most popular word processing application and is included in Microsoft’s Office 365 suite. Printing your Word documents properly is essential whether you are printing letters, reports, brochures, resumes, or any other type of document. Here are some best practices for printing from Word 365.
Preview Your Document Before Printing
Before sending your Word document to the printer, it’s a good idea to preview it first:
- Click the File tab
- Click Print on the left sidebar
- Review your document in the print preview pane on the right
The print preview shows you exactly how your document will look when printed. This allows you to catch any issues with margins, formatting, page breaks, etc. before you waste paper and ink.
You can scroll through each page of the preview using the arrows at the bottom. Zoom in or out using the slider to get a closer look at the text and images.
Choose the Correct Printer
Make sure you have the right printer selected before you print:
- In the Print pane, click the Printer drop-down menu
- Select the desired printer if not already chosen
- Click Printer Properties to view and change settings for that printer
Having the wrong printer selected is a common cause of printing problems. Always double check that your intended printer is chosen before clicking print.
Adjust Page Settings
Adjust your page settings as needed before printing:
- Size – Letter, Legal, A4, etc.
- Orientation – Portrait or Landscape
- Margins – Standard margins are 1″ all around
- Scale – Fit more words on each page by reducing the scale
Click More Settings at the bottom to access advanced options like duplex printing (double-sided) and booklet layout.
Print in Color or Black and White
To print in color or black and white:
- Click the Color drop-down menu
- Choose Color or Grayscale
Printing in grayscale instead of full color can save significant ink when color isn’t necessary.
Choose Number of Copies
Specify how many copies you need:
- Click in the Copies field
- Type the number of copies to print
Print just one copy first to confirm everything looks right before printing many copies with potential errors.
Print a Selection of Pages
Rather than printing hundreds of pages, you can choose to only print a section:
- Click More Settings
- Click Print All Pages
- Choose Custom Print
- Enter page numbers and/or page ranges separated by commas
For example, to print pages 2-5, 15, and 20-25, you would enter:
2-5, 15, 20-25Print Part of a Page (Snipping Tool)
To print just a clip of part of a page rather than the whole page:
- Select the desired text/images, right-click, choose Copy
- Open Snipping Tool (included free in Windows)
- Click New then click and drag to select area on blank Snipping canvas
- Right-click inside selection, choose Paste
- Click File > Print to send selection to printer
The Snipping Tool is great for quickly printing a snippet or screenshot without printing multiple pages.
Troubleshoot Print Failures
If your Word document fails to print properly:
- Confirm the printer is on and has paper/ink
- Test printing from another program like Notepad to isolate the issue
- Try a Word test page to determine if it’s a printer, driver or Word issue
- Update printer drivers and reboot
- Repair your Office 365 installation
See Microsoft’s printing troubleshooter for advanced tools to diagnose printer problems.
Print to PDF
To save paper and ink, print documents to PDF files instead:
- Click File > Print
- Under printers, choose Microsoft Print to PDF
- Click Print. Choose location to save PDF file
PDF files look identical to printed pages. You can email PDFs, upload them to websites, or print them in the future.
Conclusion
Following proper printing techniques in Word 365 results in professional printed documents without wasted paper and ink. Always preview first, choose printer settings wisely, print selectively, and troubleshoot issues as needed. Learning to maximize Word’s versatile printing options can improve productivity and efficiency.


