Google Docs doesn’t make it easy to make envelopes. Unlike other word processors, this one doesn’t have menu buttons or built-in envelope templates that let you create a page of a specific size right away.
Add-ons can, however, be used. Installing a Google Docs envelope add-on gives you access to a list of page sizes that instantly change the document. You need to add names and addresses to it, and then you can print your envelopes.
These instructions work on the desktop site on any modern browser, like Chrome, Edge, etc.
Install an Envelope Template Add-on
Choosing the right page size is the essential part of printing envelopes. Google has a few pre-set sizes in the Page setup setting, but we’ll use an add-on to make it even easier.
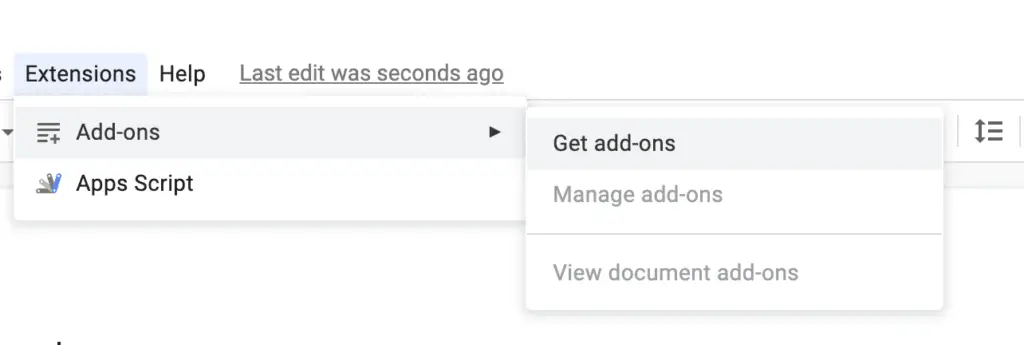
1. Go to Add-ons > Get add-ons.

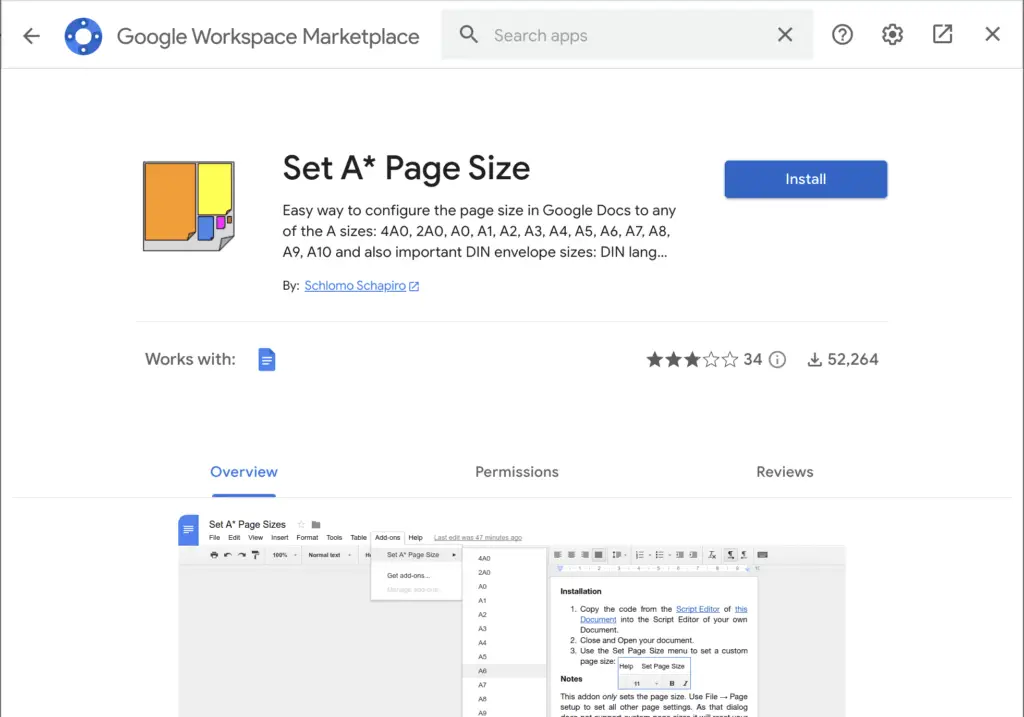
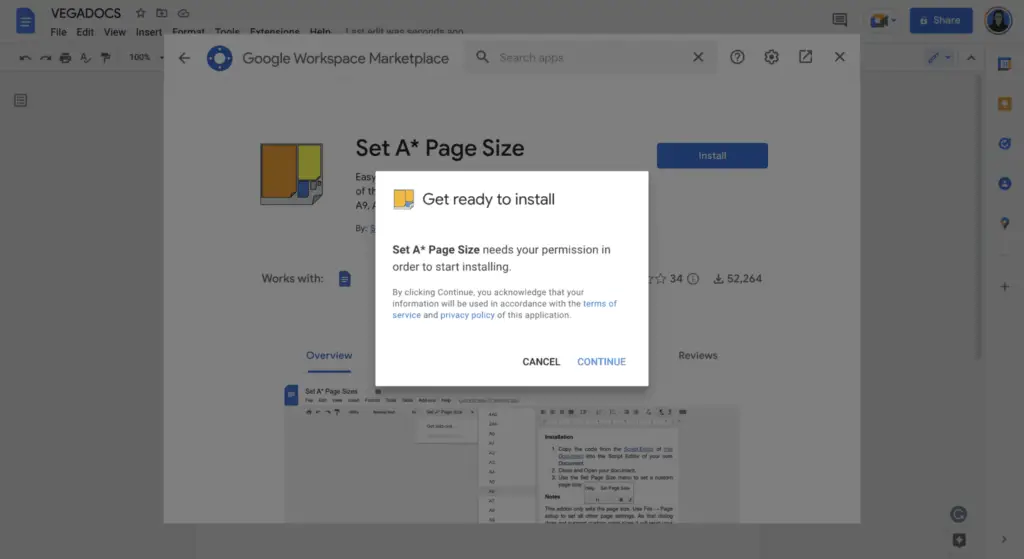
2. Find an add-on like Set A* Page Size that lets you change the size of the paper. When you see it, click on it, then choose Install and Continue (you might also need to permit it to access your Google account). We’ll use Set A* Page Size for the rest of this article.

3. Close the confirmation box and the add-on window, and then open the document you want to use as the envelope. It’s fine if it already has been addressed, or you can start from scratch.

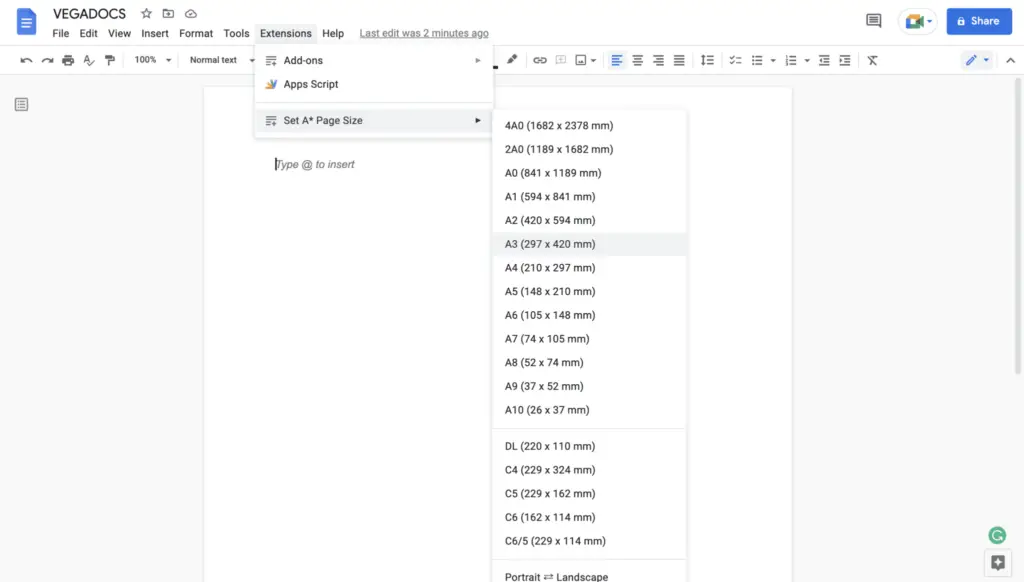
4. Go back to the Add-ons menu, but choose Set A* Page Size to see a complete list of all the supported paper sizes.

Choose one of the sizes to make the document change right away. You’ll need to know the size of your envelope so you can match it in millimeters.
If the size of envelope you need isn’t listed, you can choose the Page Sizer add-on, which lets you set any size. Here is a list of standard envelope sizes and a way to convert between millimeters and inches if you are confused about envelope sizes.


