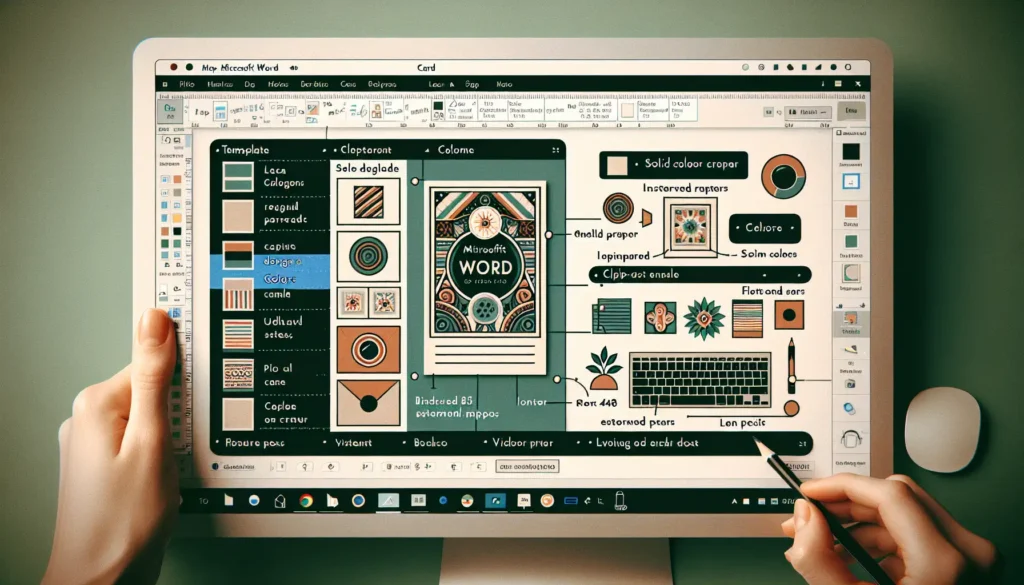
Making cards on Microsoft Word is easy and fun! With some simple design techniques, you can create beautiful, customized cards for any occasion right from your computer. In this article, we’ll walk through the step-by-step process to make a greeting card, birthday card, or holiday card in Word.
Choose a Template
The first step is choosing a card template within Word to use as a starting point. Under the “File” tab, click “New” and then search the available templates for “cards.” Here you’ll find various sizes and styles of cards with nice design elements already incorporated that you can edit.
Alternatively, you can start with a blank 8.5×11″ document and adjust the page setup to your desired card dimensions. Common card sizes are 4×6″, 5×7″, and 8.5×11″ trimmed down. Under “Layout,” click “Size” and enter your custom width and height.
Add a Background
Once you have a document open, think about the occasion for your card and what kind of background would suit it well. For many cards, using a solid color background looks classic and elegant. Click “Design” and choose a color palette to select a shade you like.
You can also insert a patterned paper by clicking “Insert > Pictures” and choosing one you have saved on your computer. Adjust the size to cover the whole background and send it back one layer so text is visible over it.
Insert Graphics
The right graphic or photo can make your greeting card design really stand out. Click the “Insert” tab to browse clipart, icons, 3D models, and more to find images that fit with your card. If using your own photos, insert them the same way and resize appropriately.
Play around with layering multiple visual elements. For example, put a decorative frame shape behind your photo to accent it. Graphics should complement the sentiment and theme of your card.
Include Text Elements
Add text boxes from the “Insert” tab to include headings, subheadings, captions, or body text. Play with font styles and sizes to differentiate sections of text. For a title or names, try a large, bold font. Use italics, underlining or different colors to make key parts stand out.
Insert text boxes for a written message, poem, song lyrics or anything else you want to say. Use WordArt styles found under “Insert” if you want a prominent, stylized text element. Personalize the wording for whoever will receive your card.
Embellish with Shapes
Under the “Insert” tab you’ll also find a wide selection of shapes you can add as decorative embellishments. Simple lines, arrows, and banners work for lots of card designs. Overlap circles or squares to make frames for photos.
Shape options like stars, hearts, flowers and more can accent birthdays, thank you notes, Mother’s Day cards or other themes. Play around with patterns, colors and layering for lots of looks.
Final Touches
Before printing your card, look it over to make sure the layout is balanced and text is clear against the background. Check for any mistakes needing correction.
You may want to add your name, date or a personal note by hand once printed. But if not, go to “Insert > Text Box” and type it directly on your card. When you’re happy with the final design, go to “File > Print” to print out your creation!
Get Creative!
Making cards in Word is so versatile since you have full editing capabilities to add your own creative flair. Change up the templates, play with fonts, insert your own graphics and embellishments—the options are endless! Use these design tips to guide you, but don’t be afraid to experiment and make it your own.


