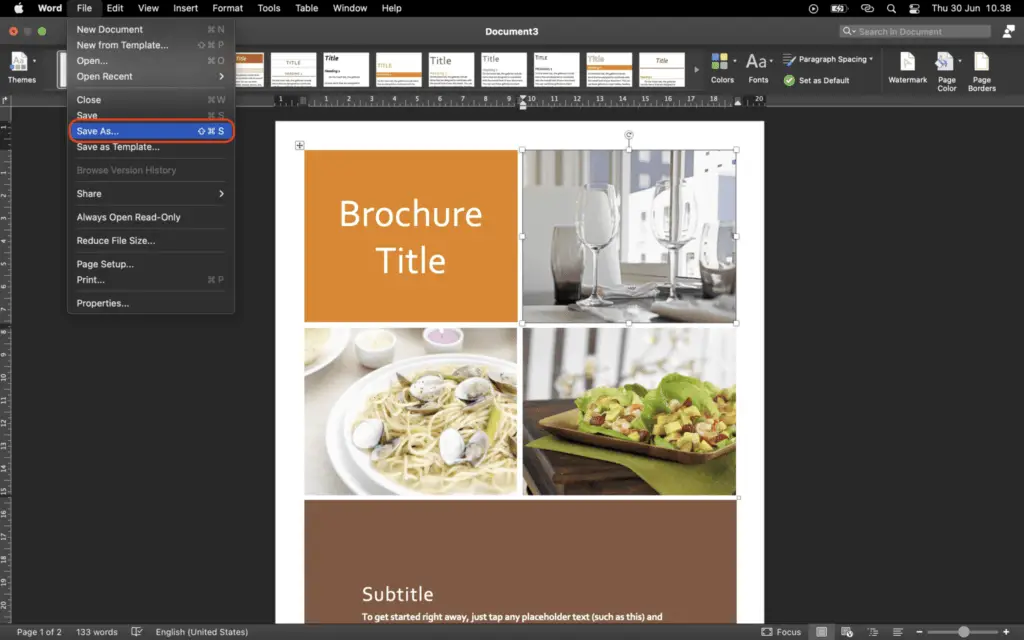
This tutorial will teach you how to build a brochure in Microsoft Word by using a pre-existing template or by customizing a template you have created yourself. Word for Microsoft 365, Word 2019, Word 2016, Word 2013, and Word 2010 are all included in these instructions.
In any version of Microsoft Word, the easiest way to make a brochure is to start with a template. This is because the columns and placeholders are already set up. Make changes to the document and add your own words and pictures.
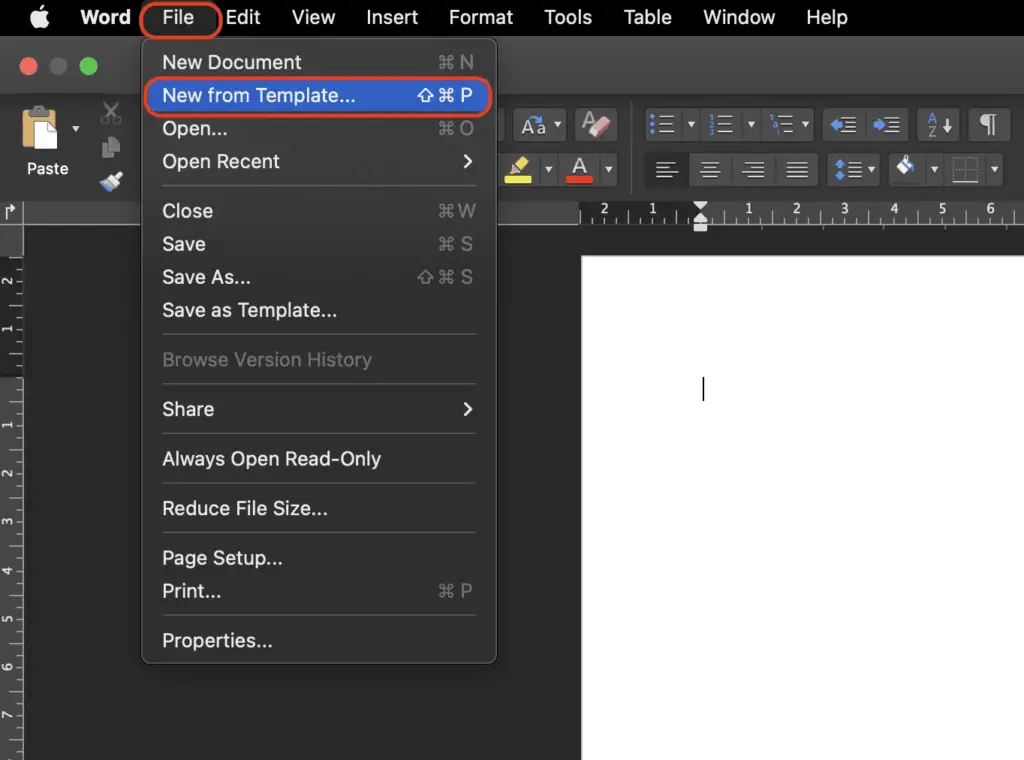
1. Click on “File” > “New From Template”

2. After that, you will see lots of template that you can choose.
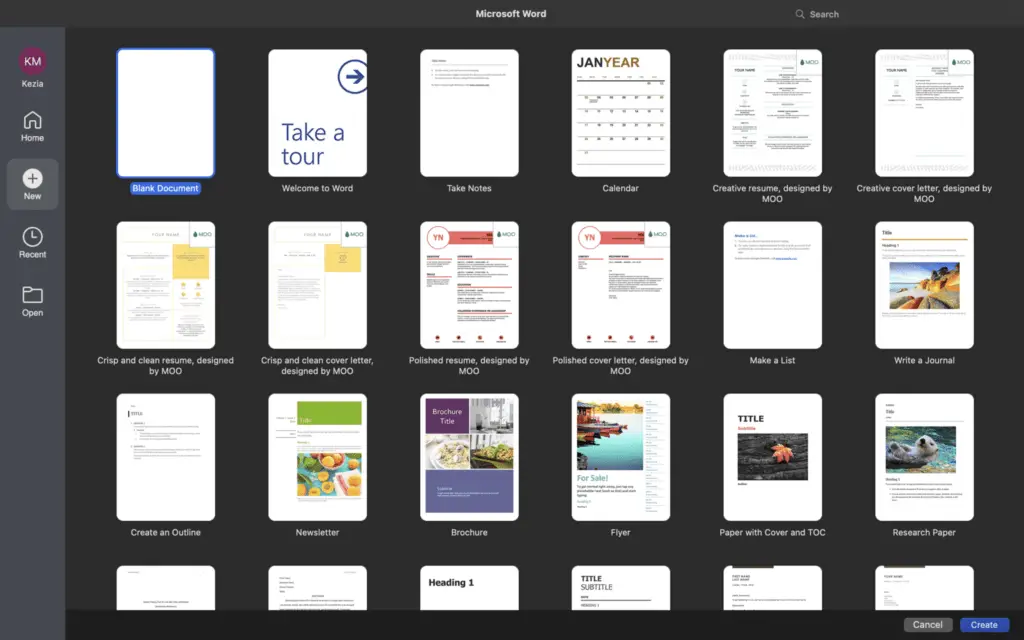

3. The search bar is highlighted on the Word screen for a new document. Choose the style you want and click Create to save the template to your computer. The template opens in a new Word document by itself.
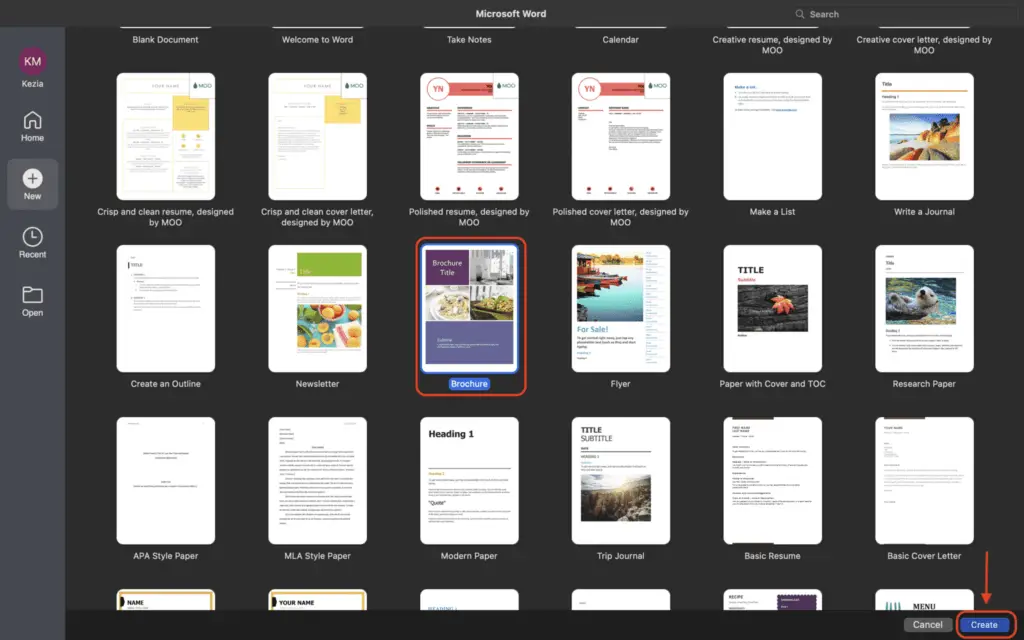

4. Choose an example of text in any section and type in your own. Change all of the sample text in the template.
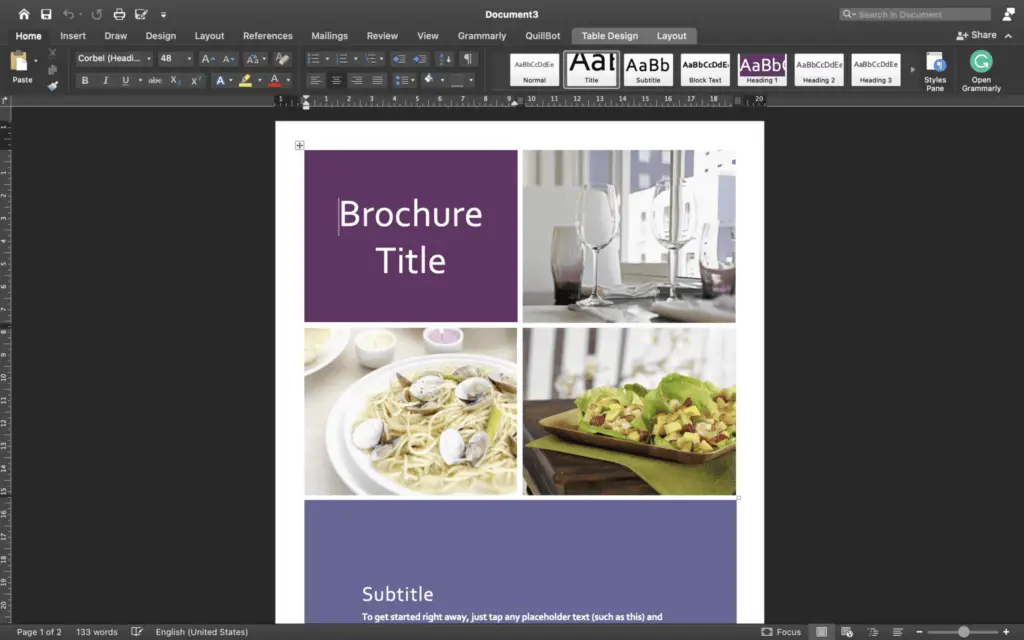

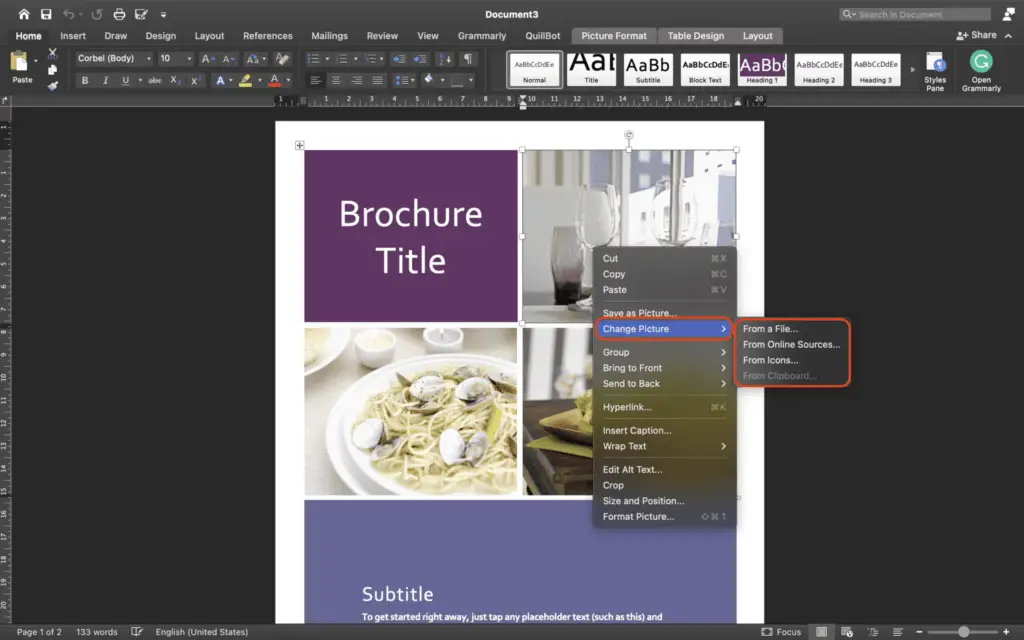
5. If you want, you can change the sample images. Right-click on an image you want to change, then click Change Image. Choose where the picture you want to use, find it, and then click the Insert button.

6. Go to the Design tab to change the color scheme of the template.
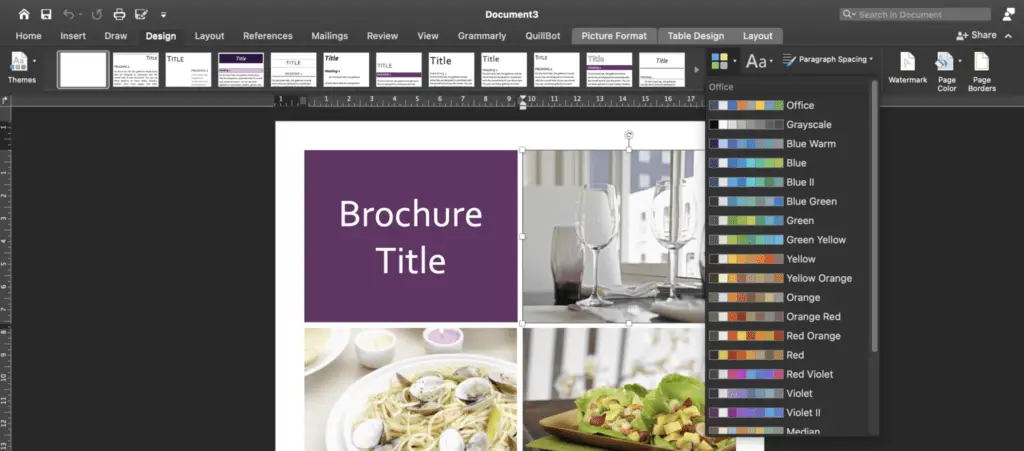

7. Choose a theme from the Colors drop-down menu.
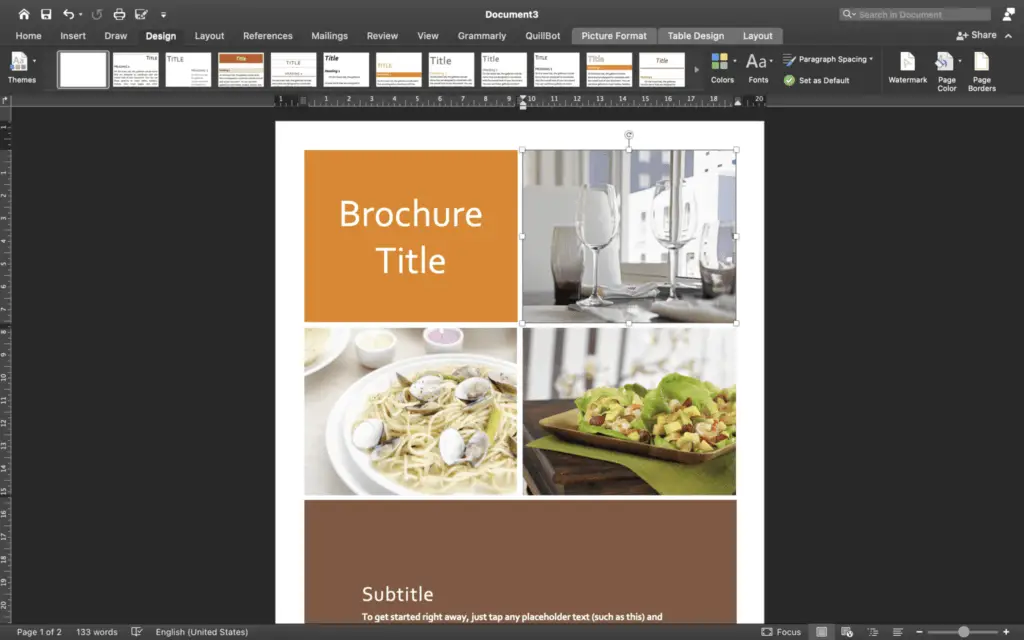

8. When you’re done making changes to the brochure, save the changes. Find out how to print on both sides of a page by looking at the printer’s manual or the manufacturer’s website.
