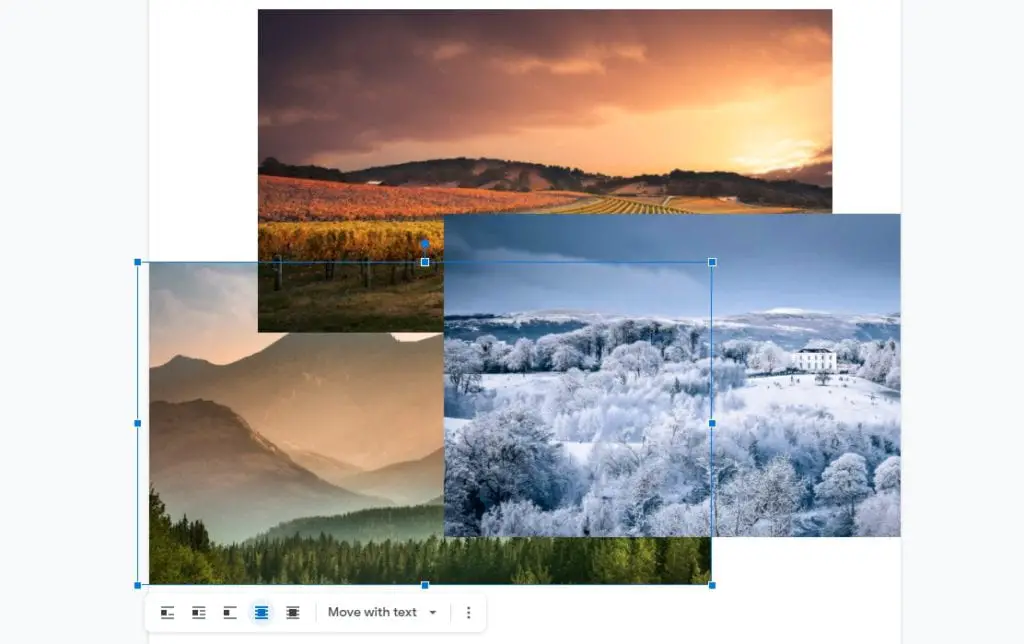
Positioning images alongside text in a Google Docs document can be tricky. When you add, delete, or move text, any images not locked into place tend to shift around. This can mess up your carefully designed page layout.
Fortunately, Google Docs makes it easy to lock an image into a fixed position so it stays exactly where you want it, even when editing surrounding text.
Benefits of Locking Image Positions
- Maintain consistent layout and design
- Prevent images from moving around unexpectedly
- Keep images aligned with related text
- Retain proper image spacing and margins
Steps to Lock an Image in Google Docs
Locking an image in Google Docs takes just a few clicks. Follow these simple steps:
- Select the image in your document that you want to lock. The image toolbar will appear.
- Click the “Wrap text” icon in the toolbar. This adjusts text wrapping settings.
- Choose “Fix position on page” from the drop-down menu. The image will now stay fixed in position.
Here is a visual summary:
Lock Image Position
And that’s it! The image is now locked in position on the page. You can move other text and elements around freely without displacing the locked image.
Adjust Image Position Relative to Page
You can further tweak a locked image’s positioning relative to the top left corner of the page:
- Select the locked image to open the toolbar.
- Click the three dots icon > All image options.
- In the sidebar, go to the Position section.
- Adjust the X and Y values to nudge the image’s spot as needed.
Additional Tips
- Use page inches to specify position.
- X moves image left/right.
- Y moves image up/down.
Utilize Layout Quick Settings
Google Docs includes layout presets to quickly snap a locked image into common positions:
- In the image options sidebar, go to Quick layouts.
- Click through the layout thumbnails to preview the arrangements.
- Choose a layout to automatically reposition the locked image.
Unlock Images
To unlock an image so it moves freely again:
- Select the image and open the toolbar.
- Under “Move with text” choose “Move with text” from the drop-down menu.
The image will now travel with the surrounding text just like a regular inline image.
Why Lock Images in Google Docs
Here are some key reasons why you should make use of image locking:
- Display images beside related text
- Align images precisely
- Design visually appealing documents
- Create polished reports and proposals
- Retain layouts when collaborating
So don’t hesitate to lock down images in your Google Docs files! Adjusting text around unlocked images can get frustrating. This simple feature makes document formatting much easier.
Just remember these key steps:
- Select image
- Click “Wrap text”
- Choose “Fix position on page”
Then tweak the fixed image position using sidebar settings. Happy document creating!


