Adding lines in your Google Docs documents can help improve readability, organize content, and make your documents look more professional. In this comprehensive guide, we will cover everything you need to know about inserting horizontal lines, vertical lines, and custom lines in Google Docs.
Why Use Lines in Google Docs
Here are some of the key reasons to use lines in your Docs documents:
- Separate sections or break up long blocks of text
- Highlight or emphasize important points
- Organize content into columns
- Improve overall visual appeal
- Add a stylistic flair or decorative touch
Lines allow you to guide the reader’s eye, draw attention to key messages, and divide up content in a neat and orderly fashion.
How to Insert a Horizontal Line
Inserting a basic horizontal line in Google Docs is very straightforward:
- Place your cursor where you want the line to appear
- Click Insert > Horizontal Line in the menu bar
- A horizontal line will be inserted across the full page width
You can then adjust the line’s placement by clicking and dragging it to the desired position.
To delete a horizontal line, simply double-click on it and press the Delete key.
Customize Horizontal Line Styles
To customize a horizontal line’s style, thickness, color, etc. use the following steps:
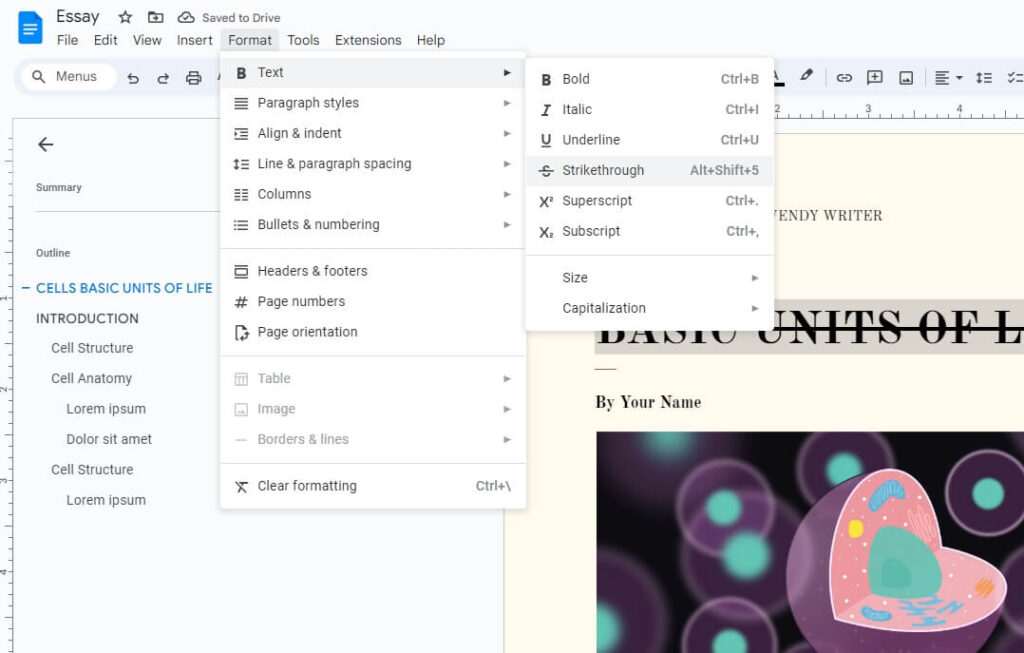
- Click Format > Paragraph Styles > Borders and Shading
- Select horizontal line positioning and customize style options
- Click Apply when finished
You now have a great looking customized horizontal line!
How to Insert a Vertical Line
Adding vertical divider lines in Docs takes just a few clicks:
- Click Insert > Drawing > New
- Select the Line icon then hold Shift to draw a straight vertical line
- Customize thickness, color, etc. and click Save and Close
The vertical line will now split your document or highlight specific sections.
Alternatively, you can add vertical lines on either side of a paragraph by using border formatting:
- Highlight paragraph and click Format
- Select Paragraph Styles > Borders and Shading
- Choose left and right border positions
- Customize style options and click Apply
Tips for Using Lines Effectively
- Use multiple horizontal lines to divide long documents into distinct sections
- Place vertical lines between side-by-side columns of text or bullet points
- Make key lines slightly thicker or bolder to emphasize importance
- Match line colors to complementary colors used in text formatting
- Experiment with custom dashed and dotted line styles
With some strategic placement and styling, lines can really take your documents to the next level visually.
Frequently Asked Questions
Can I adjust line placement after inserting?
Yes! Simply click and drag horizontal lines to reposition them anywhere on the page. For vertical lines drawn with the line tool, click on the line to reopen editing options and adjust position.
Is there a faster way to insert multiple horizontal lines?
Use the keyboard shortcuts Shift + Hyphen to quickly insert horizontal line symbols in succession across a document.
How do I delete lines in Google Docs?
To remove any lines, simply double-click the line and press Delete on your keyboard. This works for both horizontal and vertical divider lines.
Can I match line colors to my text or theme?
Absolutely! When customizing lines using the borders and shading menu, choose from an extensive palette of colors to find one that complements other formatting in your document.
Hopefully this guide has helped explain the myriad options for effortlessly inserting professional looking lines in Google Docs. With the right techniques, lines can take your documents to the next level both visually and organizationally.


