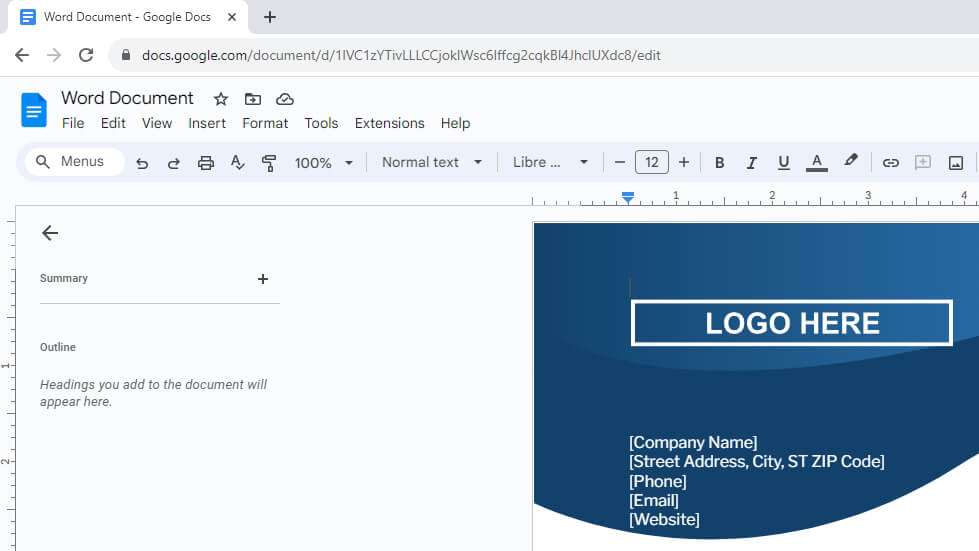
Google Docs comes with a set of default fonts, but you can access many more font styles to customize the look of your documents. Here is a guide on how to find, add, and remove fonts in Google Docs.
Finding Available Fonts in Google Docs
To see the fonts available in Google Docs:
- Open a document in Google Docs
- Click on the font dropdown menu in the toolbar (it will likely say “Arial” by default)
- Scroll down and select “More fonts” at the bottom of the menu
A dialog box will open up displaying a vast collection of fonts you can add.
Browsing for Fonts
In the font dialog box you can:
- Search for specific font names using the search bar
- Filter fonts by categories like “Serif,” “Display,” or “Handwriting” using the “Show” menu
- Sort fonts by popularity, alphabetical order, or date added using the “Sort” menu
- See font previews by hovering over the fonts
- See which fonts are trending based on usage
Browse until you find fonts you would like to use.
Adding Fonts to Your Google Docs List
To add a font:
- Select the desired font from the font dialog box in Google Docs
- A checkmark will appear next to the font to indicate it has been added
- Click “OK” to exit the font dialog box
The font will now be available in your font dropdown menu to use in your document.
Setting a Default Font
You can also set any new font as the default:
- With the new font highlighted in your document, click “Format”
- Select “Paragraph styles” > “Normal text”
- Click “Update ‘Normal text’ to match”
Now this font will be the default for all new Google Docs you create.
Removing Fonts
To remove a font you no longer need:
- Access the font dialog box and click “Customize”
- Locate the font you want to remove
- Click the trash can icon next to the font to delete it
- Click “OK” to exit
The font will be removed from your available fonts list.
Adding Custom Fonts
Unfortunately, Google Docs does not allow you to upload your own font files. However, you can add custom fonts through third-party Google Docs extensions.
Some popular font extensions to check out include:
- Extensis Fonts – Provides access to over 800 extra fonts
- Font Awesome – Gets you iconic fonts and symbols
- Google Fonts Add-on – Allows advanced font filtering and previewing
To add an extension:
- Open your Google Doc
- Select “Add-ons” > “Get add-ons” from the toolbar
- Search for the extension you want (e.g. “Extensis Fonts”)
- Click “Install” to add it to Docs
- The fonts will now show up in your font menu for use
Tips for Using Custom Fonts
- Make sure any fonts you use are licensed for commercial or public use
- Stick to standard fonts like Arial or Times New Roman when sharing documents publicly
- Use fonts consistently throughout a document for a cohesive look
- Avoid using too many different fonts and font styles together
- Preview fonts in different sizes to ensure legibility
Using the right fonts is an impactful way to customize the look of your Google Docs. Follow this guide to access the huge collection of fonts available and make your documents stand out!


