Fading pictures in Word allows you to make images blend into the background, create transparent effects, and more. This gives your document a more polished and professional appearance. Fading is easy to do once you know where to find the formatting options.
Why Fade Images
Here are some reasons you may want to fade an image in Word:
- Emphasize other content on the page, like text or other images
- Make an image look older for a vintage style
- Create transparent overlays and textures
- Make part of an image blend into the background
- Add depth by placing faded images behind non-faded content
Fading can create cool effects and draw attention where you want it in your document.
Access Picture Format Options
To fade a picture in Word, the first step is to select the image. You can do this by clicking on it.
Once it’s selected, the Picture Tools Format tab will appear on the ribbon.
Picture tools format tab
Here you’ll find all the formatting options for images. Look for the various sections:
- Adjust group
- Picture Styles group
- Arrange group
These contain commands like artistic effects, color changes, crop, transparency, and more.
Adjust Transparency
The easiest way to fade an image is to adjust its transparency. Here’s how:
- Select the picture
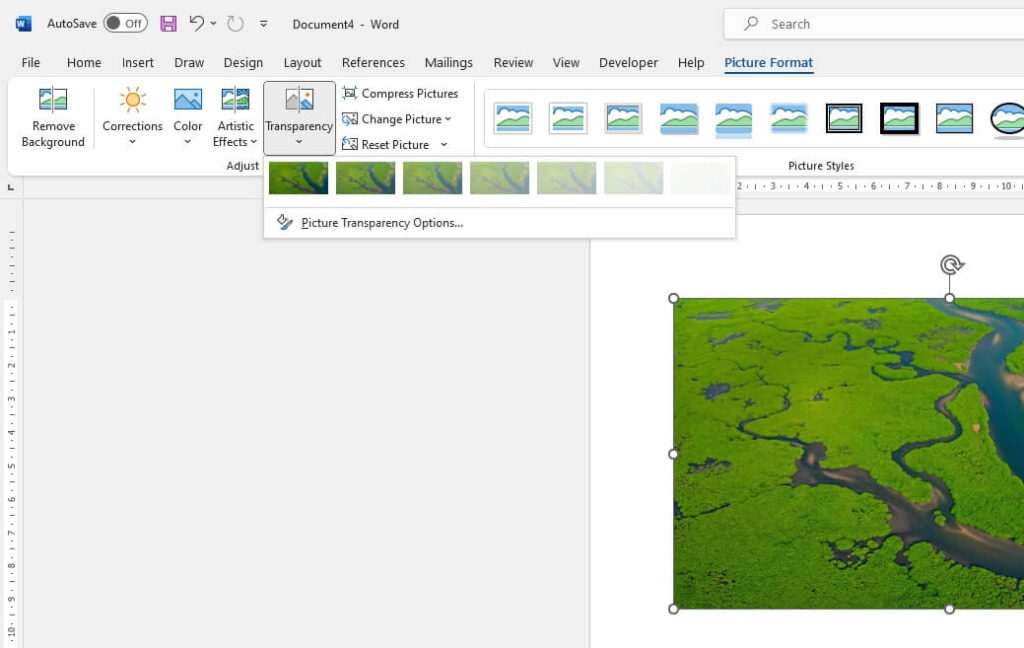
- Click the Transparency button in the Adjust group
- Choose a preset transparency percentage or select Picture Transparency Options
Transparency options
Lower percentages make the image more transparent and faded. You can also set a custom transparency with the slider.
Use Artistic Effects
Under Artistic Effects in the Adjust group, there are some quick effects you can use to fade an image:
- Pastels – Fades and softens colors
- Watercolor – Applies a translucent washed out effect
- Glowing Edges – Fades the image to just its edges
- Blur – Blurs the image to fade details
Artistic effects
These help create a cool vintage or grunge style easily.
Change Color Saturation
Removing color saturation is another way to fade an image.
It’s similar to converting to black and white but allows you to control the amount of desaturation.
To do this:
- Selected the image
- Go to the Color button in the Adjust group
- Lower the Saturation level
At lower settings, the color will become very faint and faded.
Decrease color saturation
Use Picture Styles
For fun effects, try the Picture Styles under that group on the Format tab.
Here you’ll find frames, shadows, edges, and reflections. Use these to fade images in creative ways:
- Frame – Fades image edges by placing a colored frame over it
- Soft Edge – Fades and feathers the image edges
- Perspective Shadow – Adds a faded angled shadow behind the image
- Reflection – Fades a reflection underneath the image
Picture styles
See what unique faded effects you can make with these.
More Tips for Fading Images
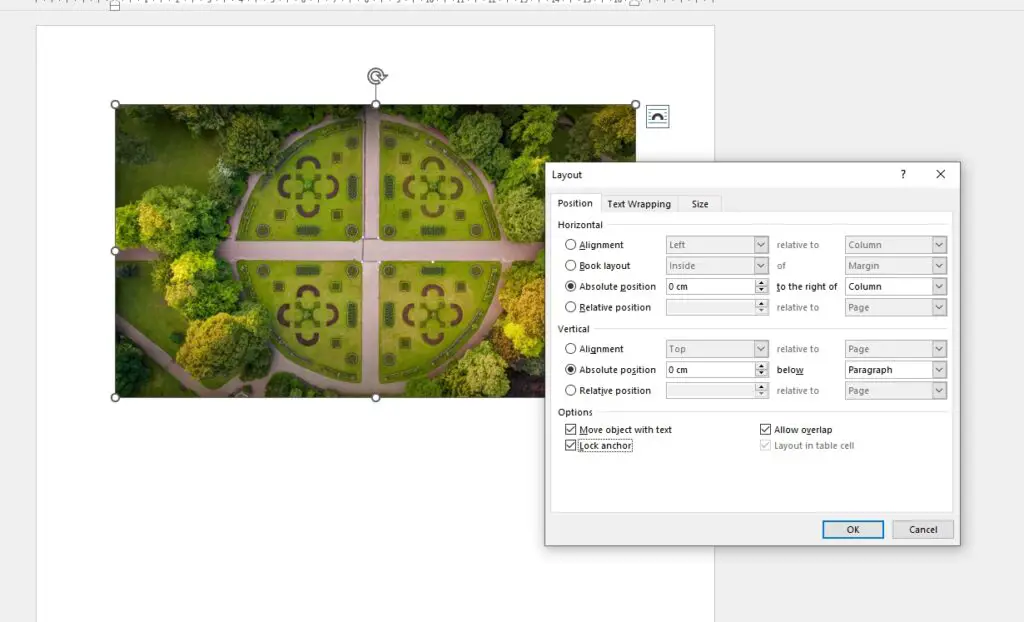
- Fade an image behind text by right-clicking it, choosing Wrap Text, and selecting Behind Text.
- Use a shape instead of a picture for more transparency options.
- Fade a duplicate of an image to keep one full color version.
- Use the Compress Pictures option to delete cropped areas and reduce file size.
- Change the page background color to fade images into it.
The possibilities are endless! Try fading your photos in Word today.


