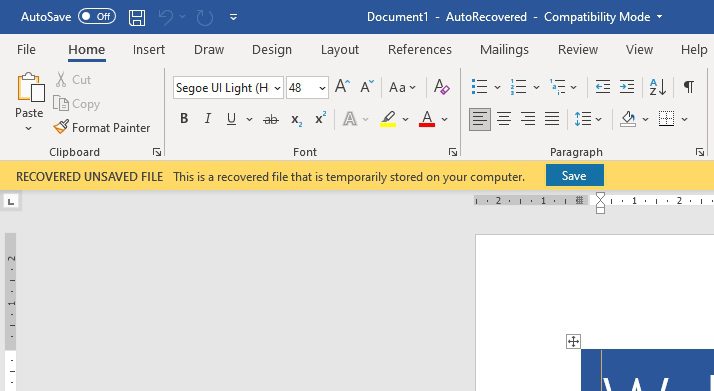
Oops, your PC encounters an error and is forced to restart. Of course, nobody wants to see that happening especially when working on a document with a close deadline. One way to solve that is by saving the document every time you made changes. Thankfully, Microsoft Word can perform an autosave automatically so you can write with peace of mind.
This feature is originally called AutoRecover and just to be clear, its purpose is to recover documents in case of your PC is crashing or power outage. It won’t restore the document you decided not to save (when closing a document without saving it).
With all being said, here’s how to enable AutoRecover in Microsoft Word.
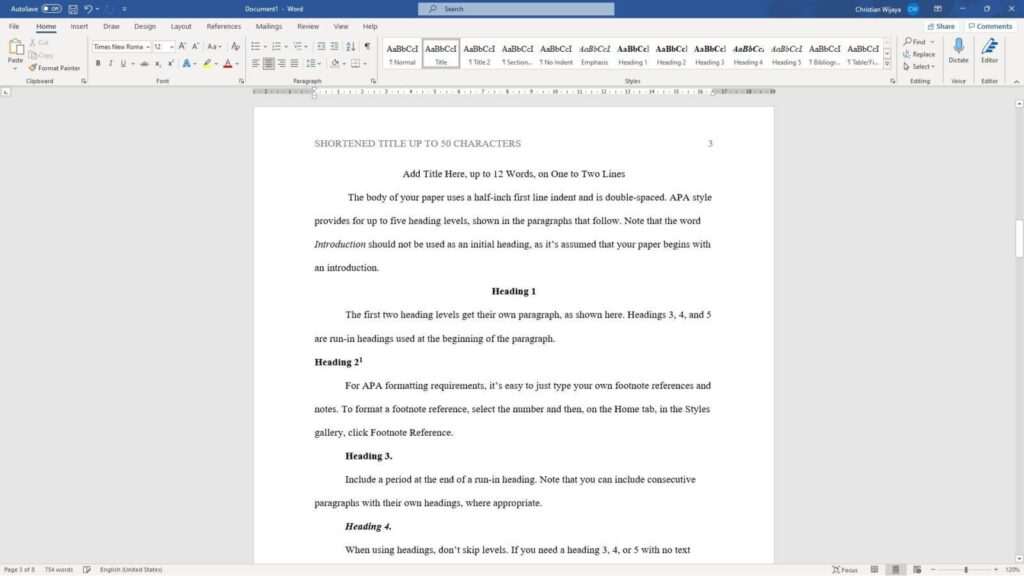
1. Launch any document on Microsoft Word.
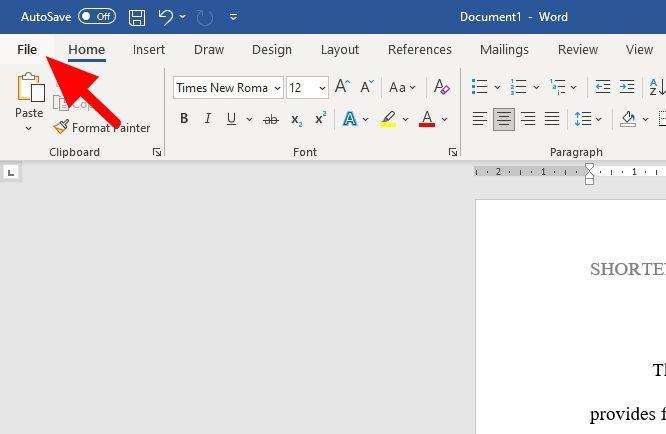
2. Then go to the File menu.
3. Select Options.

4. Navigate to Save and tick Save AutoRecover information every X minutes. You may lower the time to make it more frequent.
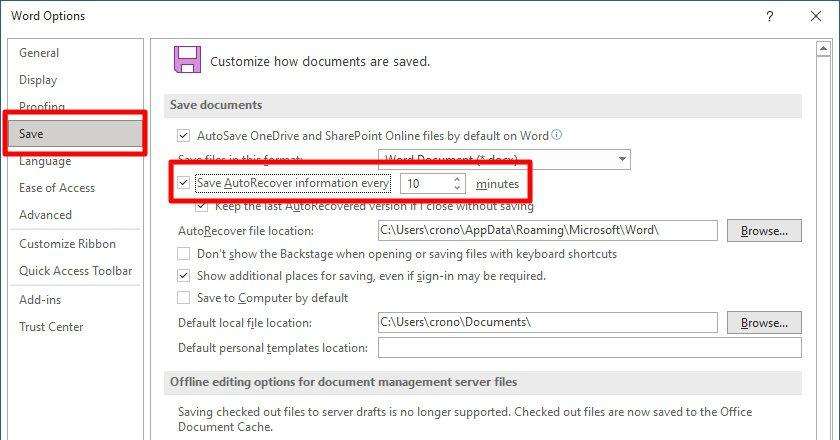
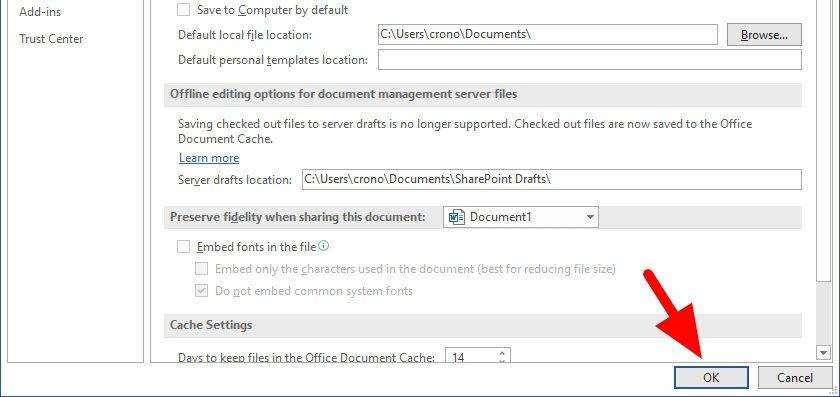
5. Finally, click OK.
Where is the AutoRecover location?
The default AutoRecover location for Microsoft Word documents is C:\Users\YourPCName\AppData\Roaming\Microsoft\Word. You can alter the location by going to File > Save > AutoRecover file location.
Alternatively, the first time you launch Microsoft Word after a crash or power outage, the program may show you recently opened documents along with the changes that have been saved. It is best to always save them manually when possible.

