Microsoft Word offers several drawing and annotation tools that allow you to add custom drawings, highlights, and notes to your documents. Using these tools, you can customize your Word documents by adding diagrams, illustrations, callout text boxes, and more.
Enable the Drawing Toolbar
To start drawing on a Word document, you first need to enable the Drawing toolbar:
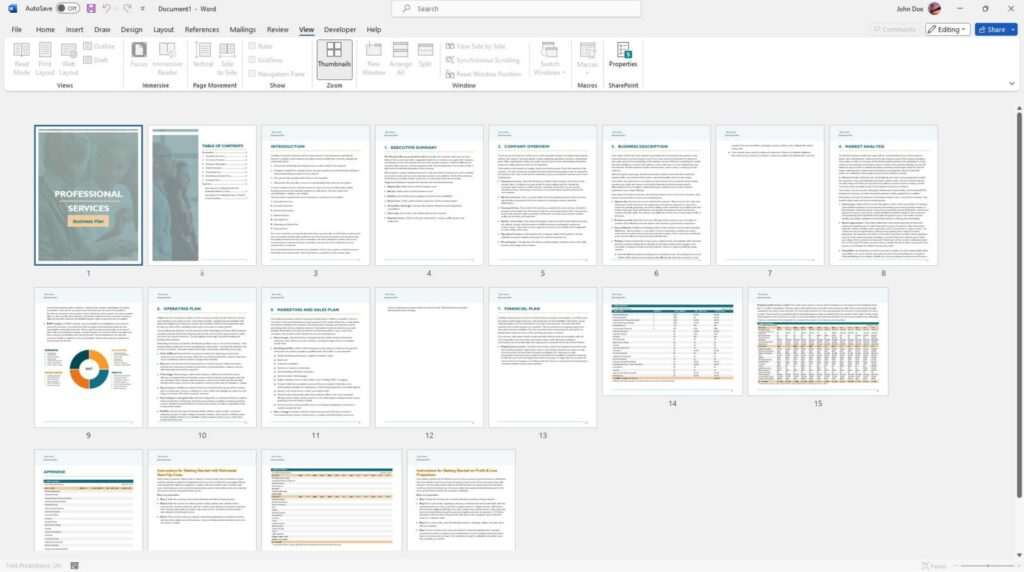
- Click on the “View” tab in the Word ribbon
- Check the box next to “Toolbars > Drawing” to enable the Drawing toolbar
Once enabled, the Drawing toolbar will appear at the bottom of your Word window, giving you quick access to common drawing and annotation tools.
Use Basic Shapes
The Drawing toolbar provides a selection of basic shapes that you can add to your document, including lines, arrows, rectangles, ovals, and more.
To add a shape:
- Click on the shape you want to add in the Shapes section of the Drawing toolbar
- Click and drag on your document to draw the shape to the desired size
- You can then format the shape using the Format tab that appears once you’ve selected the shape
Shapes are great for adding diagrams, flowcharts, arrows that point to text, divider lines between sections, and other illustrations.
Draw Free-Form Lines and Shapes
In addition to the basic preset shapes, you can use the Freeform tool to draw custom freehand lines and shapes.
To use the Freeform tool:
- Select the “Freeform” icon in the Shapes section of the Drawing toolbar
- Click and drag your mouse on the page to draw any line or shape you want
- Release the mouse once your drawing is complete
The Freeform tool is useful for adding hand-drawn diagrams, underlines, circles around text, arrows that connect disparate parts of your document, and more.
Add and Format Text Boxes
Text boxes are containers that allow you to add text anywhere on the page, not just in the main document flow. Text boxes are extremely useful for callouts, annotations, captions, etc.
To insert a text box:
- Click on the “Text Box” icon in the Drawing toolbar
- Click and drag on the page to draw the text box container
- Once inserted, click inside the text box and start typing text
- Use the Format tab to change the text box color, add borders, change margins, and more
Text boxes can also be linked to specific points in your document, so they travel with that text if it moves or gets reformatted.
Annotate with Highlighter and Sticky Notes
Word also includes digital highlighter and sticky note tools for annotating your documents.
To highlight:
- Select the “Highlighter” icon in the Drawing toolbar
- Click and drag over the text you want to highlight
To add a comment with sticky note:
- Click the “Insert Comment” icon in the Drawing toolbar
- Click where you want the comment to appear
- Type your comment text in the sticky note container
Use annotations sparingly to call attention to key points or questions in your document without interrupting the main text.
Additional Tips
- Use alignment guides to neatly align shapes and drawings
- Group related drawings so they move together as one object
- Rotate or flip drawings using the Format tab
- Layer drawings to create complex diagrams
- Use gridlines while drawing then hide them when done
- Export drawings as images to reuse in other apps
- Use a digital drawing tablet for more natural freehand drawing
With some creativity, you can use Word’s drawing and annotation features to add custom diagrams, illustrations, captions, callouts, and annotations that make your documents more visual and customize them for your specific needs.
Common Uses for Drawing in Word
Here are some of the most common use cases and examples of how to use Word’s drawing tools:
Diagrams and Flowcharts
- Direction and flow arrows
- Process flow steps
- Organizational charts
- Mind maps and concept maps
- Timelines and schedules
Learning Materials
- Annotation bubbles and callout text
- Highlighted key words or passages
- Underline or circle important information
Reports and Manuals
- Warning and caution symbols
- Icons to call out tips, notes, warnings
- Screenshots with callout text to explain UI
Graphic Design
- Hand-drawn logos, icons, and images
- Text with colored outlines or artistic fonts
- Geometric background shapes and textures
Presentations
- Colorful custom bullet points
- Icons next to bullet lists
- Divider lines between sections
Legal and Business Documents
- Signatures lines
- Form fields
- Revision marks bubbles
- Lines and X’s for initials or signatures


