You also have the option of manually configuring MLA format in Google Docs if you don’t feel comfortable utilizing a template or if you have a modified version of the MLA format that you are required to follow. When you’ve finished configuring it, you have the option of saving it as your very own personalized template so that you won’t have to set it up from scratch the next time you require the format.
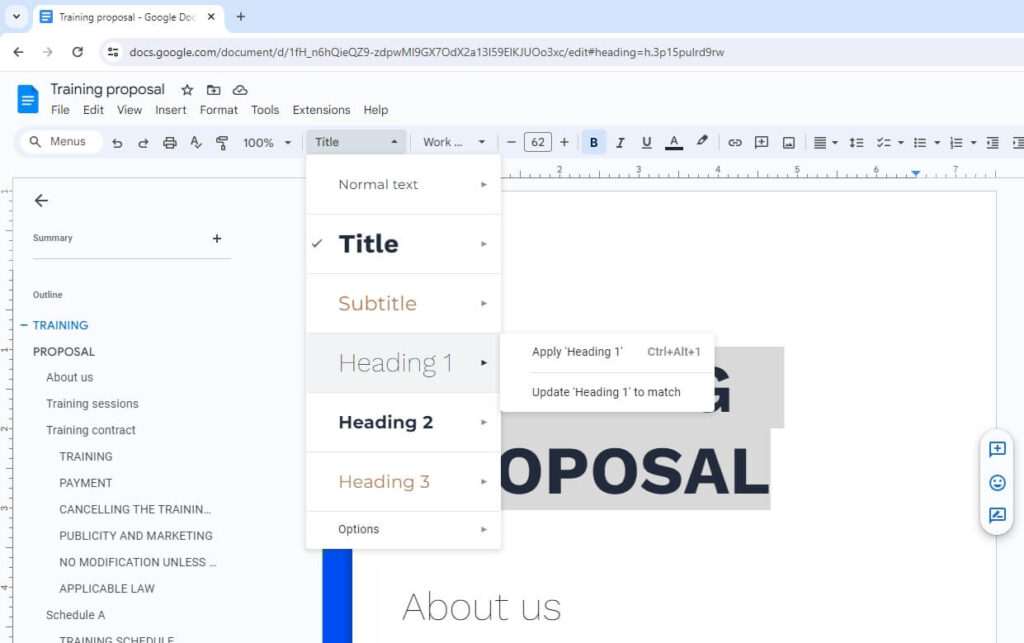
1. Make sure that Times New Roman is selected as the font, and set the size to 12.

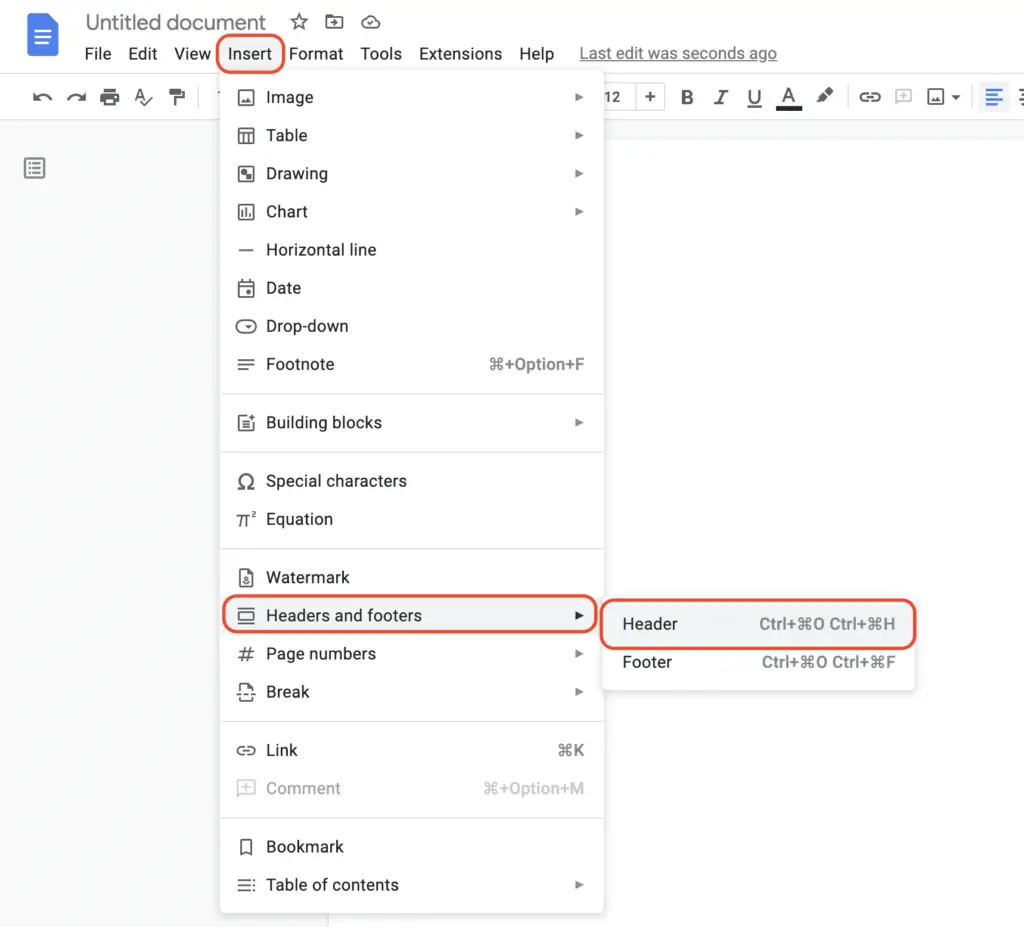
2. Select Insert > Headers & footers > Header.
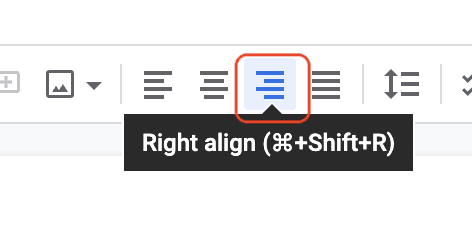
3. Take note that the typeface used for the header has been reset to its previous state. Make the font size 12 points Times New Roman, and then choose the Right Align option.

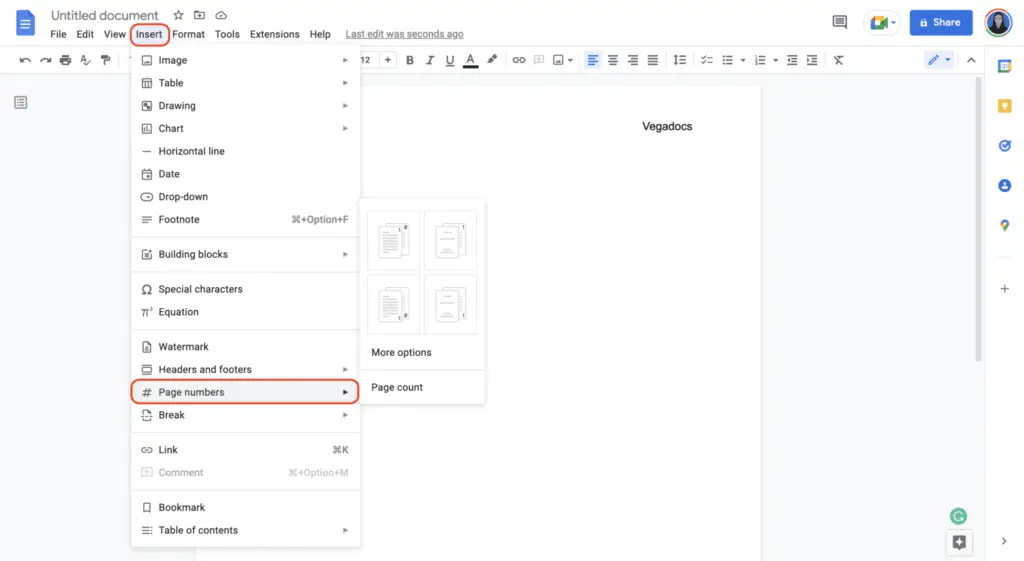
4. After you have typed in your surname and left a space, select the Insert > Page numbers menu option. Adjust your Page number selections as needed and then select Apply.
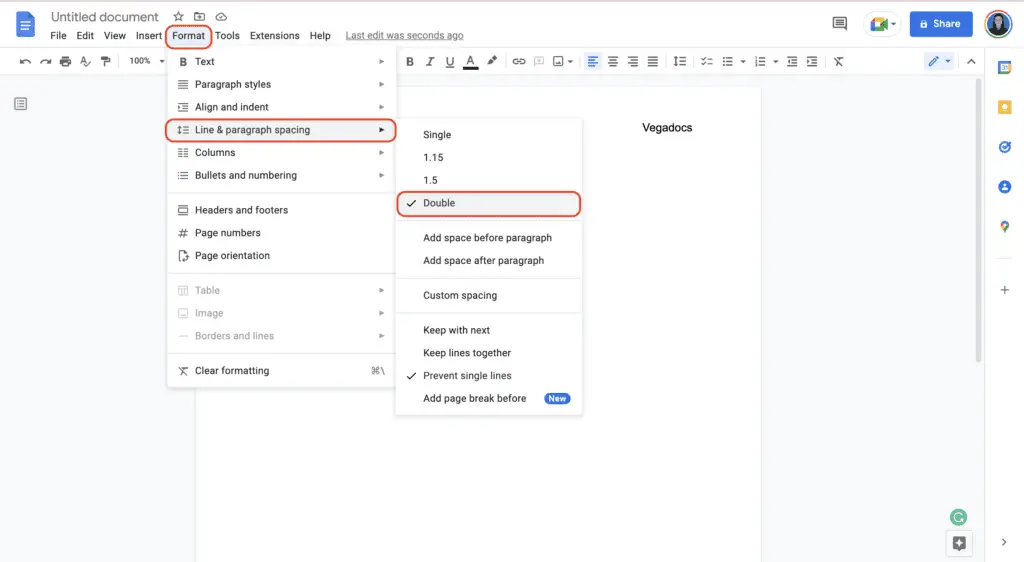
6. Click or tap anywhere below the header, then select Format > Line Spacing > Double.
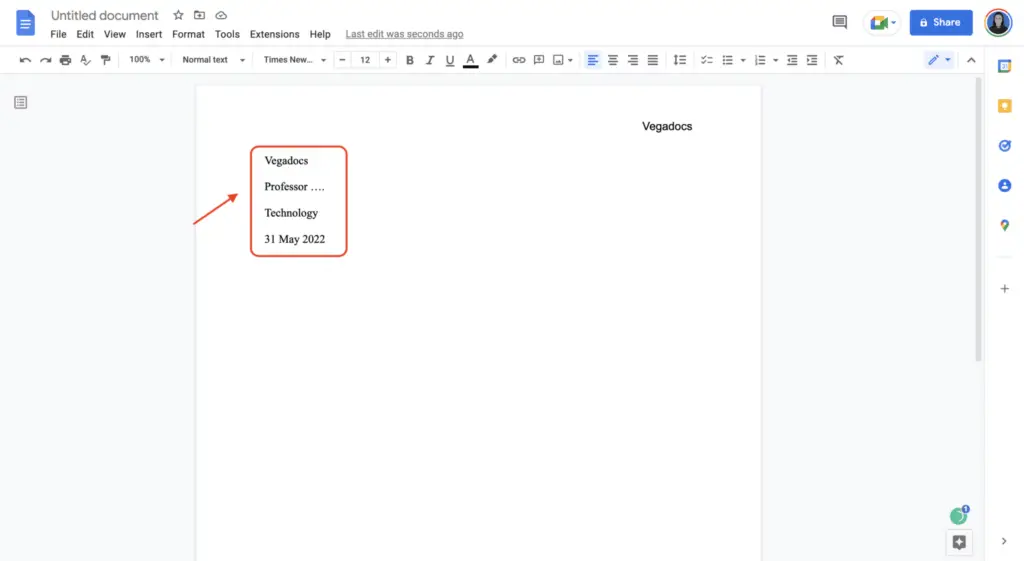
7. Type your name, the instructor’s name, the course name, and the due date on separate lines.
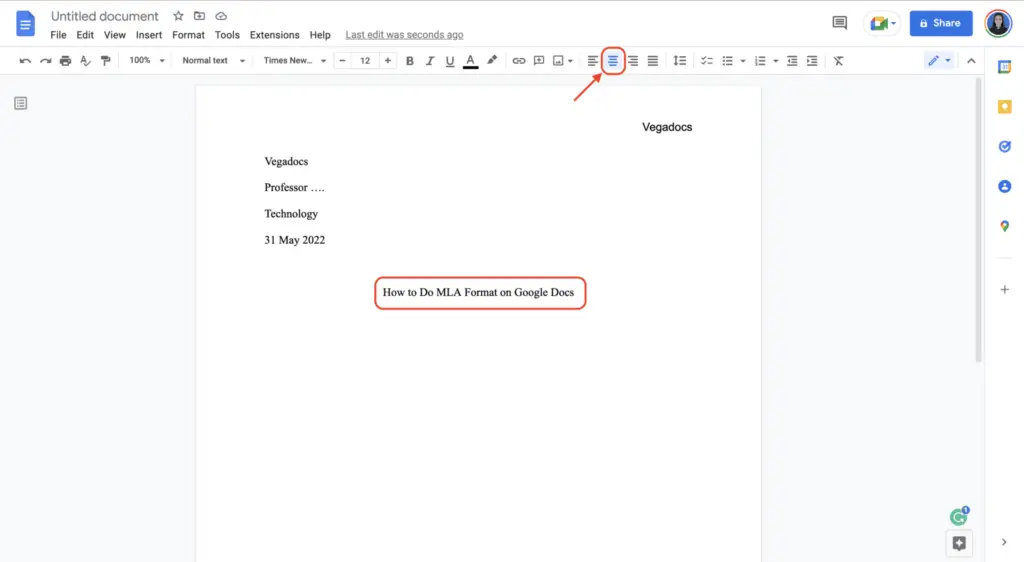
8. After selecting Center Align from the menu, move to the next line using the Enter key and then fill in the title of your document.
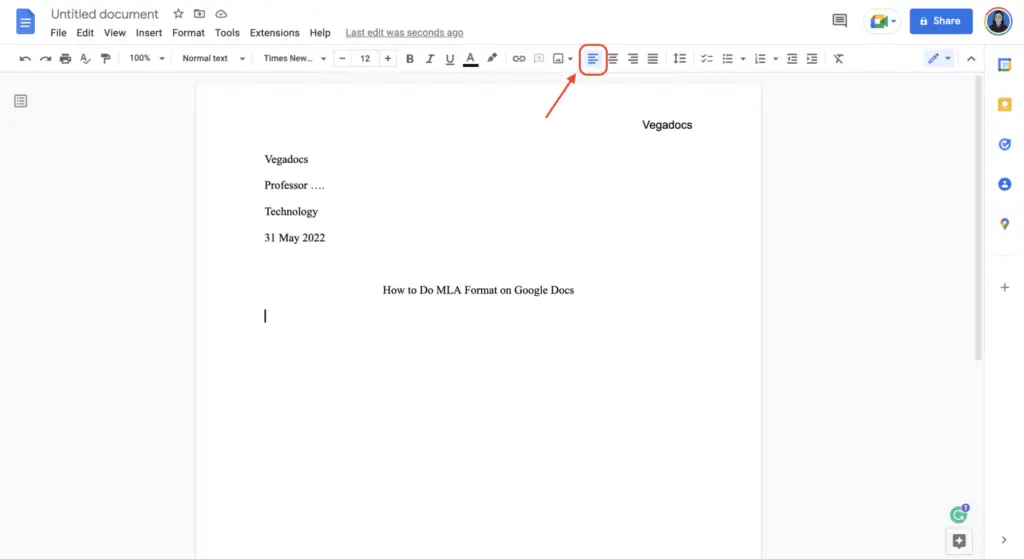
9. After selecting Left Align, you can advance to the next line by pressing Enter.
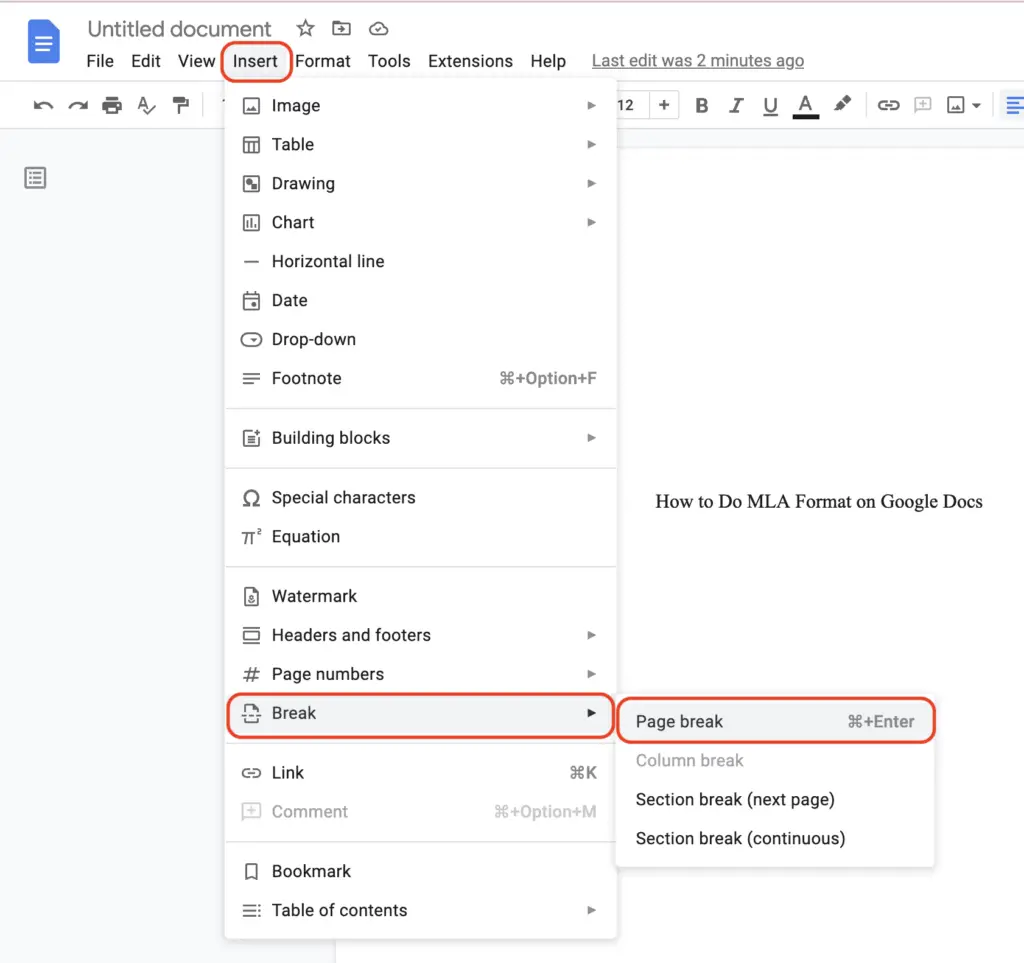
10. Indentation can be achieved by pressing the Tab key, after which you can begin composing your first paragraph. Insert an indent at the beginning of each new paragraph. When you have finished writing the main portion of your work, go to the Insert menu, pick Break, and then choose Page Break to make a new blank page for the Works Cited page.
