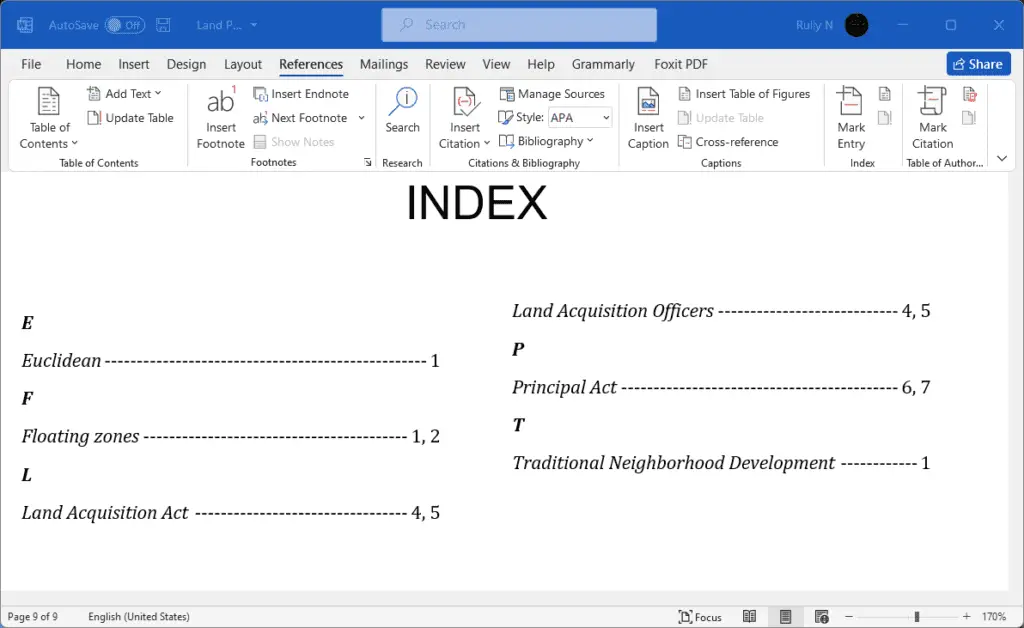
Microsoft Word allows users to customize various layout settings to suit their needs. The layout of a Word document impacts how content is presented visually and can enhance readability. Customizing the layout is especially helpful when creating documents for professional use or documents that need to adhere to specific style guidelines.
This article will provide a step-by-step guide on how to customize some of the most commonly used layout settings in Microsoft Word.
What You Will Learn
By the end of this article, you will know how to:
- Change default font and paragraph settings
- Modify page orientation and size
- Adjust margins
- Apply columns
- Add section breaks
- Use styles and themes
- Set custom tab stops
- Change line and paragraph spacing
Equipped with these skills, you’ll be able to customize Word documents to meet any layout requirements.
Change Default Font and Paragraph Settings
The default font in Microsoft Word is Calibri, 11 point. To change this:
- Click the “Home” tab
- Select all the text you want to change
- Choose a new font family and font size from the options on the ribbon
- Click the dialog box launcher in the bottom-right corner of the “Paragraph” section
- In the “Paragraph” dialog box, adjust the default line spacing, indentation, and other paragraph properties
- Click “Set As Default” to apply these customizations to all new Word documents
Modify Page Orientation and Size
The default Word document opens in portrait orientation with 8.5 x 11 inch page size. To change orientation:
- Navigate to the “Layout” tab
- Click “Orientation” and select either portrait or landscape
To modify page size:
- Click “Size” in the “Page Setup” section of the “Layout” tab
- Choose from standard paper sizes or create a custom size to meet specialized requirements
Adjust Margins
By default, Word sets one-inch margins all the way around the page. To change the margins:
- Click “Margins” on the “Layout” tab
- Select from preset margins or choose “Custom Margins”
- In the dialog box, specify margin sizes in inches for the top, bottom, left and right edges
- Click “Set As Default” to save customized margins
Narrower margins can fit more text, while wider margins enhance readability. Set margins according to the document’s purpose.
Apply Columns
Columns create text divisions running vertically down the document. Using columns can give text the appearance of a newsletter or newspaper article.
To add columns:
- Navigate to the “Layout” tab
- Click “Columns”
- Choose the number of columns from the dropdown menu
- Select “More Columns” to create custom column configurations
- Adjust column spacing and widths to perfectly fit content
Add Section Breaks
Section breaks allow different layout formats within the same Word document. For example, a document can have two columns in one section and one column in the next section.
To add a section break:
- Place the cursor at the point you want to start a new section
- On the “Layout” tab select “Breaks”
- Choose what type of section break you need: next page, continuous, even page or odd page
Section breaks enable more complex, professional layouts.
Use Styles and Themes
Styles and themes apply consistent formatting to text elements throughout a document.
To apply a style:
- Select the text you want to format
- On the “Home” tab, click the “Styles” gallery
- Choose the style you want from the predefined options
To use a theme:
- Navigate to the “Design” tab
- Click “Themes”
- Select the theme you want Word to apply
Themes instantly give documents a professional look.
Set Custom Tab Stops
Tab stops determine where the cursor stops when you press the Tab key. Customizing tabs is essential for formatting tables, outlines, and text aligned in columns.
To set tab stops:
- Click the ruler at the top of the document (View tab > Show > Ruler)
- Click once where you want to place a tab stop
- Select the alignment (left, center, right) from the icons
With customized tabs, you can neatly format all kinds of text alignments.
Change Line and Paragraph Spacing
Adjusting line spacing changes the distance between each line of text. Paragraph spacing determines the space between paragraphs.
To set line spacing:
- Highlight the text
- Click “Line and Paragraph Spacing” on the “Home” tab
- Select an option from the dropdown menu
To change paragraph spacing:
- Click the dialog box launcher in the bottom-right corner of “Paragraph” section
- In the “Paragraph” dialog box, adjust values under “Spacing”
Proper line and paragraph spacing improves readability.
Conclusion
With this guide, you now have the essential skills to customize Microsoft Word layouts by changing default text properties, page orientation and size, margins, columns, sections, styles, tabs, and spacing.
Tailor Word documents to specific needs by utilizing these layout tools. Proper use of layout settings makes Word documents more readable, professional, visually appealing, and optimized for their intended purpose.


