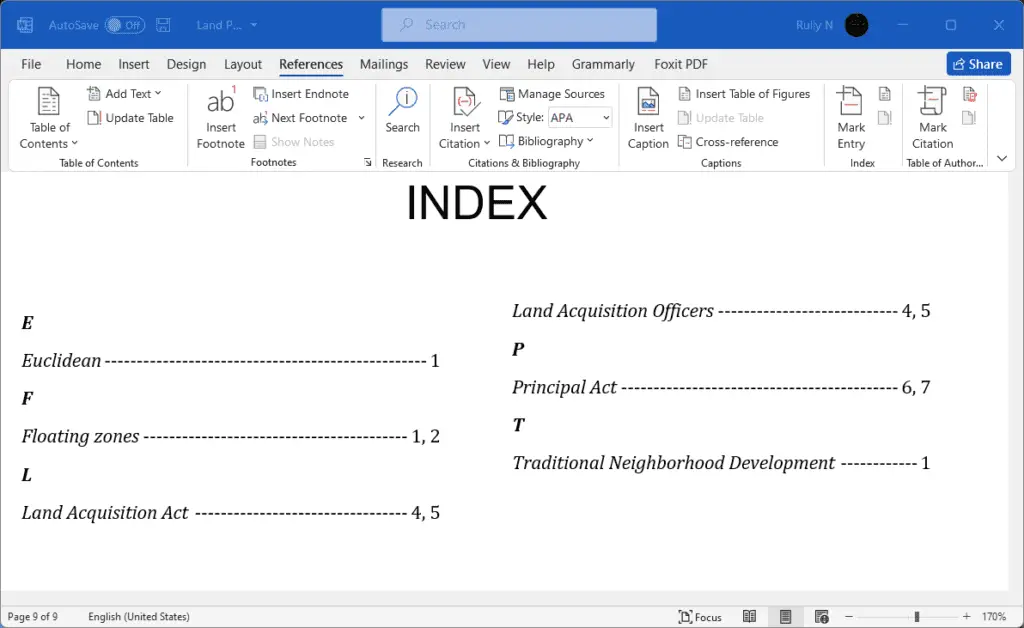
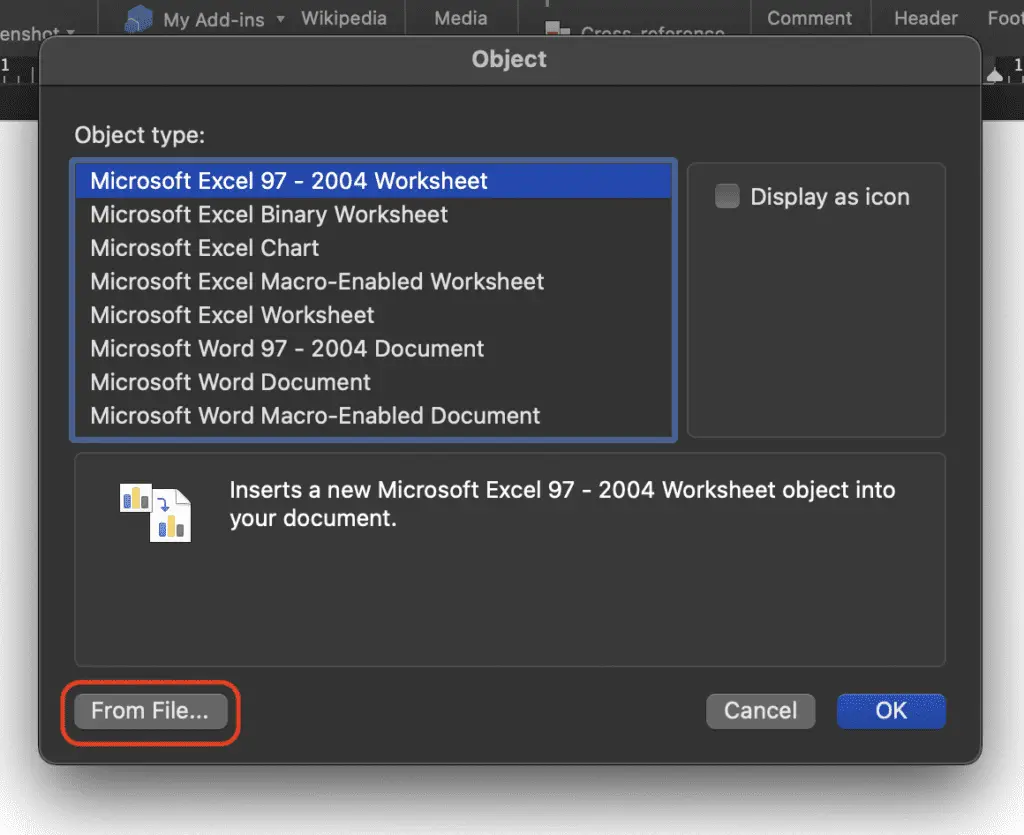
Most large documents will have a table of content at the beginning and an index at the end. When the reader find something interesting, they’ll find the page number, go to that page, and start reading.
But the index is much more specific. People go to the index with something in mind and they’re looking for a particular page number or a series of page numbers that cover that particular topic. Most indexes are arranged alphabetically which just makes it a lot easier to search and find what you’re looking for.
In this Microsoft Word 2021 tutorial, we are going to show you how to create an index for your document.
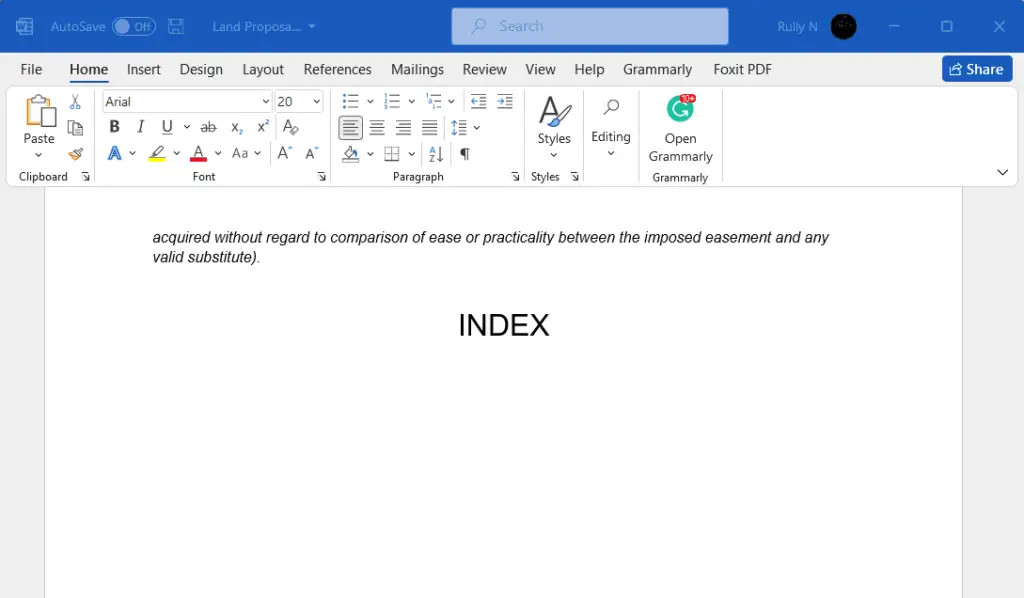
1. Open your document, and place your pointer in the position where you want to put your index, usually at the end of the page.
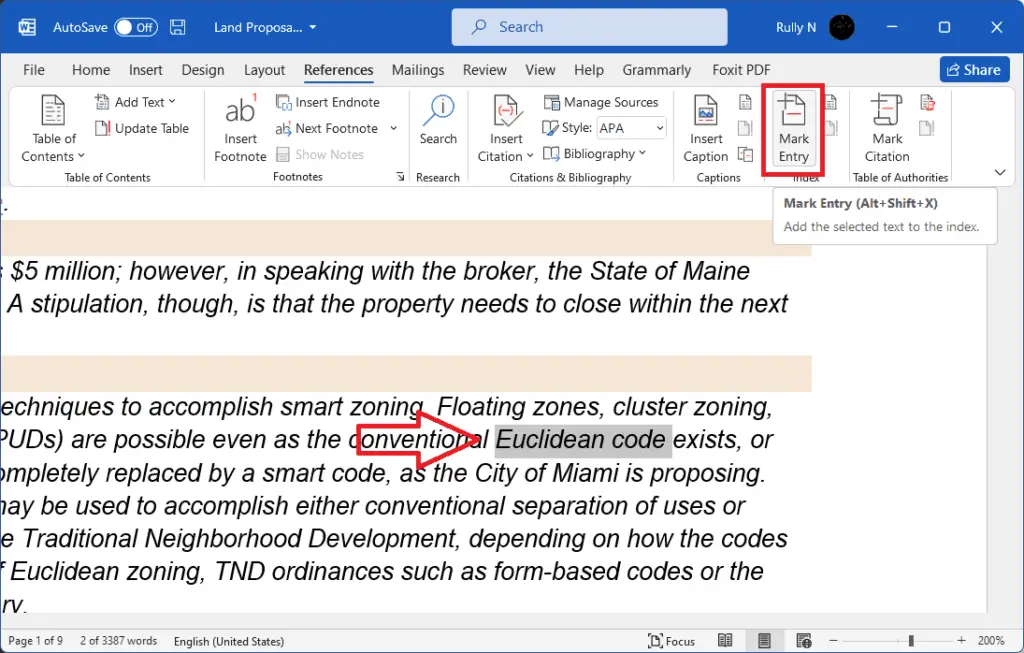
2. Now begin to select the terminology, text, or phrases that you want in your index. For example, in our document, we’re going to start with the term “Euclidean code”. Highlight it, then go up to the References tab and click Mark Entry.
3. A dialog box will appear. The first thing to note is that this will appear in your index exactly how it is. If you want to change any aspect of this, now is the time to do it. Click Mark All to continue.

4. You can see a marker after your text. This marker will only appear if you’ve selected Show hidden formatting symbol in the Home tab.
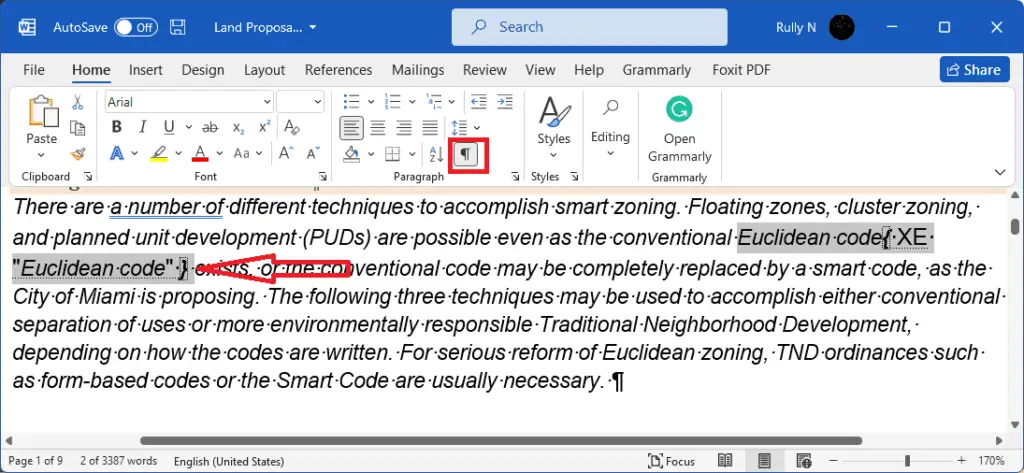
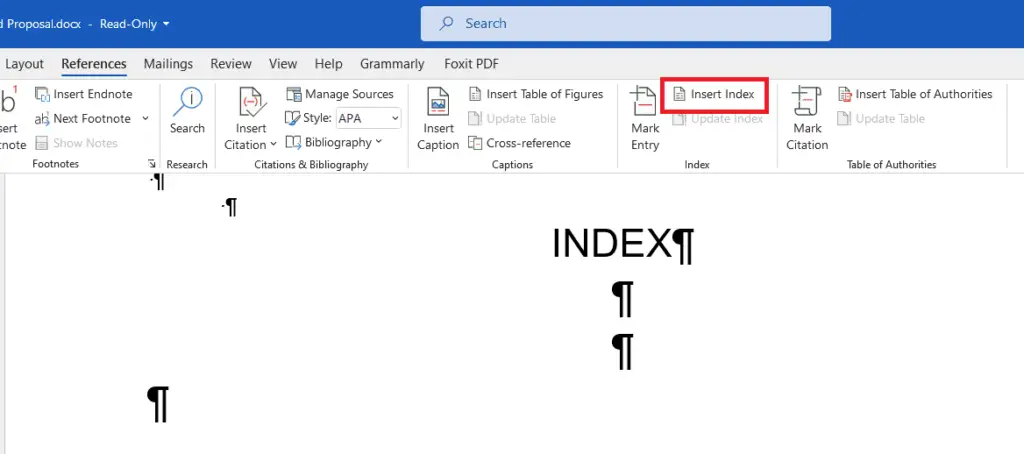
5. Go ahead and select a few more words and phrases. Once you’ve finished, go to the position where you put your index, then go back to the References tab and click Insert Index.
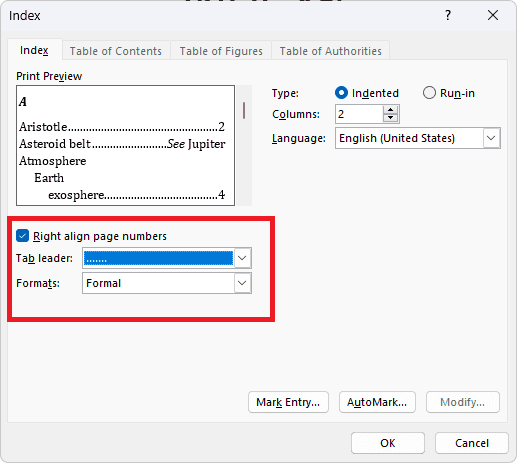
6. In this dialog box you can choose from several different options here. You can choose Formats, Columns, and Tab leader. You can adapt this to suit your needs. Then click OK.
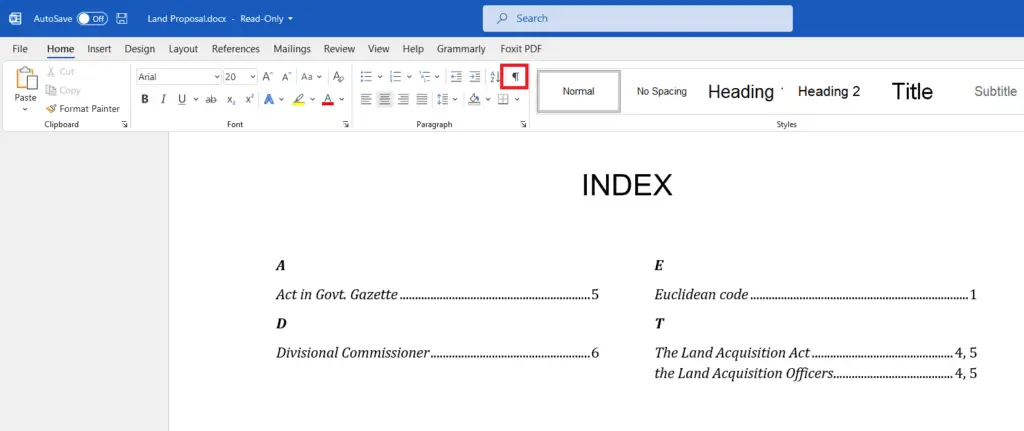
7. Back to the Home tab and turn off the formatting markers, and this is how your index will look.
So there you go, we hope you found that useful.

