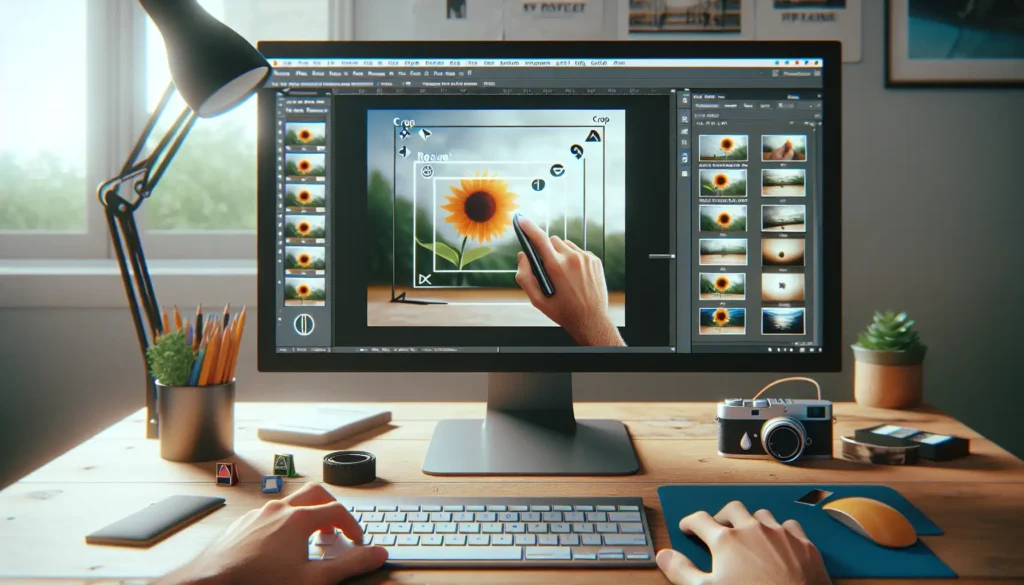
Adding images to documents in Microsoft Word allows you to enhance and illustrate your content. However, the pictures you insert may not always fit perfectly or be the ideal size or shape for your needs. Fortunately, Word provides several easy tools to crop, resize, and shape pictures to suit your document.
Cropping Pictures
Cropping removes parts of an image to focus on a key area or subject. It’s useful for eliminating unwanted background areas or drawing attention to the most relevant part of a photo.
To crop a picture in Word:
- Click the picture to select it.
- Go to the Picture Format tab > Crop button.
- Select Crop to manually crop the image. Click and drag the crop handles on the edges and corners to remove areas.
- Choose Crop to Shape to crop the picture into fun shapes like stars, hearts, and circles.
Pro Tip: Hold the Shift key while dragging crop handles to retain image proportions and avoid distortion.
Resizing Images
Resizing changes the dimensions of a picture to make it smaller or larger. Reasons to resize include fitting pictures into narrow columns, enlarging small logos, reducing file size, and more.
To resize an image:
- Click the picture and go to Picture Format > Size group.
- Enter new measurements (in inches) into the Height and Width boxes.
- Click and drag a corner handle to manually resize while maintaining proportions with Shift.
Pro Tip: Use percentage measurements instead of inches to scale pictures relative to page size.
Shaping Pictures
In addition to standard shapes, you can insert images into customizable shapes and text boxes. This adds a creative way to present pictures in your Word documents.
To add a picture inside a shape:
- Go to Insert > Shapes and choose a shape.
- Drag to draw the shape, then go to Shape Format > Shape Fill > Picture.
- Select the image you want inserted and Insert.
- Resize and position the picture within the shape as needed.
Pro Tip: Hold Shift while resizing a shape to retain image proportions and prevent distortion.
Handy Picture Editing Tools
Word provides practical tools to improve your inserted pictures:
- Corrections – Fine-tune brightness, contrast, and sharpness.
- Color – Change saturation, recolor, or make grayscale.
- Artistic Effects – Apply stylized filters like pencil sketch.
- Remove Background – Delete and make transparent the background.
- Compress Pictures – Reduce file size without sacrificing quality.
Pro Tip: Right-click a picture and select Format Picture to find many formatting options in one place.
Picture Layout Options
Controlling text wrapping and positioning images in Word documents helps organize content and layout.
Useful settings:
- Wrap Text – Make text flow around the picture.
- Align – Line up image positioning.
- Bring Forward/Backward – Overlap order of images.
- Position > More Layout Options – Set precise positions.
Pro Tip: Right-click an image and choose Wrap Text for quick access to text wrapping options.
Conclusion
Learning to effectively crop, resize, and shape pictures in Word takes your documents to the next level visually. Take advantage of the many built-in picture formatting tools to create professional Word documents that use images to maximum impact.
With a bit of practice, you’ll be able to crop away unwanted areas, size images to fit your needs, insert pictures into shapes, and more. Your documents will stand out with ideal, well-formatted images.


