Envelopes are an essential item for sending letters and packages through the mail. While you can buy pre-printed envelopes, creating customized envelopes in Google Docs allows you to add your own design elements and print exactly what you need.
Why Make Envelopes in Google Docs?
There are several key reasons why using Google Docs to create and print envelopes is advantageous:
Cost Savings – Buying pre-printed envelopes, especially in bulk, can get expensive. Designing your own in Google Docs allows you to print only what you need when you need it. This saves money over time.
Customization – With Google Docs, you can fully customize the look of your envelopes by choosing fonts, colors, images, logos, and more. This level of personalization isn’t available with store-bought envelopes.
Convenience – Once you have a template set up, printing additional envelopes in Google Docs is fast and easy. You don’t have to leave your home or office to design and acquire more.
Eco-Friendly – Printing only the number of envelopes you require results in less paper waste compared to buying boxes of envelopes where some may go unused. Being eco-friendly is increasingly important today.
Step-by-Step Guide to Make Envelopes in Google Docs
While Google Docs doesn’t have a built-in feature specifically for making envelopes, you can leverage templates, add-ons, and page settings to create customized envelopes suited to your needs. Here is a step-by-step walkthrough:
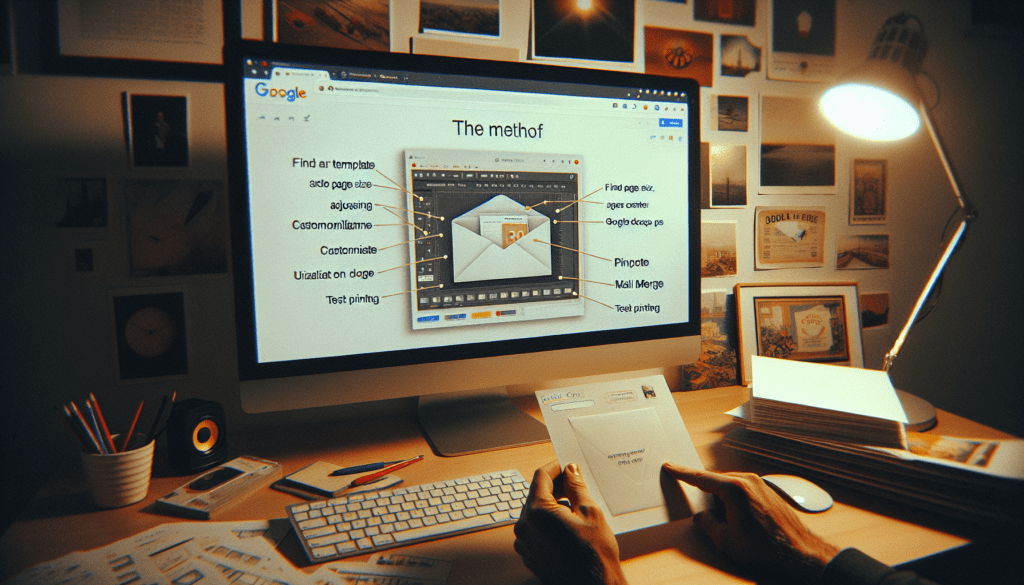
1. Search for an Envelope Template
To save time designing, first search the Google Docs Template Gallery for an envelope template. There are many free community-created templates available. Browse the selections and choose one formatted for the envelope size you need.
2. Install the Page Size Add-on (Optional)
While a template provides an envelope outline, the page size may not match a standard envelope size. Installing the Page Size add-on gives you options to set exact sizing if the template needs adjustment.
3. Customize the Template
Apply customization by adding images, logos, stylized text, updated colors, and anything else you want to brand your envelopes. Get creative with the design!
4. Add Merge Fields for Addressing
Utilize Mail Merge to populate addressing information automatically. Insert merge fields like {FirstName} {LastName} that sync with your contacts spreadsheet.
5. Print a Test Envelope
Before printing the full quantity, send one test envelope through your printer to ensure proper formatting and alignment. Tweak the template if needed.
6. Print Remaining Envelopes
When ready, use the print menu and select envelope settings like size and tray. Confirm the alignment looks correct. Then print the remaining quantity you require.
Tips for Printing Envelopes in Google Docs
Follow these tips when preparing and printing your customized Google Doc envelopes:
- Check envelope and paper size – Confirm both are aligned to prevent jams.
- Print a test page first – Always print one test envelope before the full quantity.
- Load envelopes properly in printer – Consult your printer manual for proper loading.
- Adjust margins if needed – Margins may need slight tweaks for optimal alignment.
- Use landscape orientation – Set page orientation to landscape to best fit a standard envelope size.
- Print a return address – Add your return address to the template so it prints on each envelope.
Common Envelope Sizes for Reference
When determining envelope sizing either in the template or Page Size add-on, refer to dimensions of common envelope sizes:
- Letter (9 x 4 inches)
- #10 Standard (9.5 x 4.125 inches)
- 6 x 9 inches
- A2 (4.375 x 5.75 inches)
- A6 (4.5 x 6.5 inches)
- DL (4.33 x 8.66 inches)
Having precise measurements ensures your envelopes print properly.
Alternative Option: Install the Envelopes Add-on
As an alternative to the previous steps, you can simply install the third-party Envelopes add-on. This provides pre-formatted envelope templates in various sizes. Customize to your needs, insert addresses, and print right from Google Docs.
While the add-on doesn’t offer full customization, it’s the fastest option for printing basic envelopes. It’s great for quick one-off printing tasks.
Conclusion
Creating and printing envelopes in Google Docs is simple once you leverage the available templates, add-ons, and page settings to construct a customized envelope suited to your exact specifications.
Fine-tune the design with images, logos, stylized text, and more to create envelopes that uniquely represent your brand. Use mail merge to automatically populate addresses from your contacts spreadsheet onto each printed envelope.
With some careful formatting upfront and a test print, you can use Google Docs to efficiently print envelopes in any quantity right from your home or office. Ditch the store-bought envelopes and enjoy the cost savings, convenience, and personalization of DIY envelopes!


