Invoicing clients is an essential part of running a business or freelancing. However, creating invoices from scratch can be time-consuming. The good news is that Google Docs has free invoice templates you can customize to suit your needs.
In this step-by-step guide, you’ll learn how to create a professional invoice in Google Docs in minutes.
Why Use Google Docs for Invoices
Here are some of the key benefits of using Google Docs to create invoices:
- It’s free. There are no subscription fees to use Google Docs. The invoice templates are also free to use.
- Easy to customize. You can edit the template by adding your logo, changing colors/fonts, and modifying fields.
- Shareable. You can share the invoice with clients via email or export as PDF.
- Accessible anywhere. Google Docs is cloud-based so you can access invoices from any device.
- Organized. Invoices are stored securely in Google Drive for easy record keeping.
Step 1: Select an Invoice Template
To get started, go to Google Docs and login to your Google account.
Click on the multicolored “+” icon in the bottom right to create a new document. In the template gallery, search for “Invoice” to view invoice templates.
Google docs invoice template
Review each template to find one that matches your preferences for layout, design, and included fields. Click on the template thumbnail to open a preview.
When you’ve found the ideal template, click the blue “Use template” button to open a new invoice document.
Step 2: Customize the Template
With the template open, click “File > Make a copy” to save it to your Google Drive. Name your invoice template something like “My Invoice Template”.
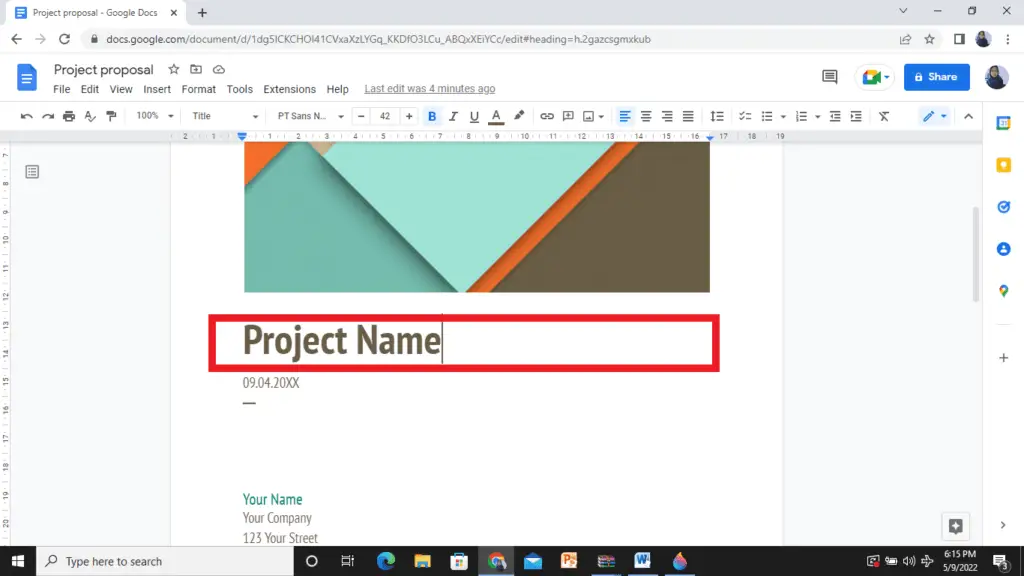
Next, click on the various text fields in the template to update the content. Fill in your business name, address, email, logo, and other details.
To add your logo, click “Insert > Image”, then upload your logo file.
Edit invoice template
Modify other elements like colors, fonts, margins to match your branding. Add or delete rows/columns in the itemization table as needed.
By saving these changes to your template, you won’t have to reformat every new invoice you create.
Step 3: Create New Invoices from Template
Once your template is set up, creating new invoices only takes a minute.
Open your saved invoice template and go to “File > Make a copy”. This will create an editable duplicate invoice.
Update the invoice number, date, client details, line items, totals, and other transaction-specific fields.
When finished, click the “Share” button in the top right and email the invoice PDF to your client.
Tips for Making Professional Invoices
Follow these tips to create invoices that make a great impression:
- Include clear payment terms stating when payment is due, late fees, and accepted payment methods.
- Be detailed with line item descriptions, dates delivered, quantities, and pricing.
- Use consistent numbering for easy organization and records.
- Review for errors before sending to avoid mistakes.
- Send promptly upon delivering goods/services.
- Follow up if unpaid after due date.
Customize Invoices Further with Google Sheets
For more complex invoices, you can link your Google Doc template to a Google Sheet.
The Sheet can contain formulas to automatically calculate totals, taxes, discounts etc. Tables can also expand to additional pages as needed.
Copy the Sheet data and paste it into your Doc invoice. When the source Sheet changes, just refresh the link.
This combines the formatting capabilities of Docs with the dynamic data capabilities of Sheets for powerful invoices.
Conclusion
Whether you just need a simple receipt or detailed billing documents, Google Docs makes invoicing fast and straightforward.
With professional templates and seamless integration with Sheets, you can create customized, polished invoices that make billing painless.
Focus on serving your clients, while Google Docs handles turning services into professional invoices!


