A Flyer is an advertisement in form of paper which is typically posted in public places. The goals are to promote something such as business including products and services, to engage people to do something, or to advertise big events like festivals or music concerts.
There are plenty of platforms that allow you to design your flyer including Google Docs. In Google Docs, you are not supposed to spend too much time making a flyer since you will get a series of Google flyer templates that are available. It means you don’t need to bother yourself with thinking about the design that you are going to use. Here are some steps of how to make a flyer on Google Docs quickly.
Creating a Quick and Simple Flyer through Google Docs
Before you start, you need to make sure that you have been signed and logged in to your Google Drive account. You may type Googledocs.com in your browser. Bear in mind that the following instructions only apply when using Google Docs in a browser, not in IOS or Android apps.
1. Once you’ve opened the Google docs, select and click on “template gallery” to elicit more optional templates.
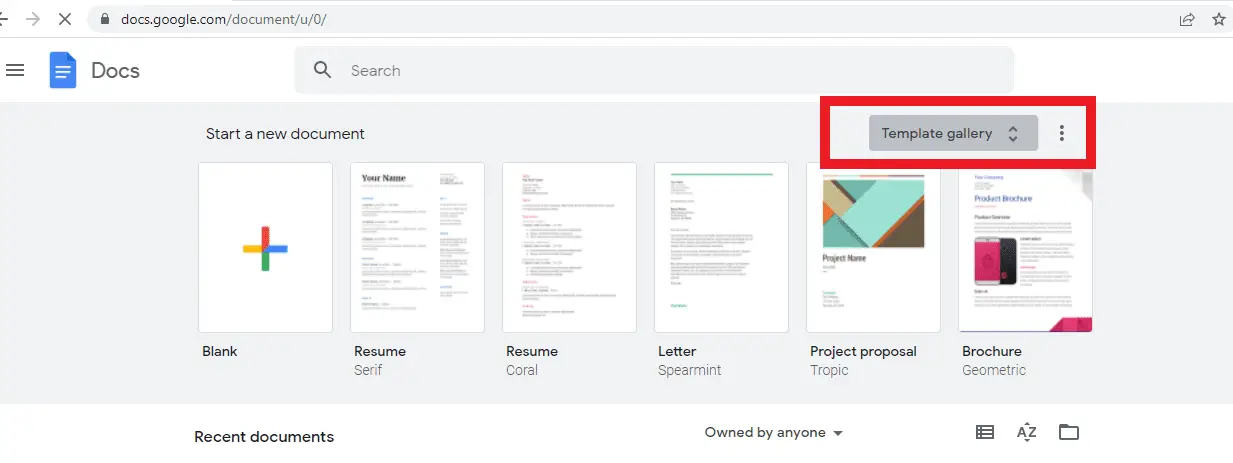
2. Find a template that suits your need by simply checking on it. It will automatically add the template to your Google Docs document.
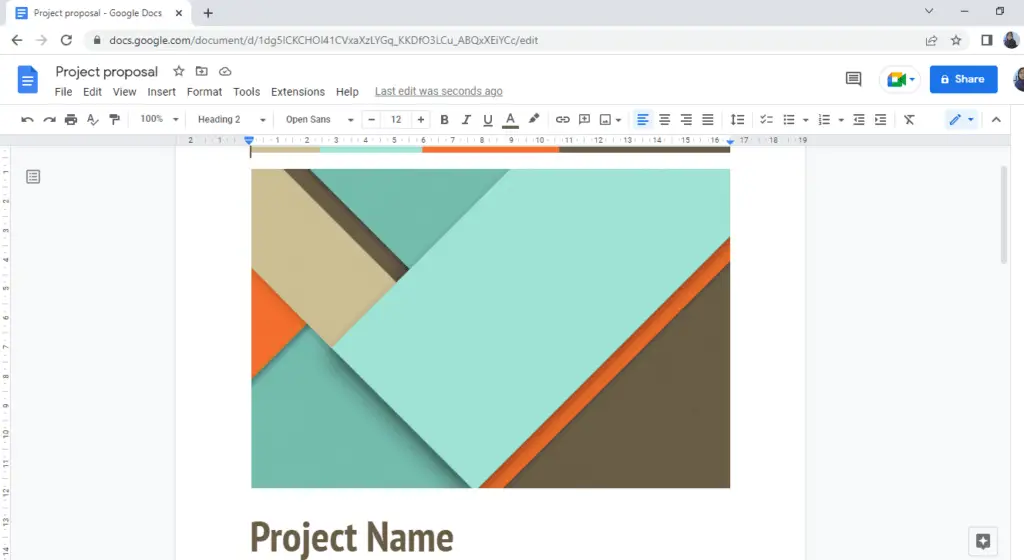
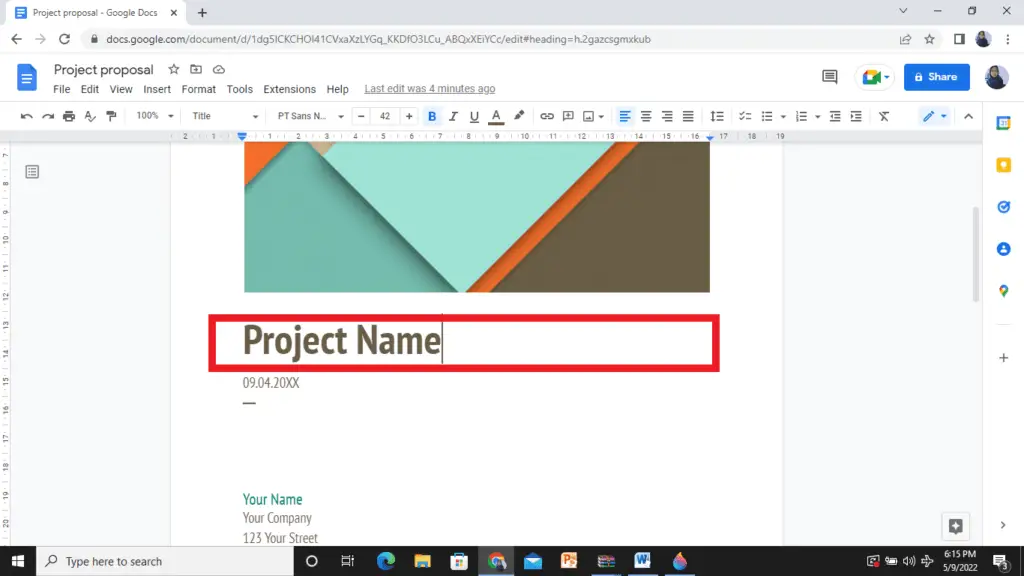
3. The inserted template in the Google Docs document shows that the flyer is ready to be customized. You can start by changing the name. Click “Project Name” and retype the new name for the flyer that you are going to make.
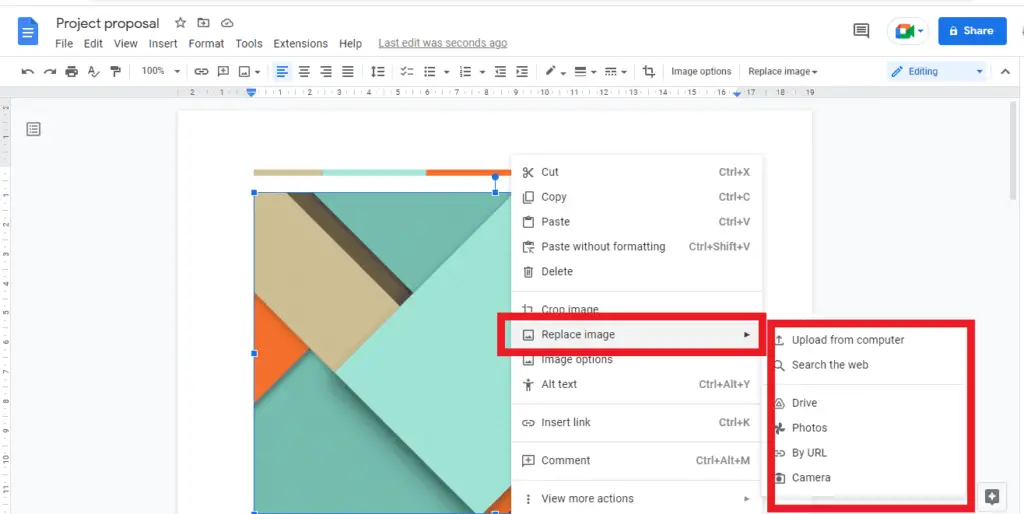
4. To change the image, you can just select the image and do “right-click” on the image. You may upload the image from your computer, or drive, or search the image from the browser.
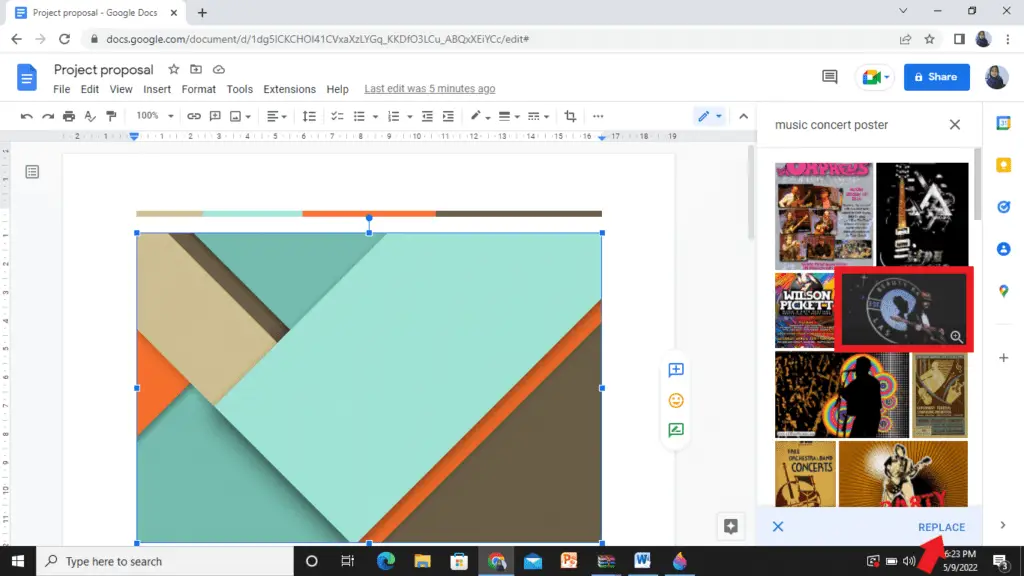
5. Search the image from the browser by typing the keyword that matches your flyer. Place the cursor on the selected image and then click “replace”.
Next, you might add necessary changes such as the date, the address, or any other information which help people to find out more about your events, business, or brand through your flyer.
Every change you have made would be automatically saved on Google Docs. Therefore, you can simply close your tab once your flyer has been customized.
If you’d like to share the flyer that you have designed with someone else, you might see the following steps:
1. First, you can click “File” in the toolbar option.
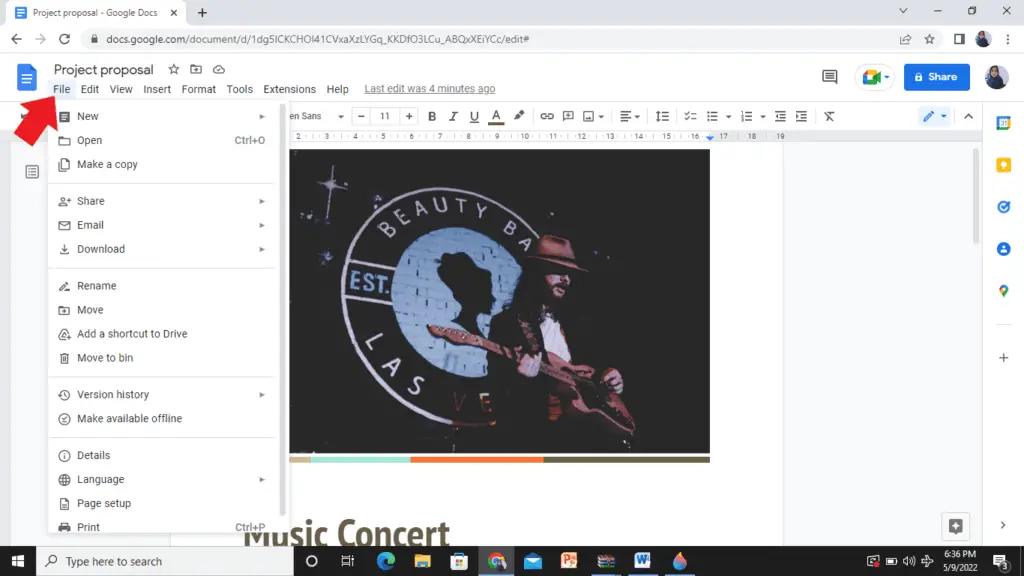
2. Find “Share” in the drop-down menu to open the sidebar menu. There you will find two options, “share with others” or “publish to web”.
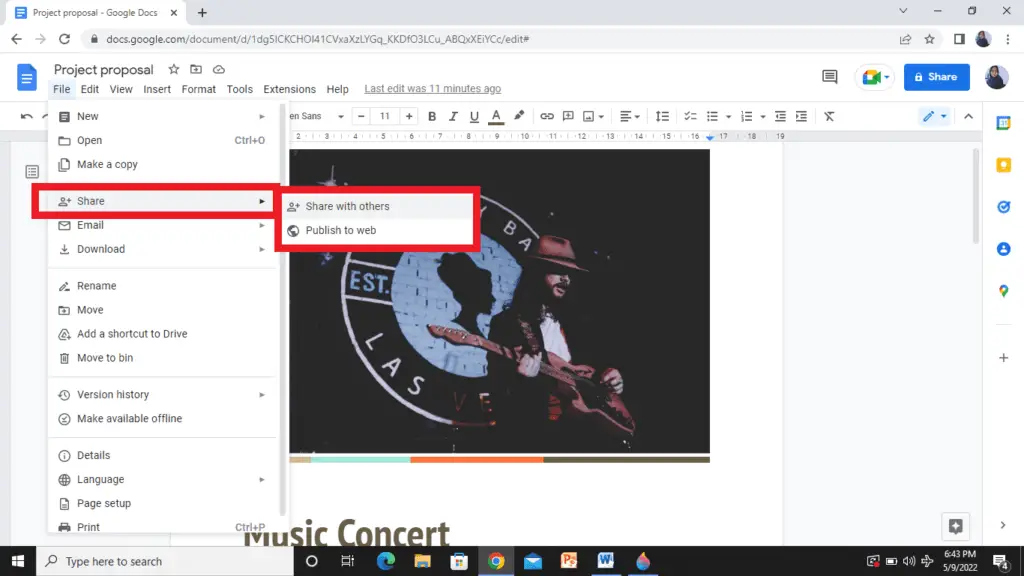
3. Share with others means that you can add people or groups by inserting their email addresses. Type the email and click “Done” once you have finished. If you prefer to share the link, you can simply click “copy link” and share it with whomever you prefer.

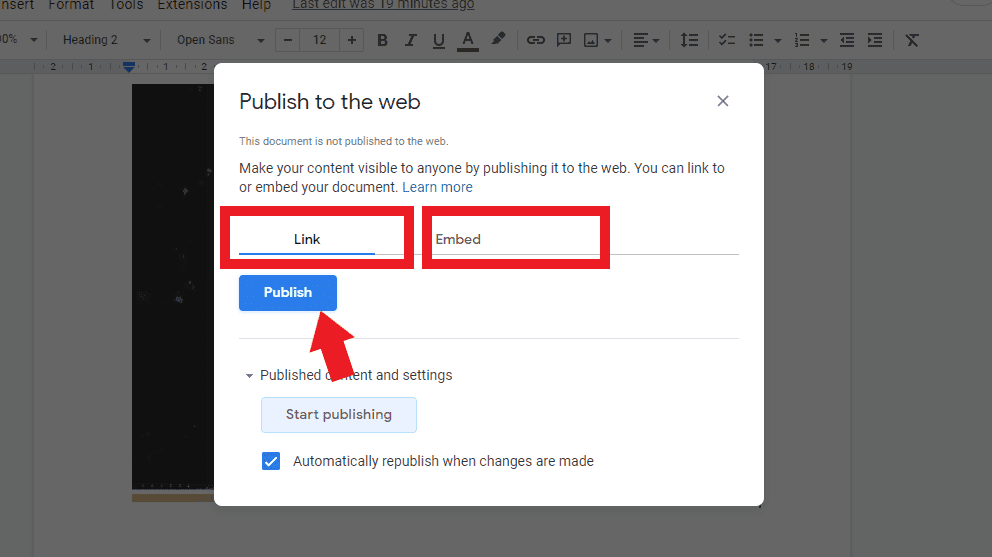
4. You might also make the flyer visible to everyone by selecting “Publish to the web”. Choose “Link” or “embed” and then click “Publish”.
