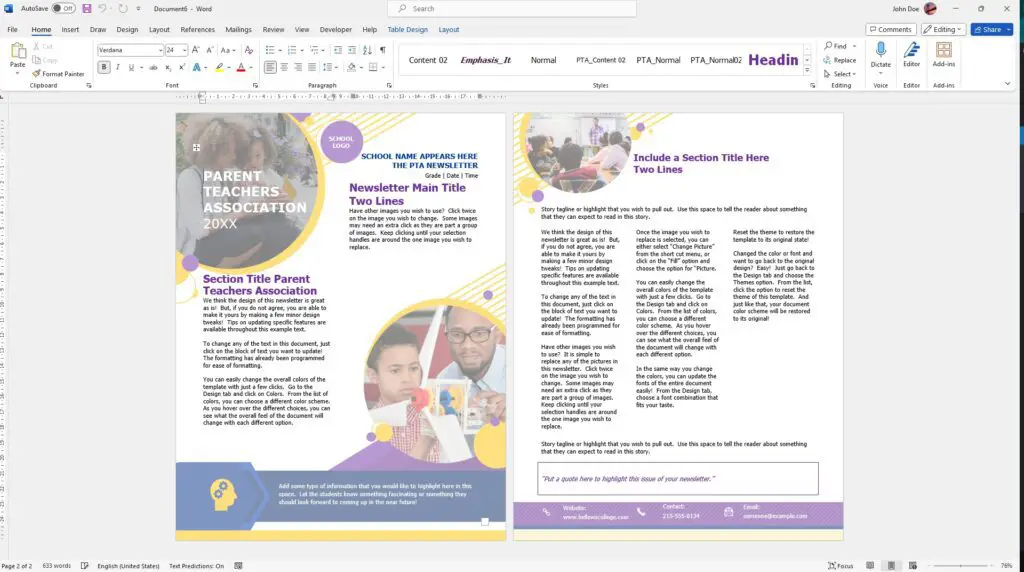
A letterhead is an essential part of professional business communication. It allows you to clearly display your company name, logo, and contact information at the top of letters, invoices, proposals, and other important documents.
Creating an attractive and polished letterhead in Microsoft Word is easy, especially if you follow these simple steps:
1. Set Up Your Page Layout
The first step is to set up the page layout for your letterhead document. This will create a template you can use repeatedly.
- Open a new blank Word document.
- Go to the “Layout” tab on the ribbon.
- Click “Margins” and set them to Narrow (0.5″) all around. This maximizes space.
- Click “Orientation” and set to Landscape. This will give you more width to work with.
- Click “Size” and set to Legal (8.5″ x 14″). This is a common letterhead size.
Your page is now ready to design the letterhead layout.
2. Add Your Logo
Now it’s time to add your logo, which is an essential business branding element on any letterhead:
- Click “Insert” on the ribbon and select “Pictures.”
- Browse your computer and insert your company logo.
- Click and drag the corners to resize it larger or smaller.
- Position the logo at the top-left, top-center or top-right of the page depending on your preference.
3. Include Your Company Name
Next, insert your company name:
- Click “Insert” on the ribbon and select “Text Box.”
- Draw a text box next to your logo at the top of the page.
- Type in your full company name and format it with your preferred fonts and text sizes.
- Consider bolding the company name to make it stand out.
- If you have a tagline, put it in a smaller font below your company name.
4. Add Contact Information
Below your logo and company name, include important contact details:
- Click “Insert” then “Text Box” to create columns for holding your contacts.
- On the left, type in your street address, phone numbers, email address, and website URL.
- On the right column, include names of important executives.
- Format these text boxes in organized columns that mirror each other on both left and right sides.
5. Include a Horizontal Line
A straight horizontal line can help visually separate your letterhead header from the document body:
- Click “Insert” then select “Shapes.”
- Choose the “Line Shape” and draw a straight line across the width of the page below your contact text boxes.
- Set the line thickness and color to suit your letterhead style.
6. Change Background Color
Consider changing the background color of just your letterhead section to help it stand out.
- Click “Design” on the ribbon and choose “Page Color.”
- Select a color to use behind your logo, text boxes and horizontal line.
- For example, a subtle light gray color.
- This will make your letterhead header appear visually distinct from the white body area below.
7. Add Footer With Page Numbers
A page number footer can give your letterhead a polished, professional look:
- Click “Insert” then choose “Footer.”
- Select a footer design style that fits your letterhead.
- Type in your company name on the left side.
- Insert page numbers on the right side.
- Format it with your preferred fonts and colors.
8. Save the Letterhead as a Template
Finally, save your designed letterhead as a Word template so you can easily reuse it.
- Click “File” then choose “Save As.”
- Save as a Word Template and give it a name like “Company Letterhead.”
- Choose a location to save it on your computer or network.
Whenever you need your letterhead, just open this custom template and it will be ready to go! The saved template will retain all fonts, colors, logos and positioning.
Customizing the Letterhead
Once your letterhead template is created, you can continue customizing it:
- Try different background colors and horizontal line widths.
- Experiment with different text box positions.
- Adjust font sizes and styles.
Tweak the design until you have a professional letterhead template that represents your brand and business!


