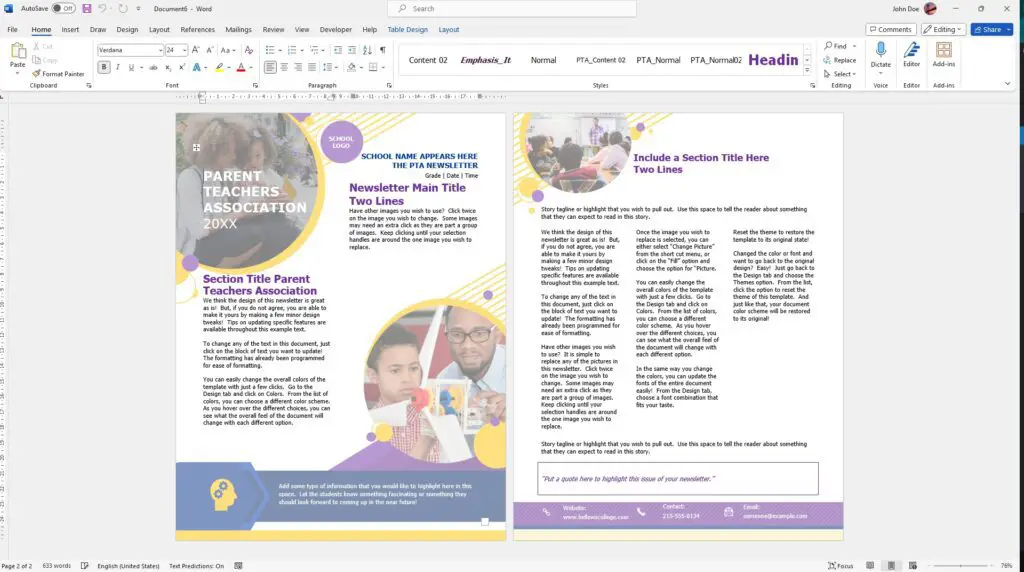
Adding images to a Word document can make your files more visually engaging and help communicate your ideas more clearly. In this tutorial, I’ll walk you through the easy process of inserting pictures into Word documents using a few different methods. Whether you want to add a photo, logo, diagram, or other graphic, it just takes a few clicks.
The most straightforward way is to use the Insert tab in the Word ribbon. But you can also drag and drop images directly into the document or insert online pictures by searching the web or your OneDrive folders. I’ll cover all these techniques in detail below. By the end, you’ll know multiple ways to effortlessly insert any image file into your Word files.
Use the Insert Tab
The simplest way to add a picture to Word is by using the commands on the Insert tab:
- Open the Word document where you want to add a picture
- Click on the Insert tab in the ribbon
- In the Illustrations group, click on Pictures
- This will open the Insert Picture dialog box
- Navigate your files to select the image you want to insert
- Click Insert once the correct graphic file is selected
The picture will now be added into your document automatically!
You’ll notice the image is centered and wrapped by text, which is the default formatting. But it’s easy to customize things like text wrapping, alignment, size, and more, which I cover later in this article.
Drag and Drop Method
You can also quickly insert any image file into a Word document by dragging and dropping:
- Open both the target Word document and the folder containing your picture files
- Click and drag the image you want onto the Word document
- Release the mouse button to drop the graphic into place
It’s that simple! This avoids having to browse your folders within Word itself. Just switch between windows and drag the picture file over.
Positioning works the same way as the previous method. The image will be centered and wrapped with the default formatting to start.
Insert Online Pictures
Word makes it easy to find and insert pictures from online sources too:
- Place your cursor where you want the image inserted
- Go to the Insert tab
- Click Online Pictures in the Illustrations group
- Search for a keyword or phrase in the Bing Image Search box
- Hover over a picture and click Insert to add it to the document
This built-in search tool enables you to quickly find relevant, high-quality images from over the web.
You can also insert pictures from your OneDrive folders here. Just select the OneDrive option instead of the search bar. Then browse and choose files the same way.
Customize the Image
Once you’ve inserted a picture using any method, you can customize things like:
- Size and proportions
- Text wrapping style
- Alignment and positioning
- Borders, effects, and more
To do this:
- Click the picture to select it
- Go to the Format tab
- Use the different groups to tweak the formatting:
- Size group for height, width, scale, and crop
- Arrange group to wrap text around the image
- Position group to align and bring it forward or back
- And more!
Experiment with the settings to find what looks best for each unique image and document.
Troubleshooting Tips
Here are some quick troubleshooting tips in case you run into issues:
- Make sure the image file type is supported. Common formats like JPG, PNG, GIF, BMP work best.
- Check that the picture file isn’t corrupted or damaged preventing Word from reading it.
- If the image appears blurry or distorted, verify the original graphic looks correct outside of Word.
- Use the Compress Pictures option to reduce large file sizes if the document becomes too big.
- Pictures inserted from websites can have low resolution. Search for larger versions or insert from your own file collection instead.
And that’s it! With the techniques above, you can swiftly insert any photo, diagram, logo, or other images into Word documents on both Windows and Mac.
Conclusion
Adding visuals makes documents much more engaging and understandable for your readers. With Word’s user-friendly picture insertion tools, the process is simple and fast no matter where your files are saved locally or online.
To recap, you can:
- Use the Insert > Pictures command
- Drag and drop image files directly into the document
- Search and insert pictures from Bing Image Search and OneDrive
- Customize the appearance, size, position, wrapping, and other formatting
So give your Word files an visual boost! Insert some relevant, high-quality images using the methods in this guide. Let me know if you have any other questions.


